Blue Sky Recreation Limited. Freephone: 0800 069 9601, Freefax: 0800 069 9602, Email: info@blueskyholdings.co.uk
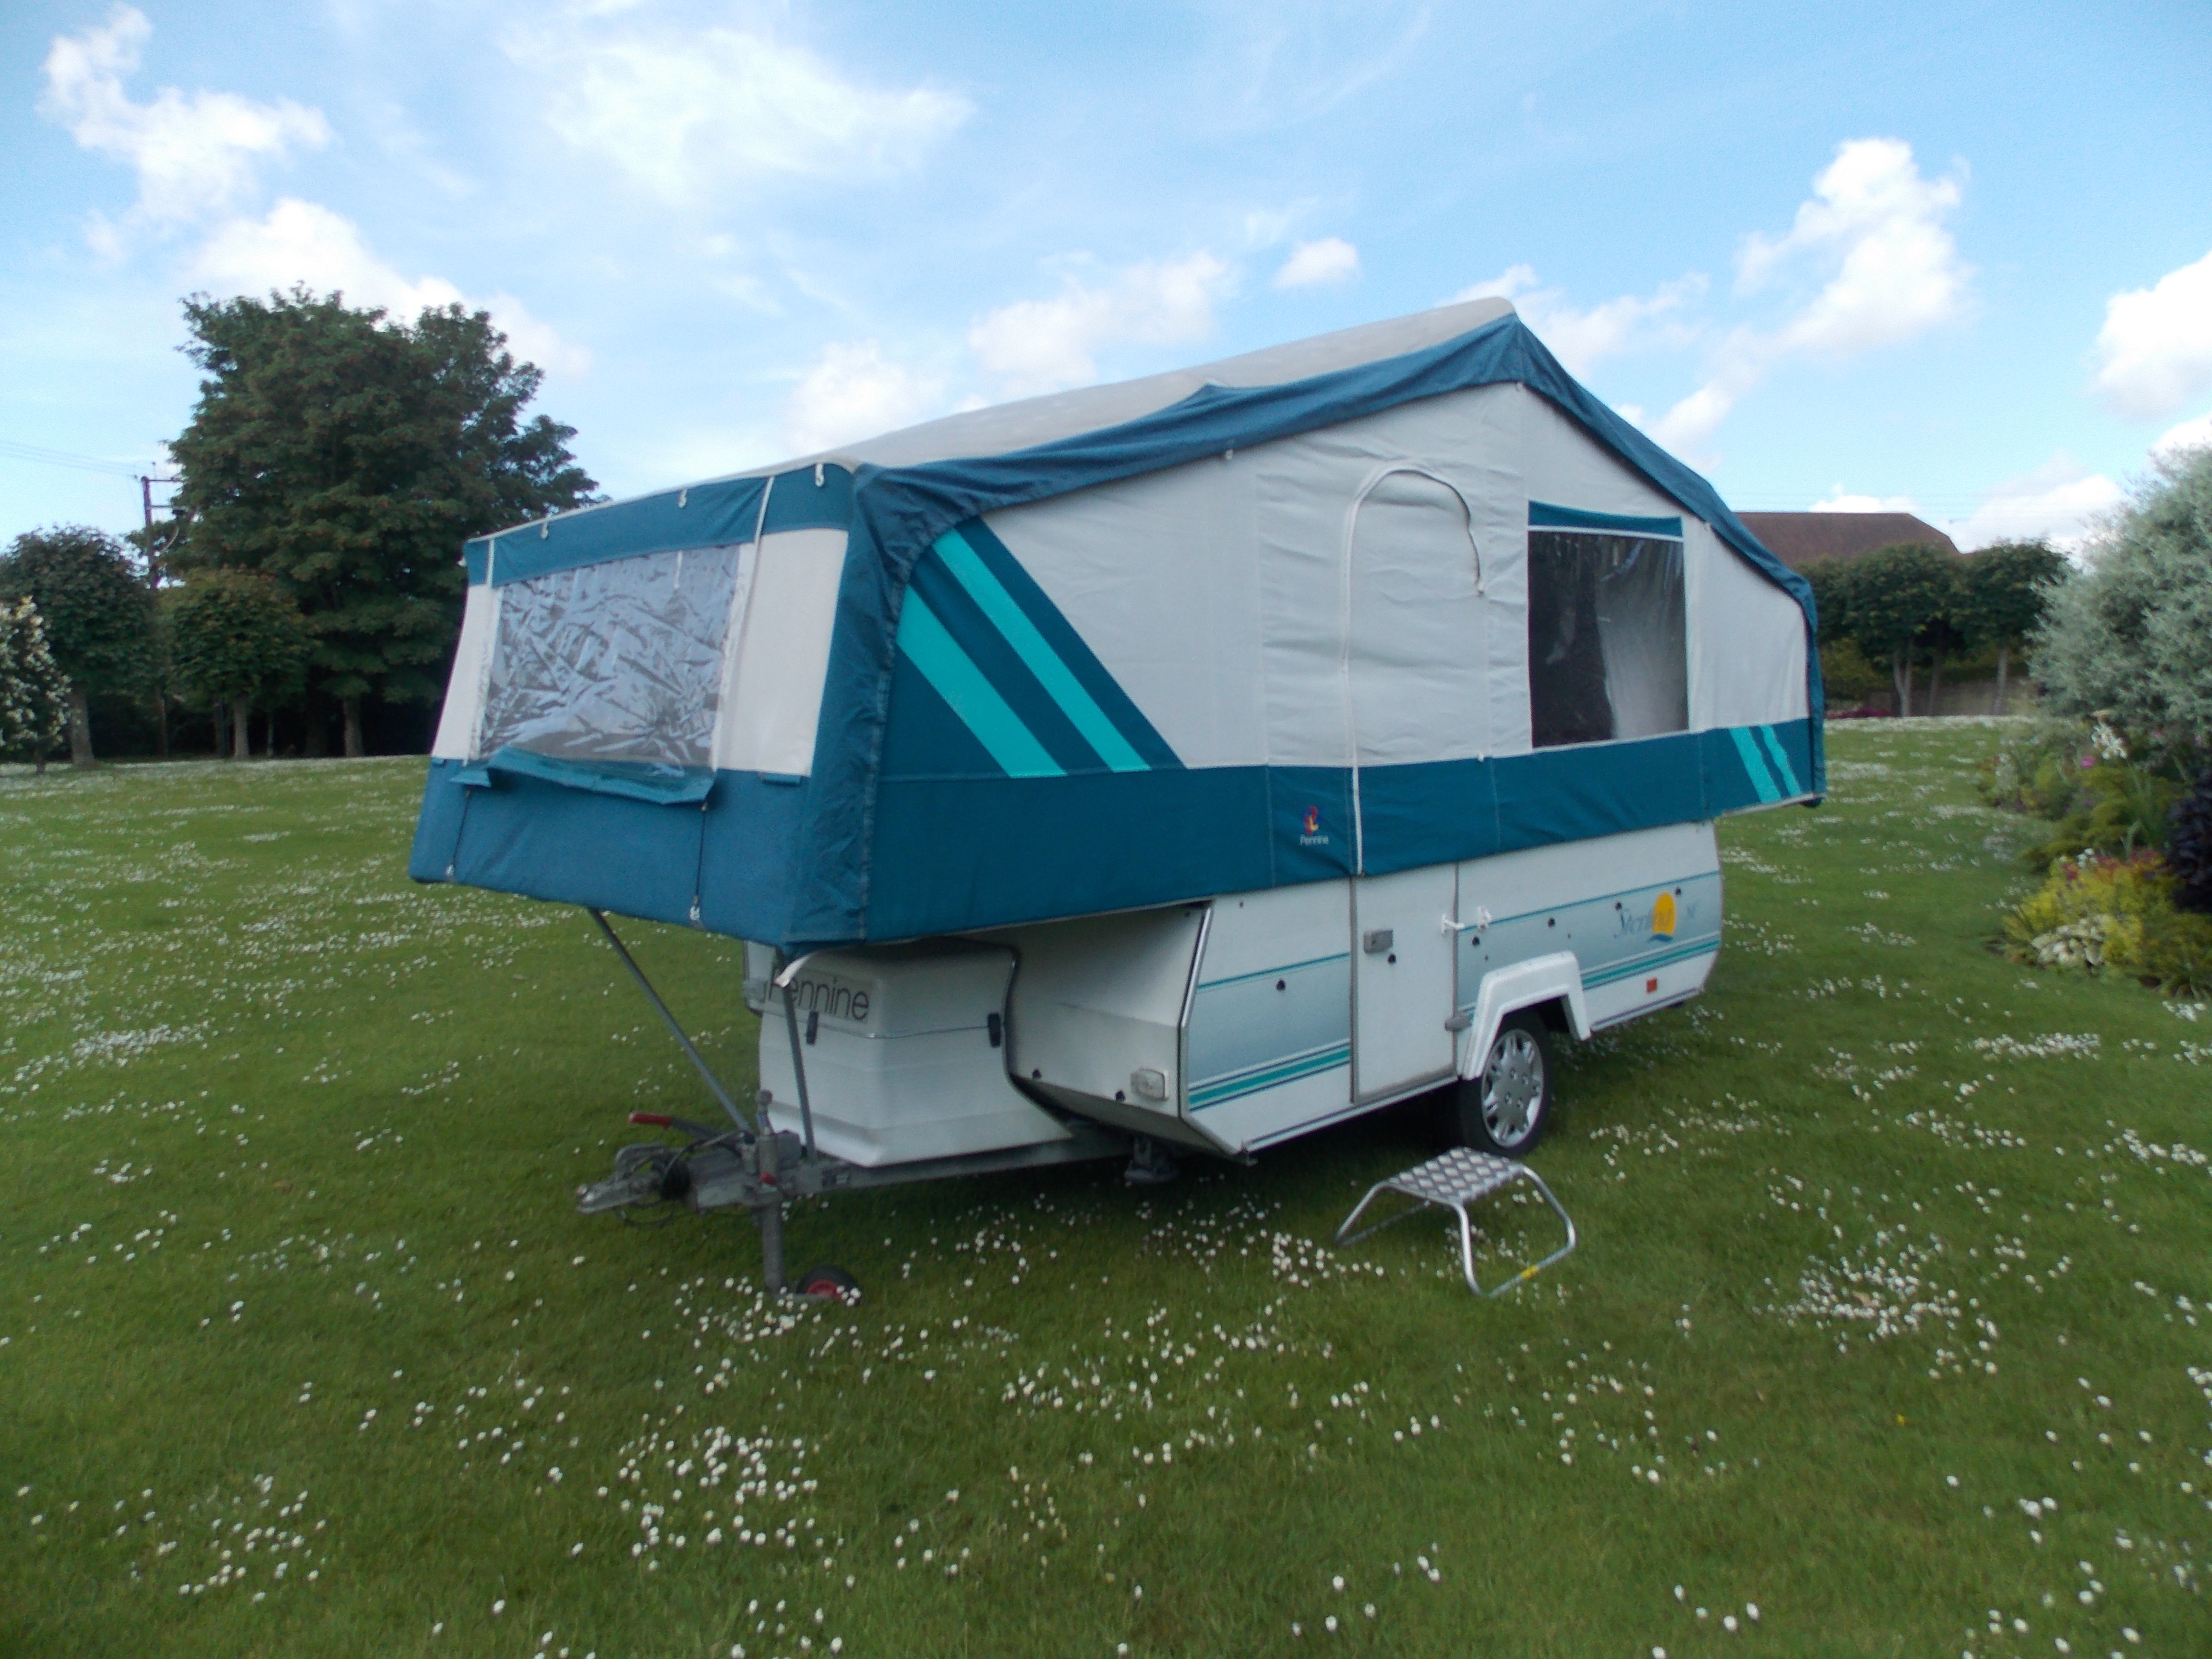
Pennine Sterling / Sterling SE (NB: All Procedures Below Will Also Apply to the Pennine Pullman).
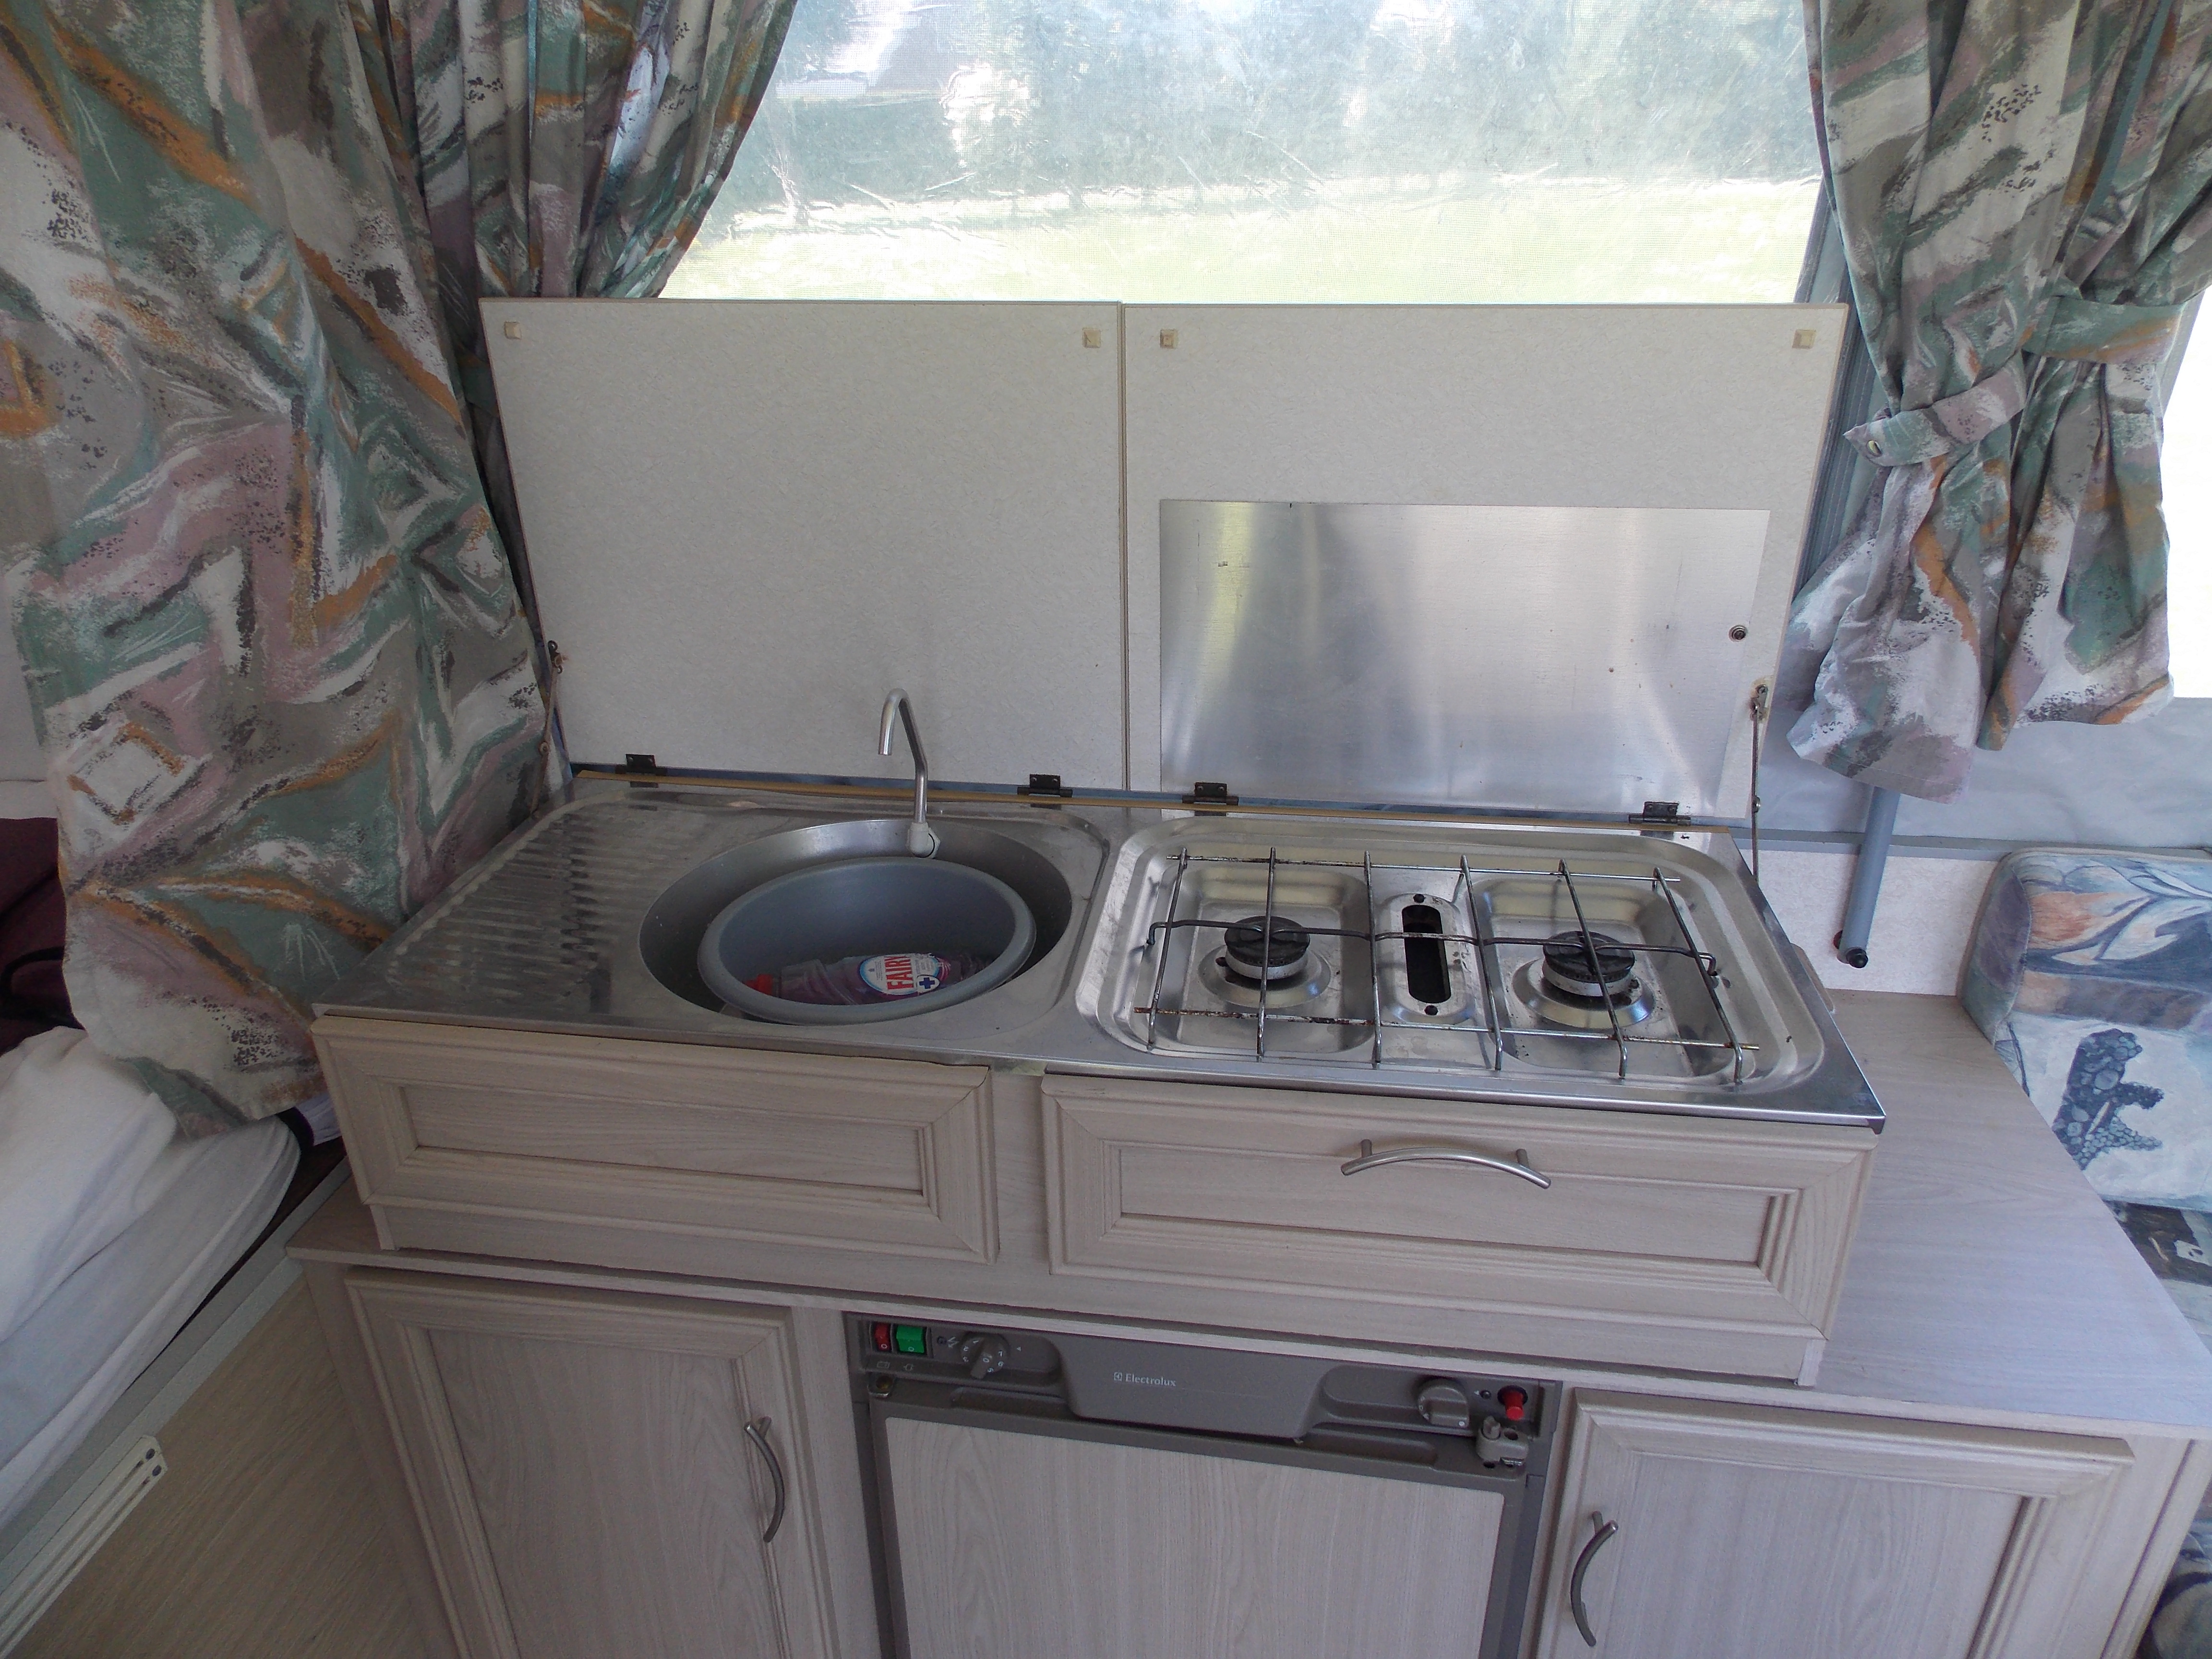
It's not always easy to accurately detail the differences between the standard Sterling and the SE (Special Equipment) as some items were optional on both, however, in simple terms, they were the same basic model, however, the SE had the addition of a wardrobe and a slot in shelf unit in the kitchen. It also had a 3 way fridge as standard, although, to be fair, most basic Sterlings also left the factory with one as well, even though, theoretically, it was an extra.
Unlike the smaller Aztec and Fiesta, the beds in the Sterling open front to back, rather than on the sides, thereby allowing for a full 6 berth layout, as opposed to the 4 of it's smaller siblings.
As with all models, though, the addition of the optional matching awning served to double the accomodation for those longer trips away.
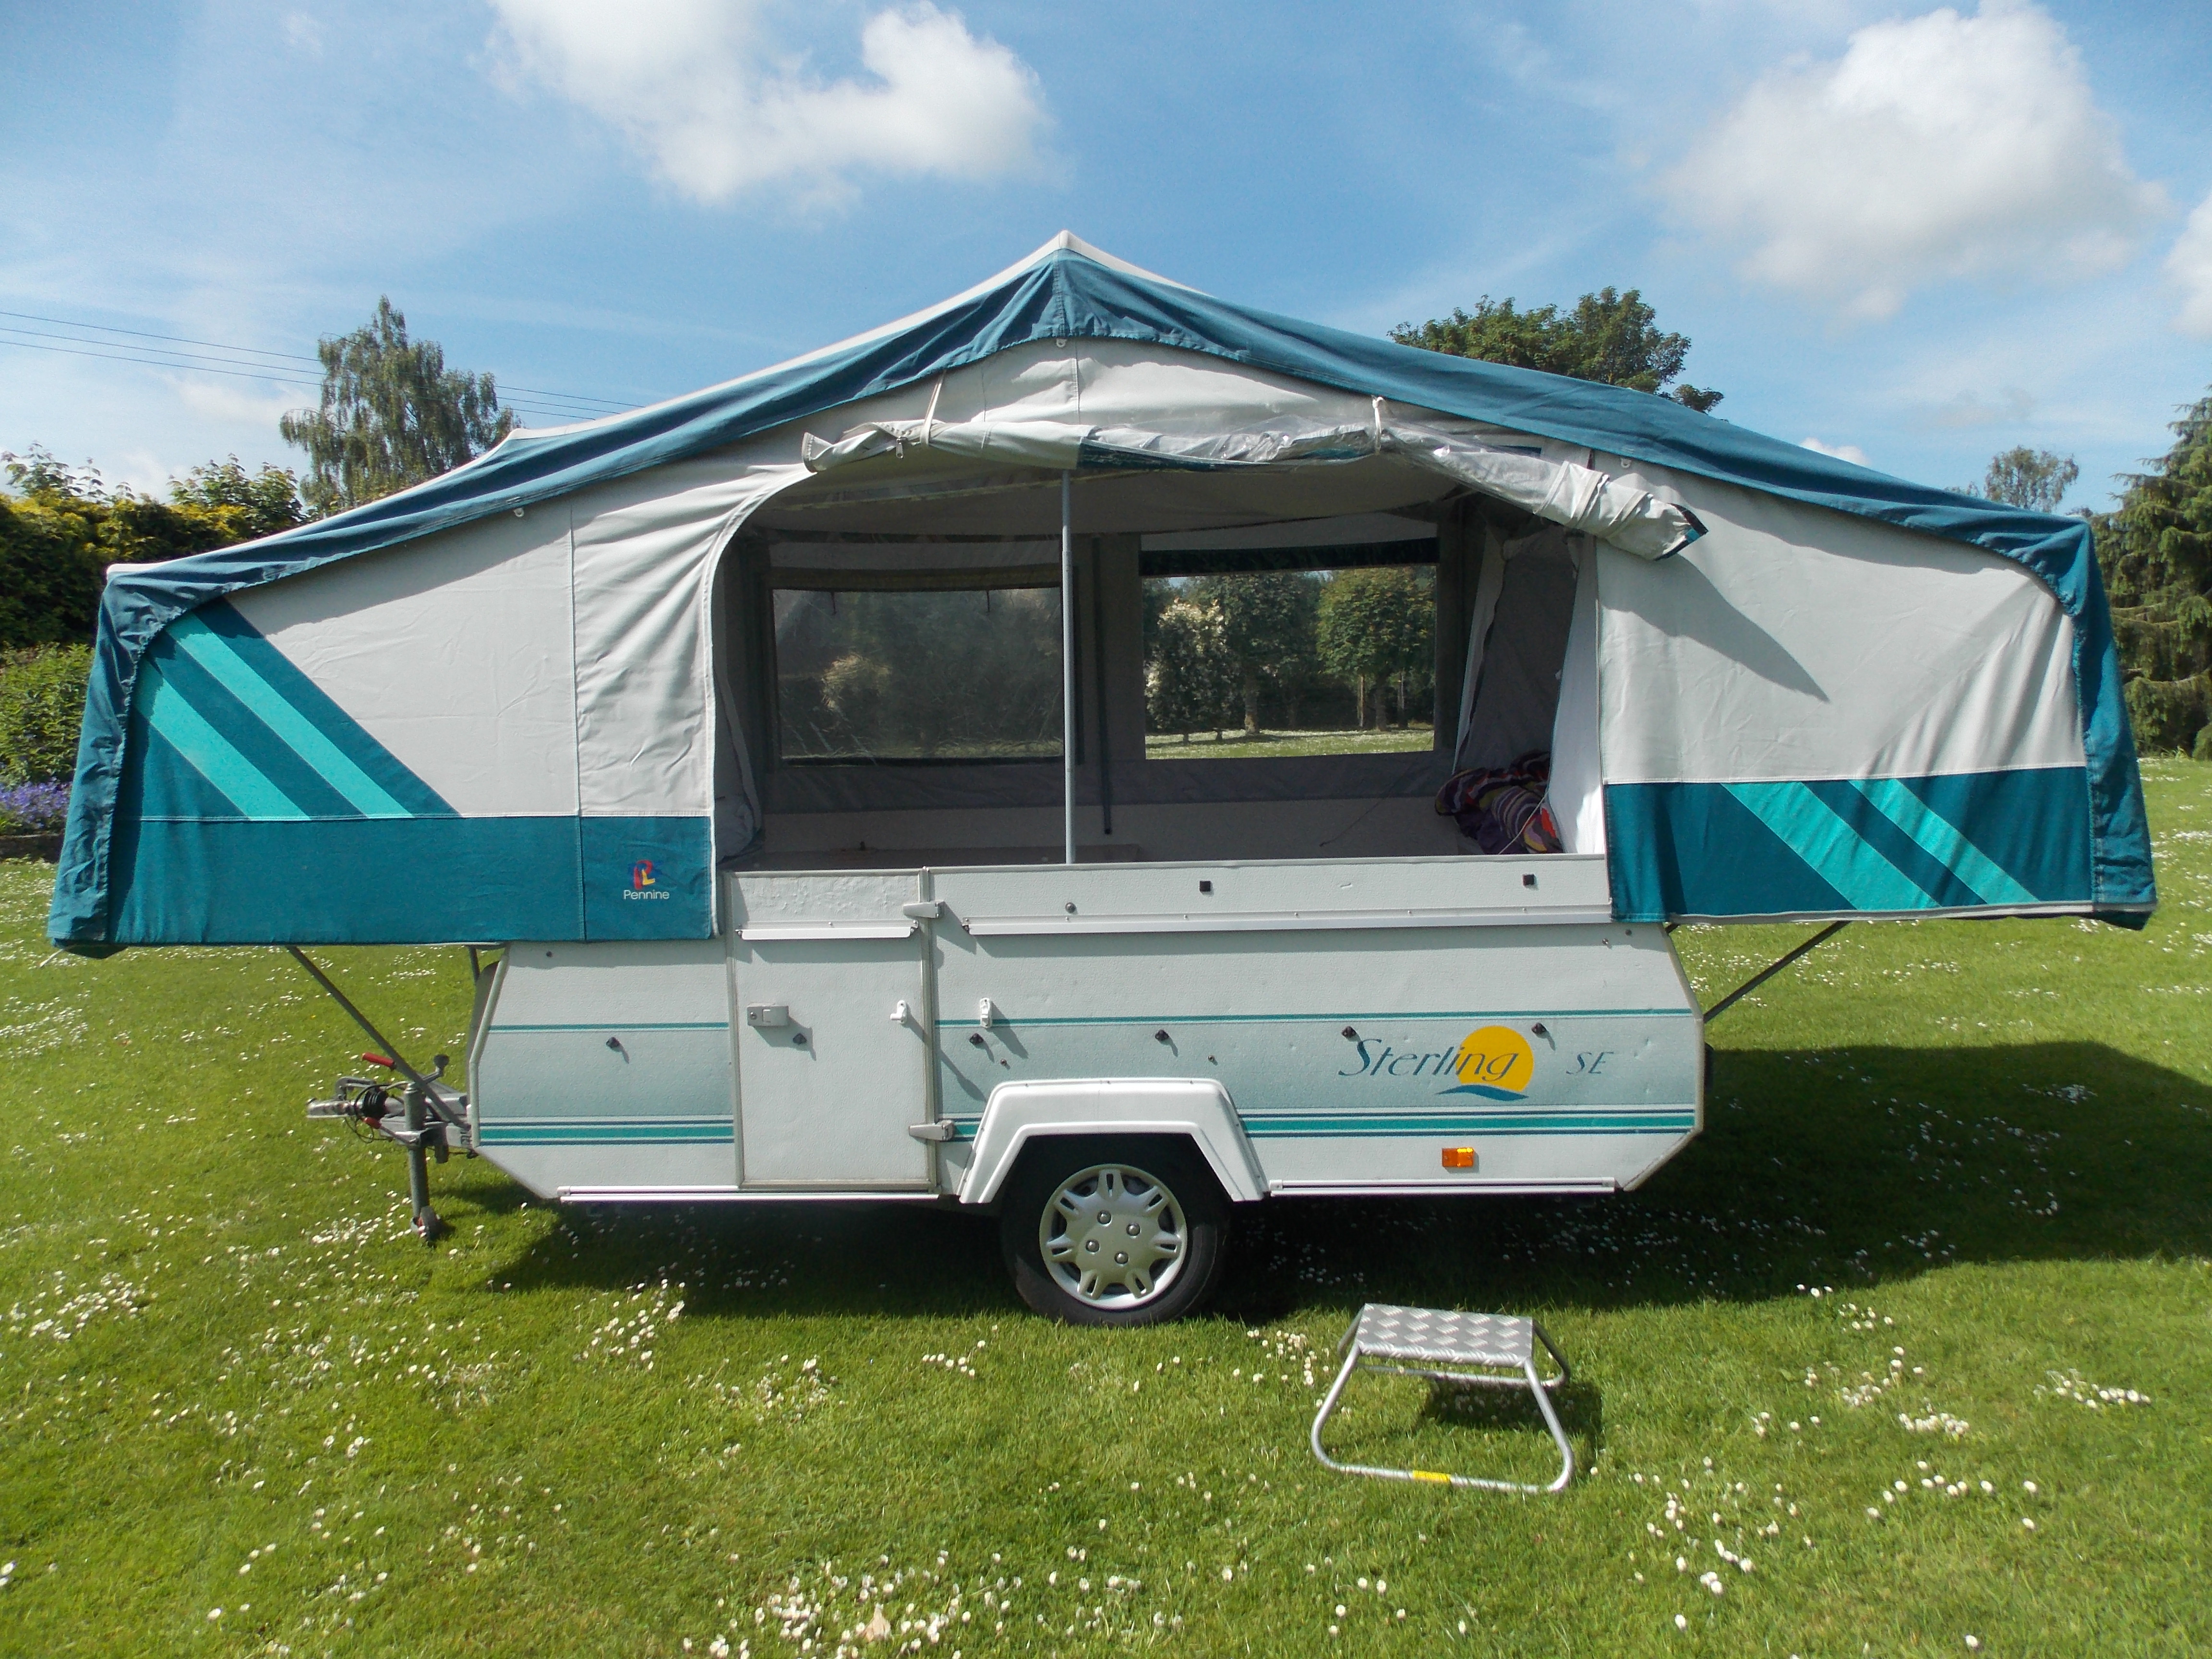
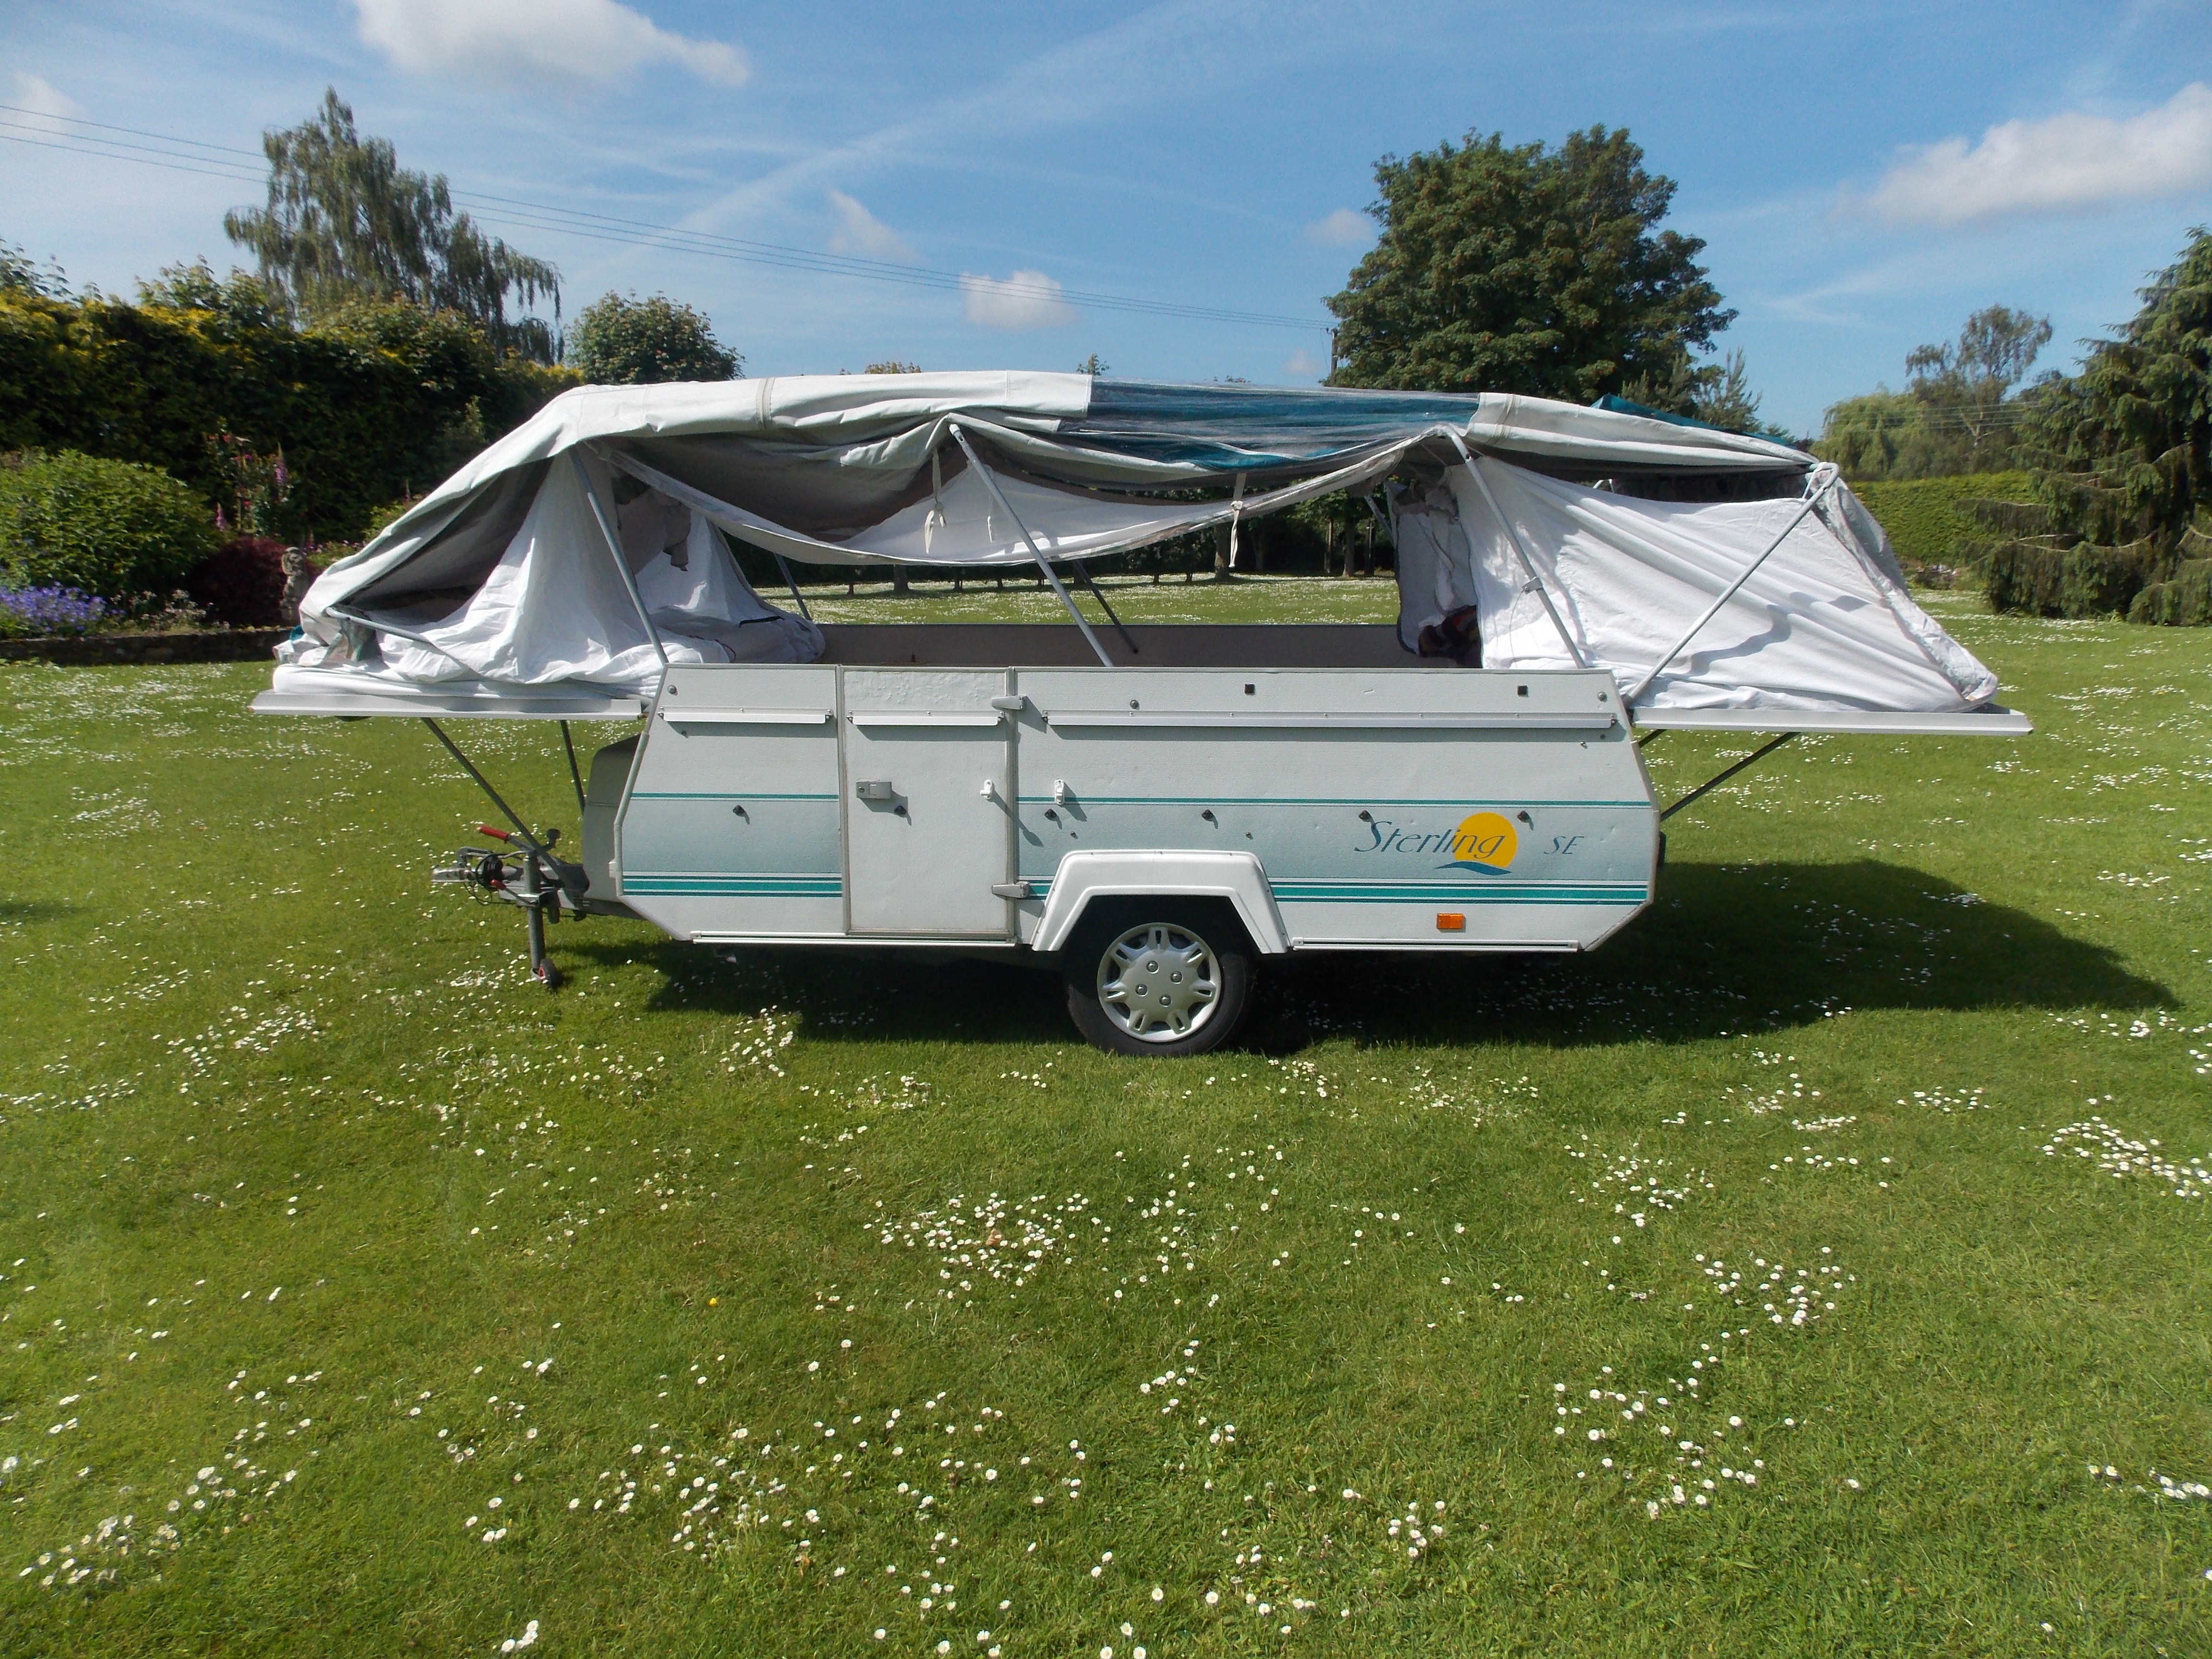
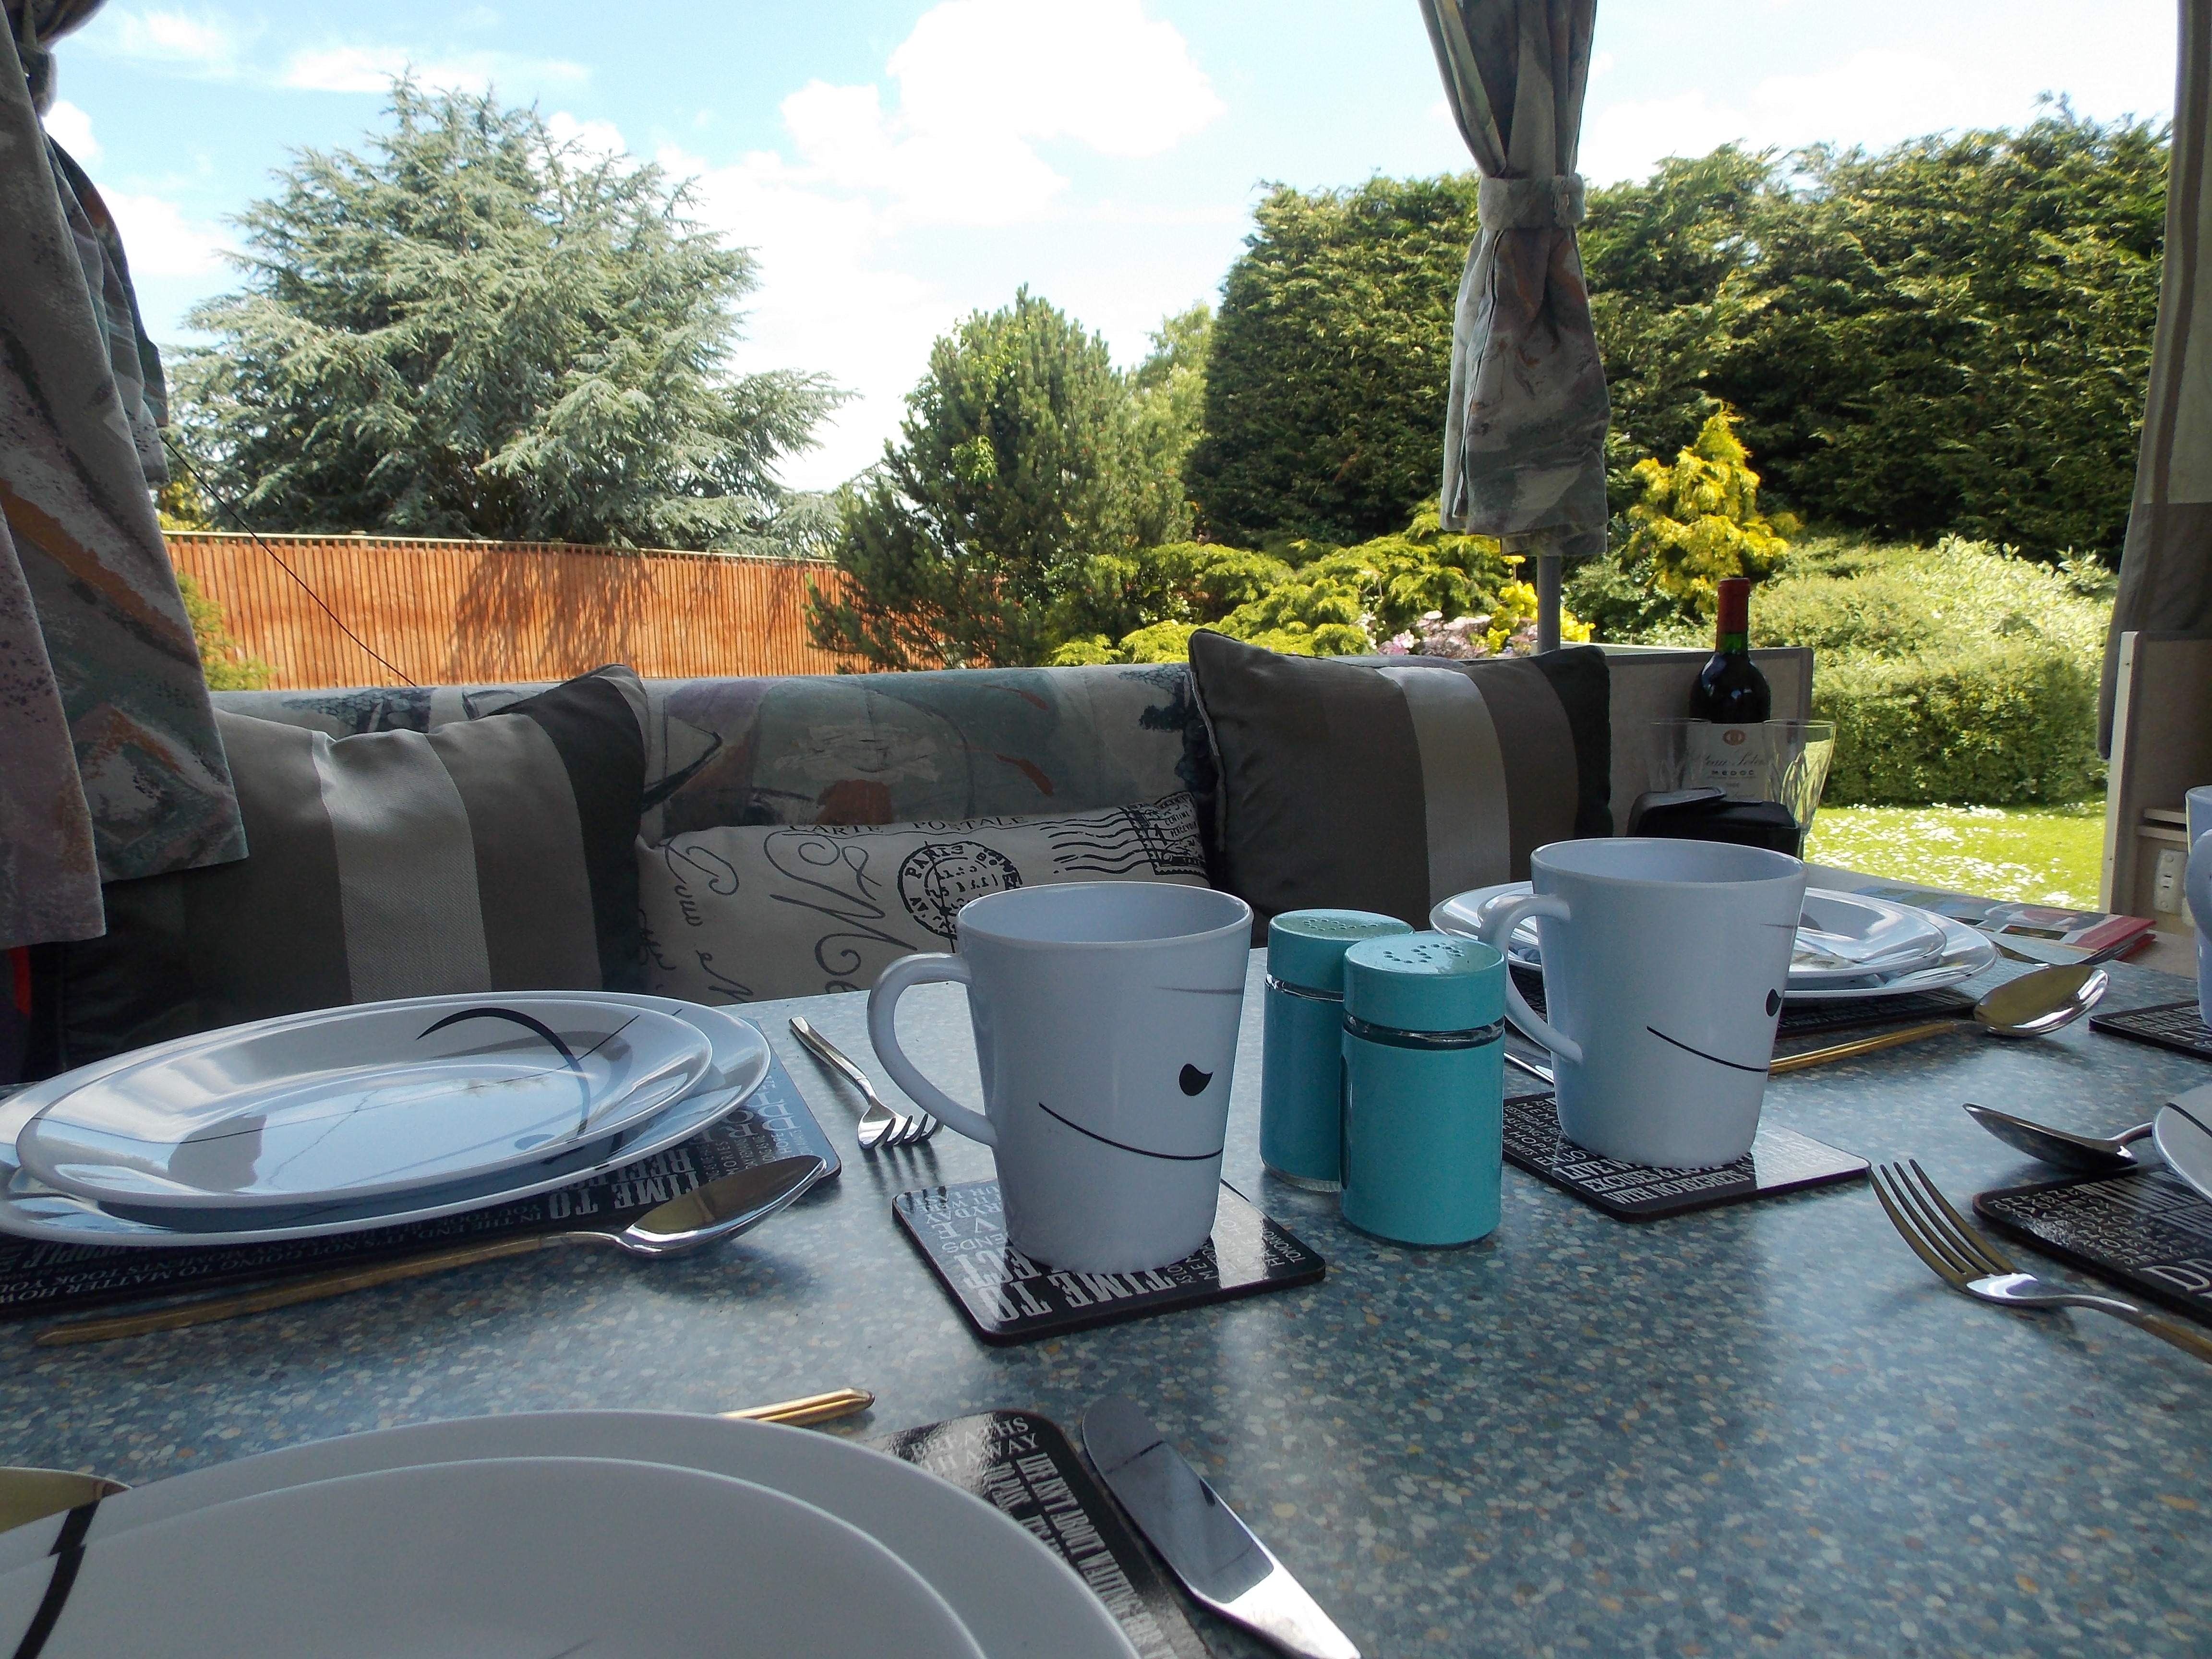
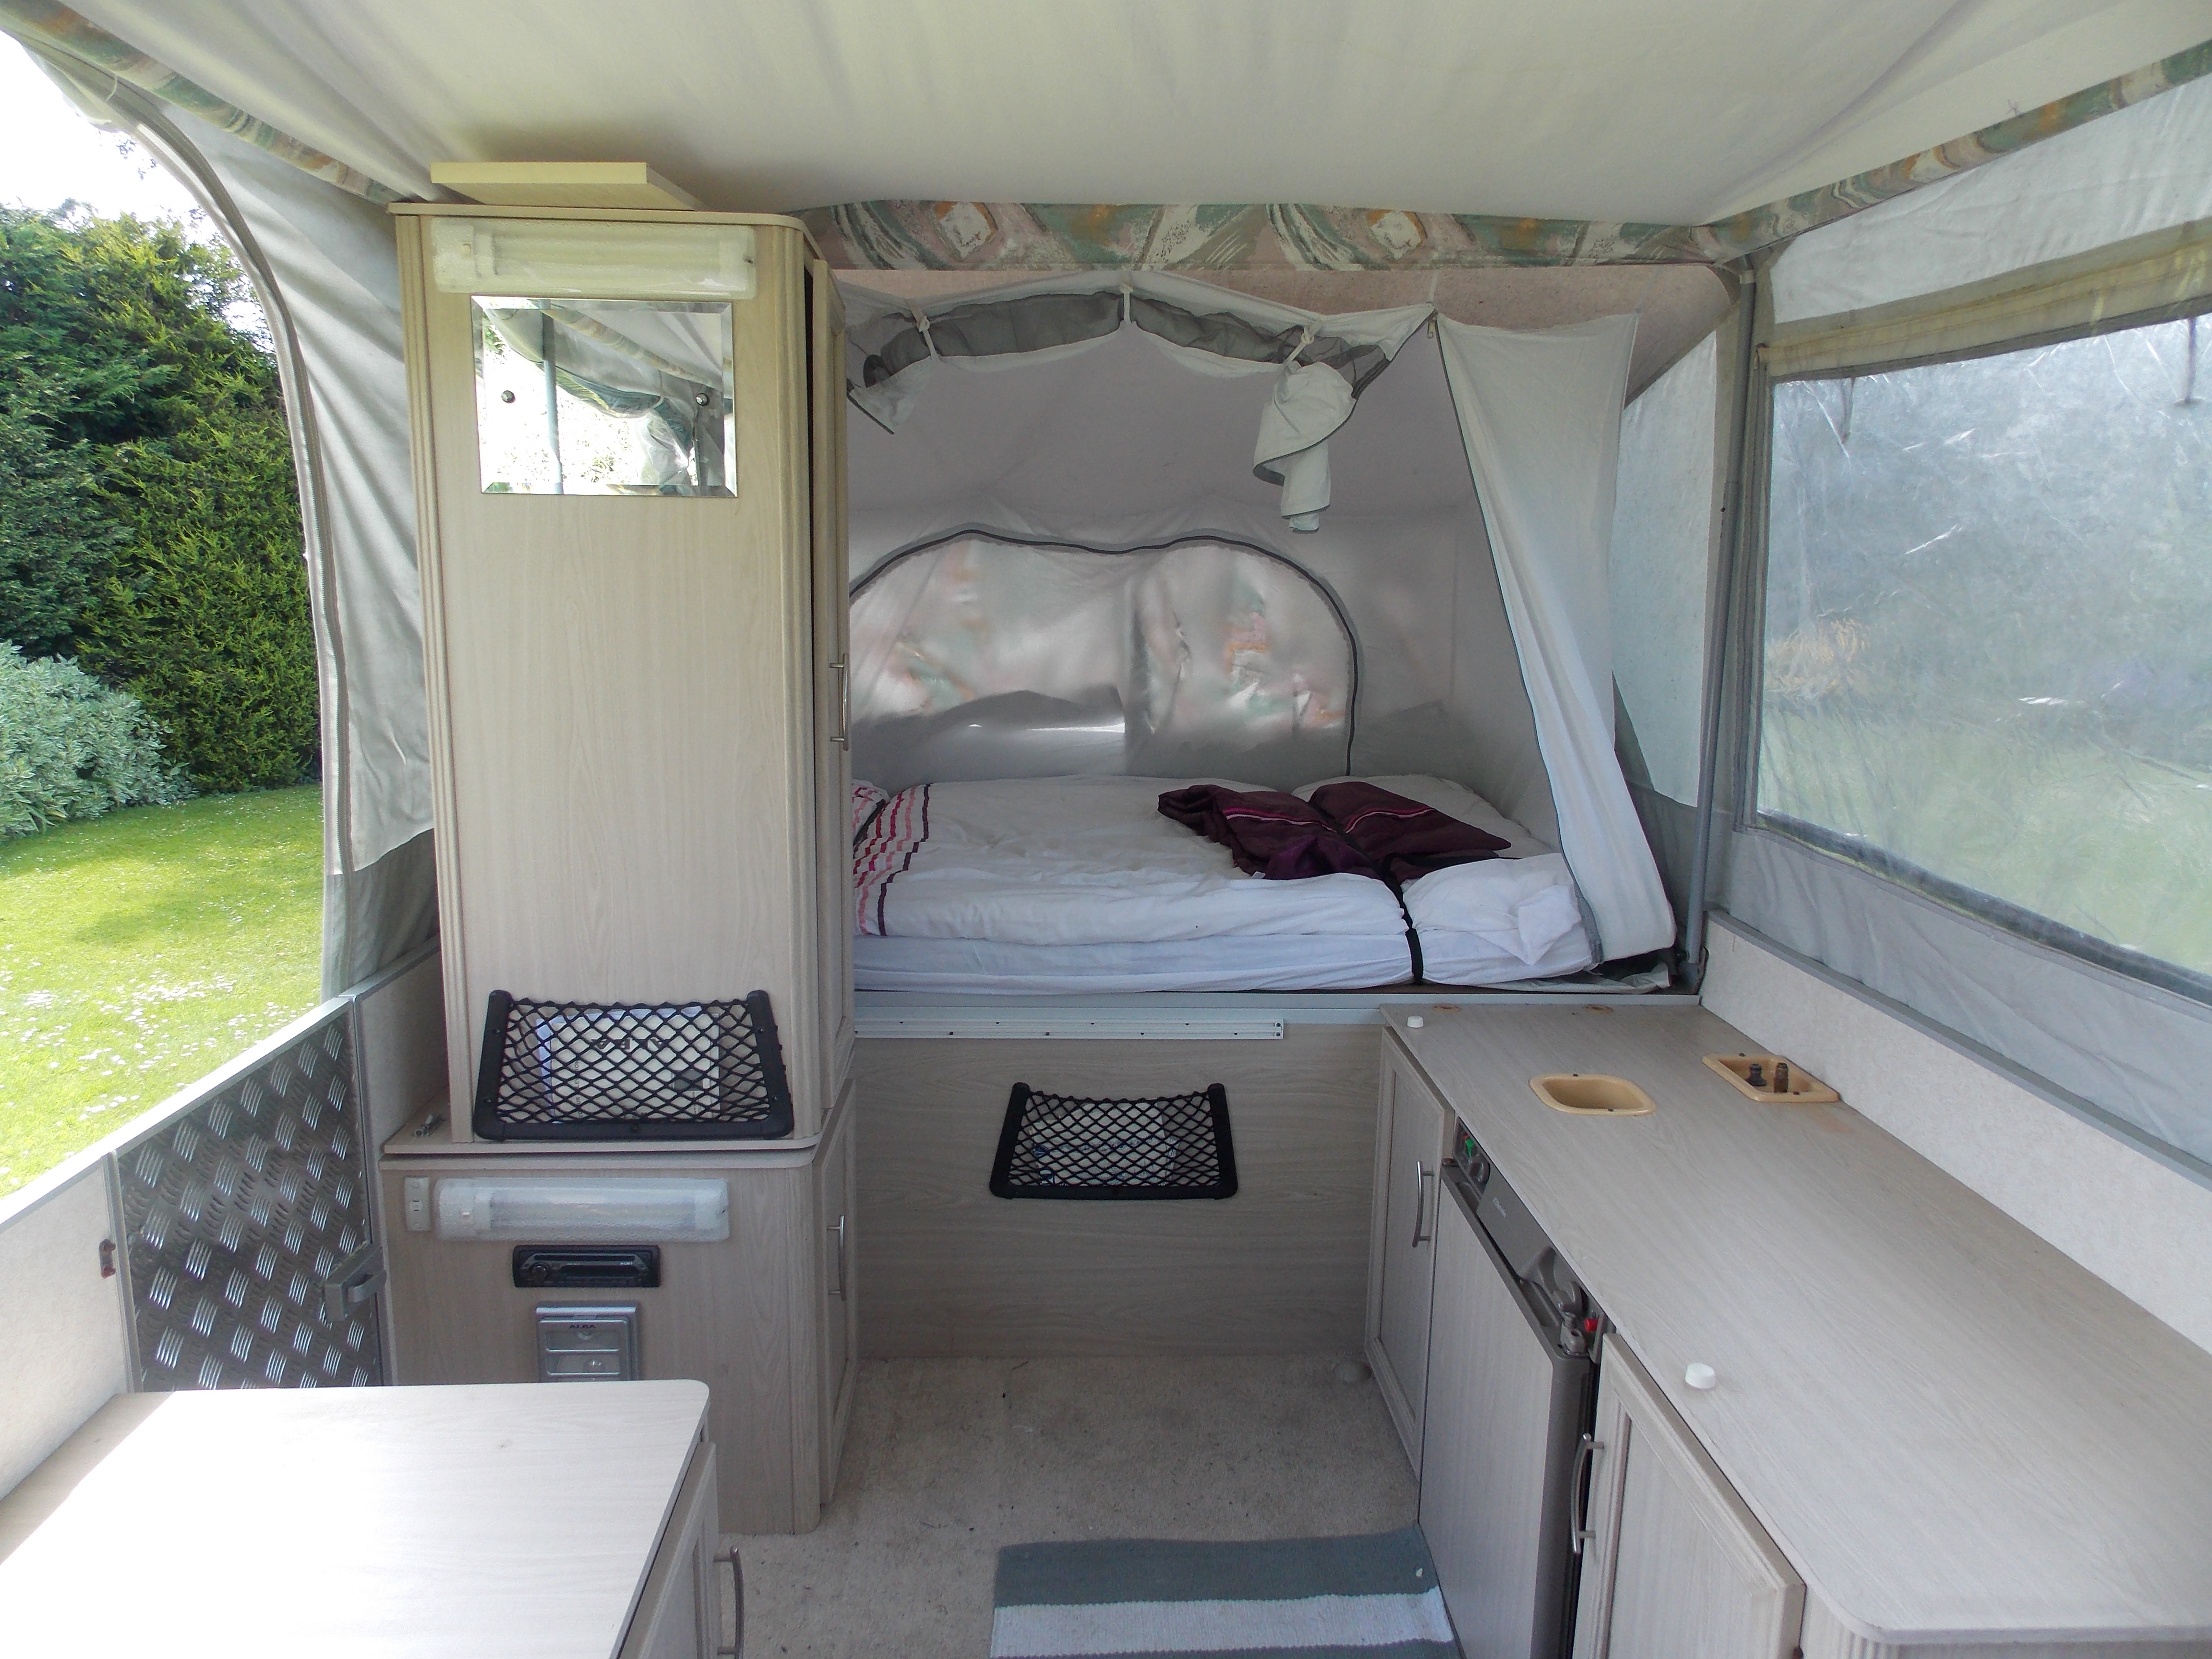
The Sterling offered true 6 berth potential, with 4 of those berths being permanently made up (both on site, and in transit) so a perfect layout for 4 people, but suitable for 6, at a push. Another plus over the Aztec and Fiesta is the ability to completely open up the near side panel, either to give a true outdoor feel, as in the picture here, or to open up the living area into the awning.
Setting Up The Sterling
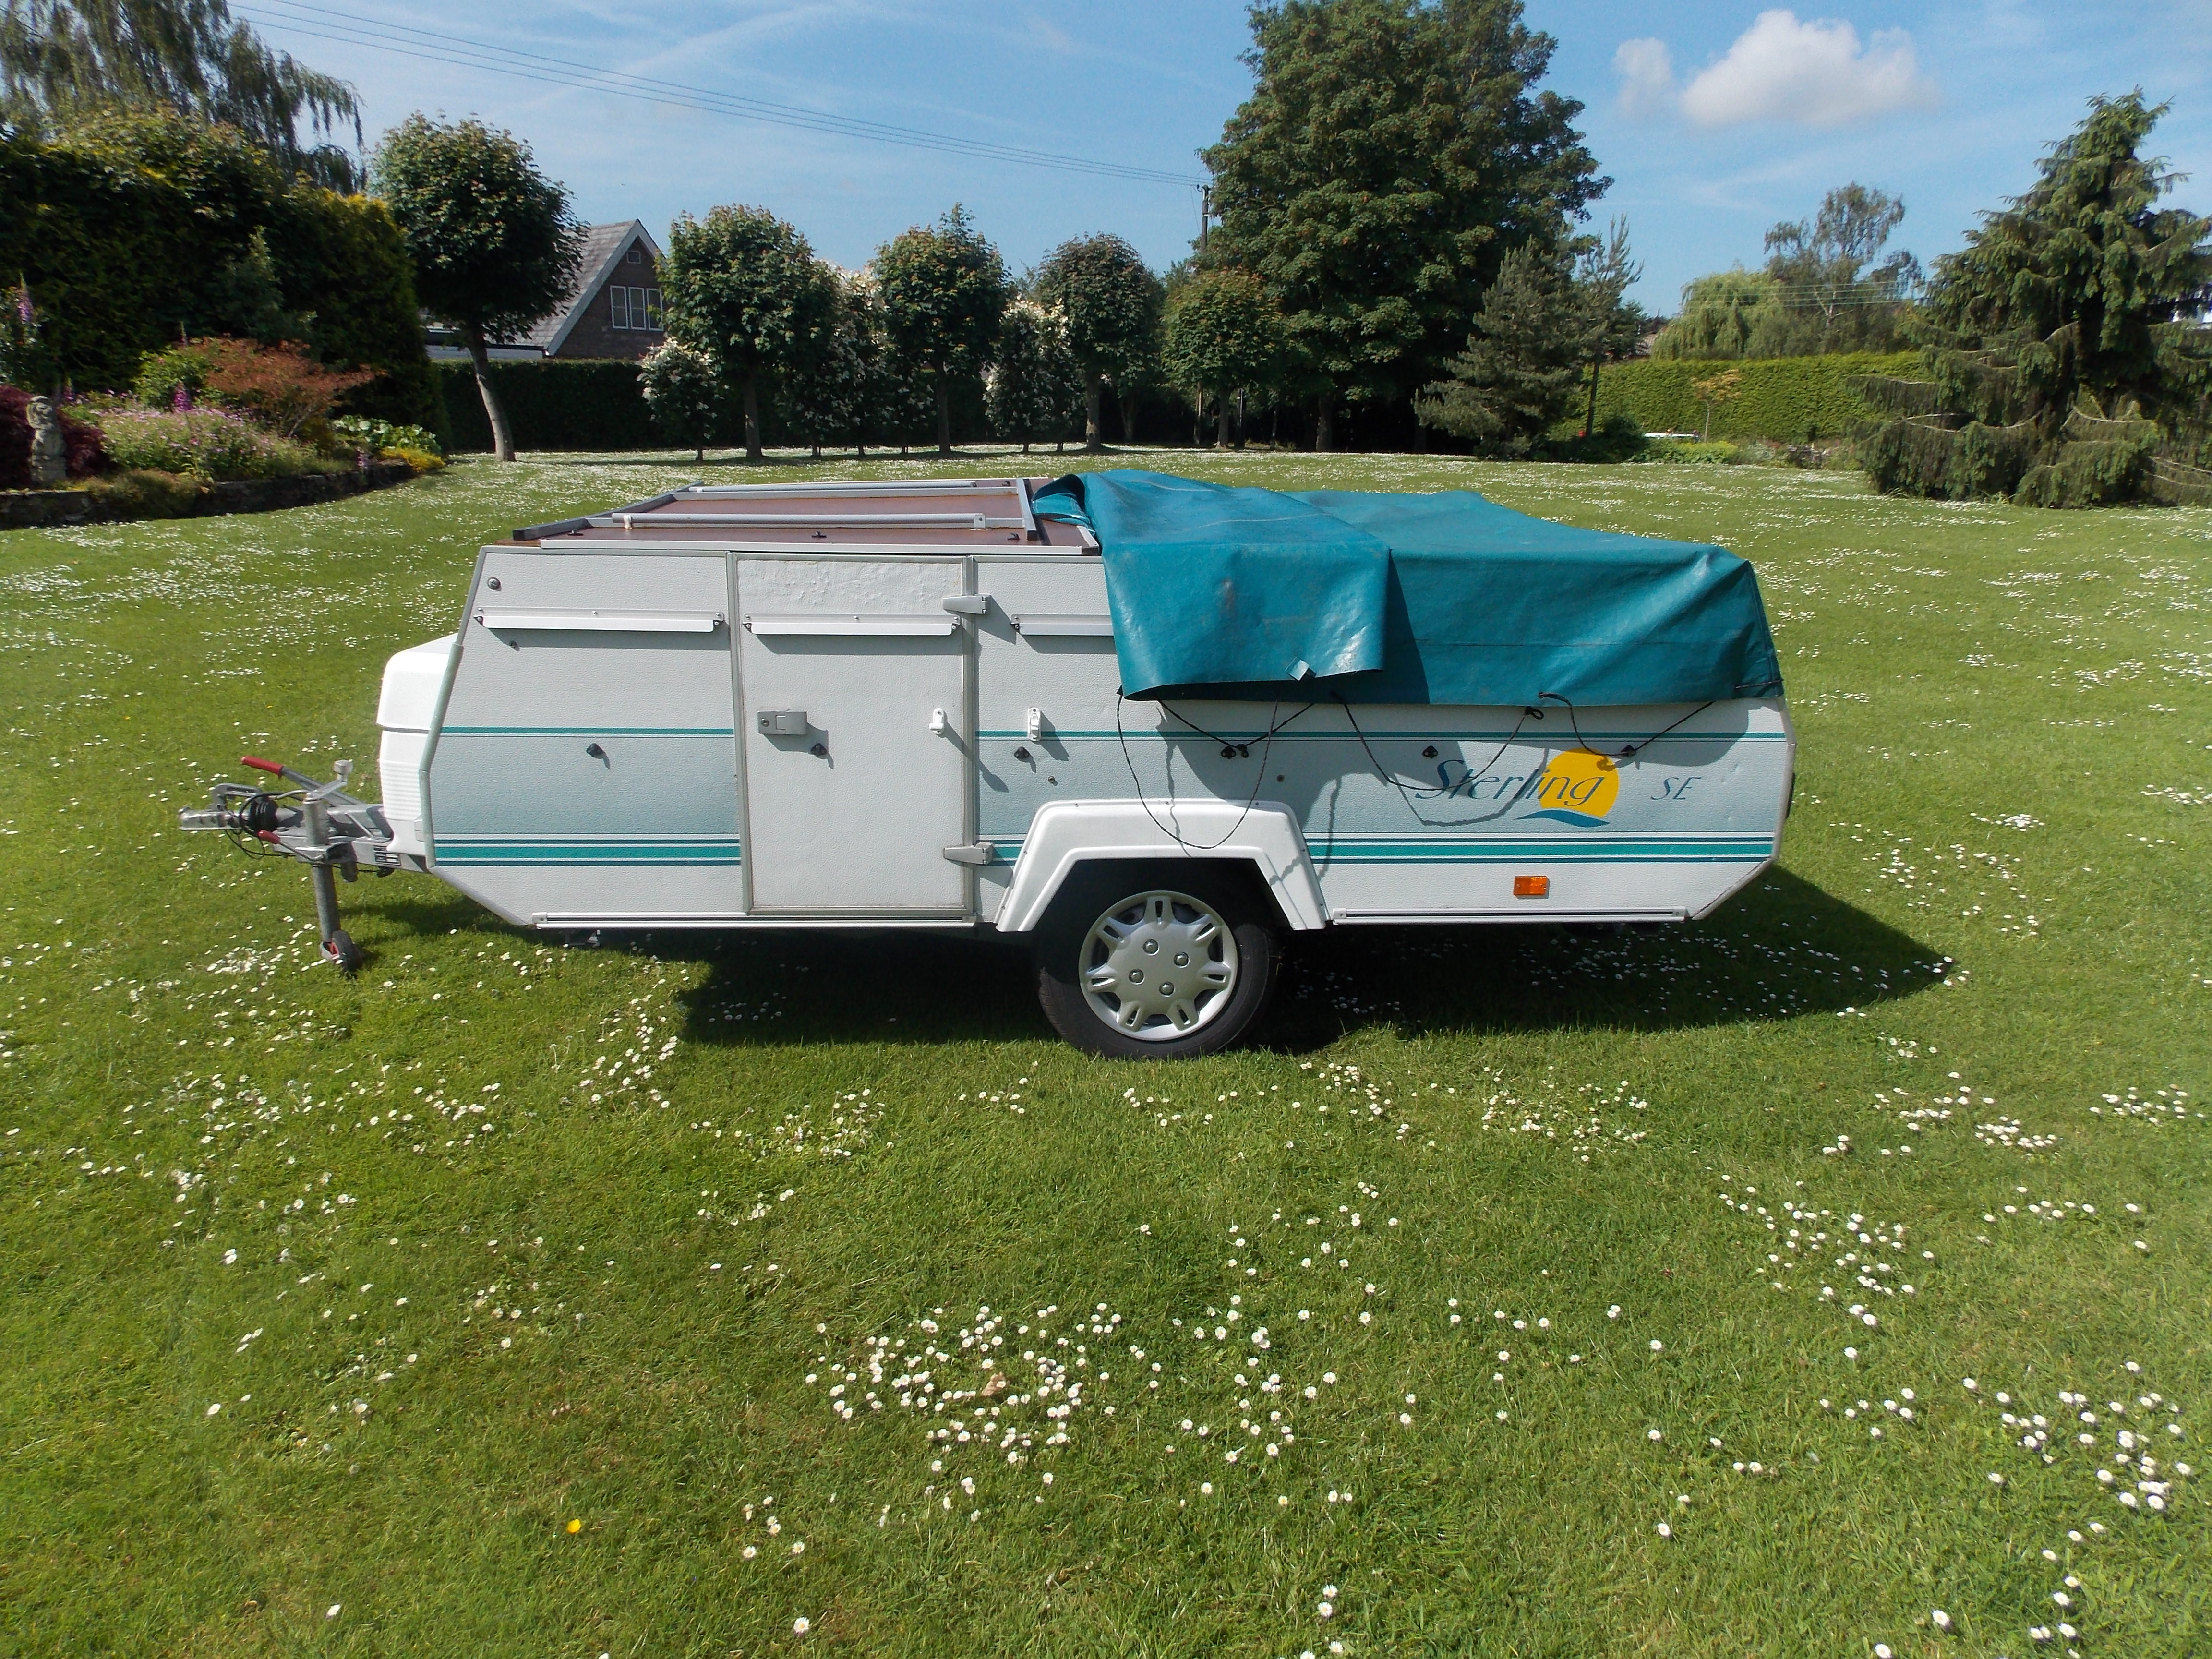
The Sterling Trailer
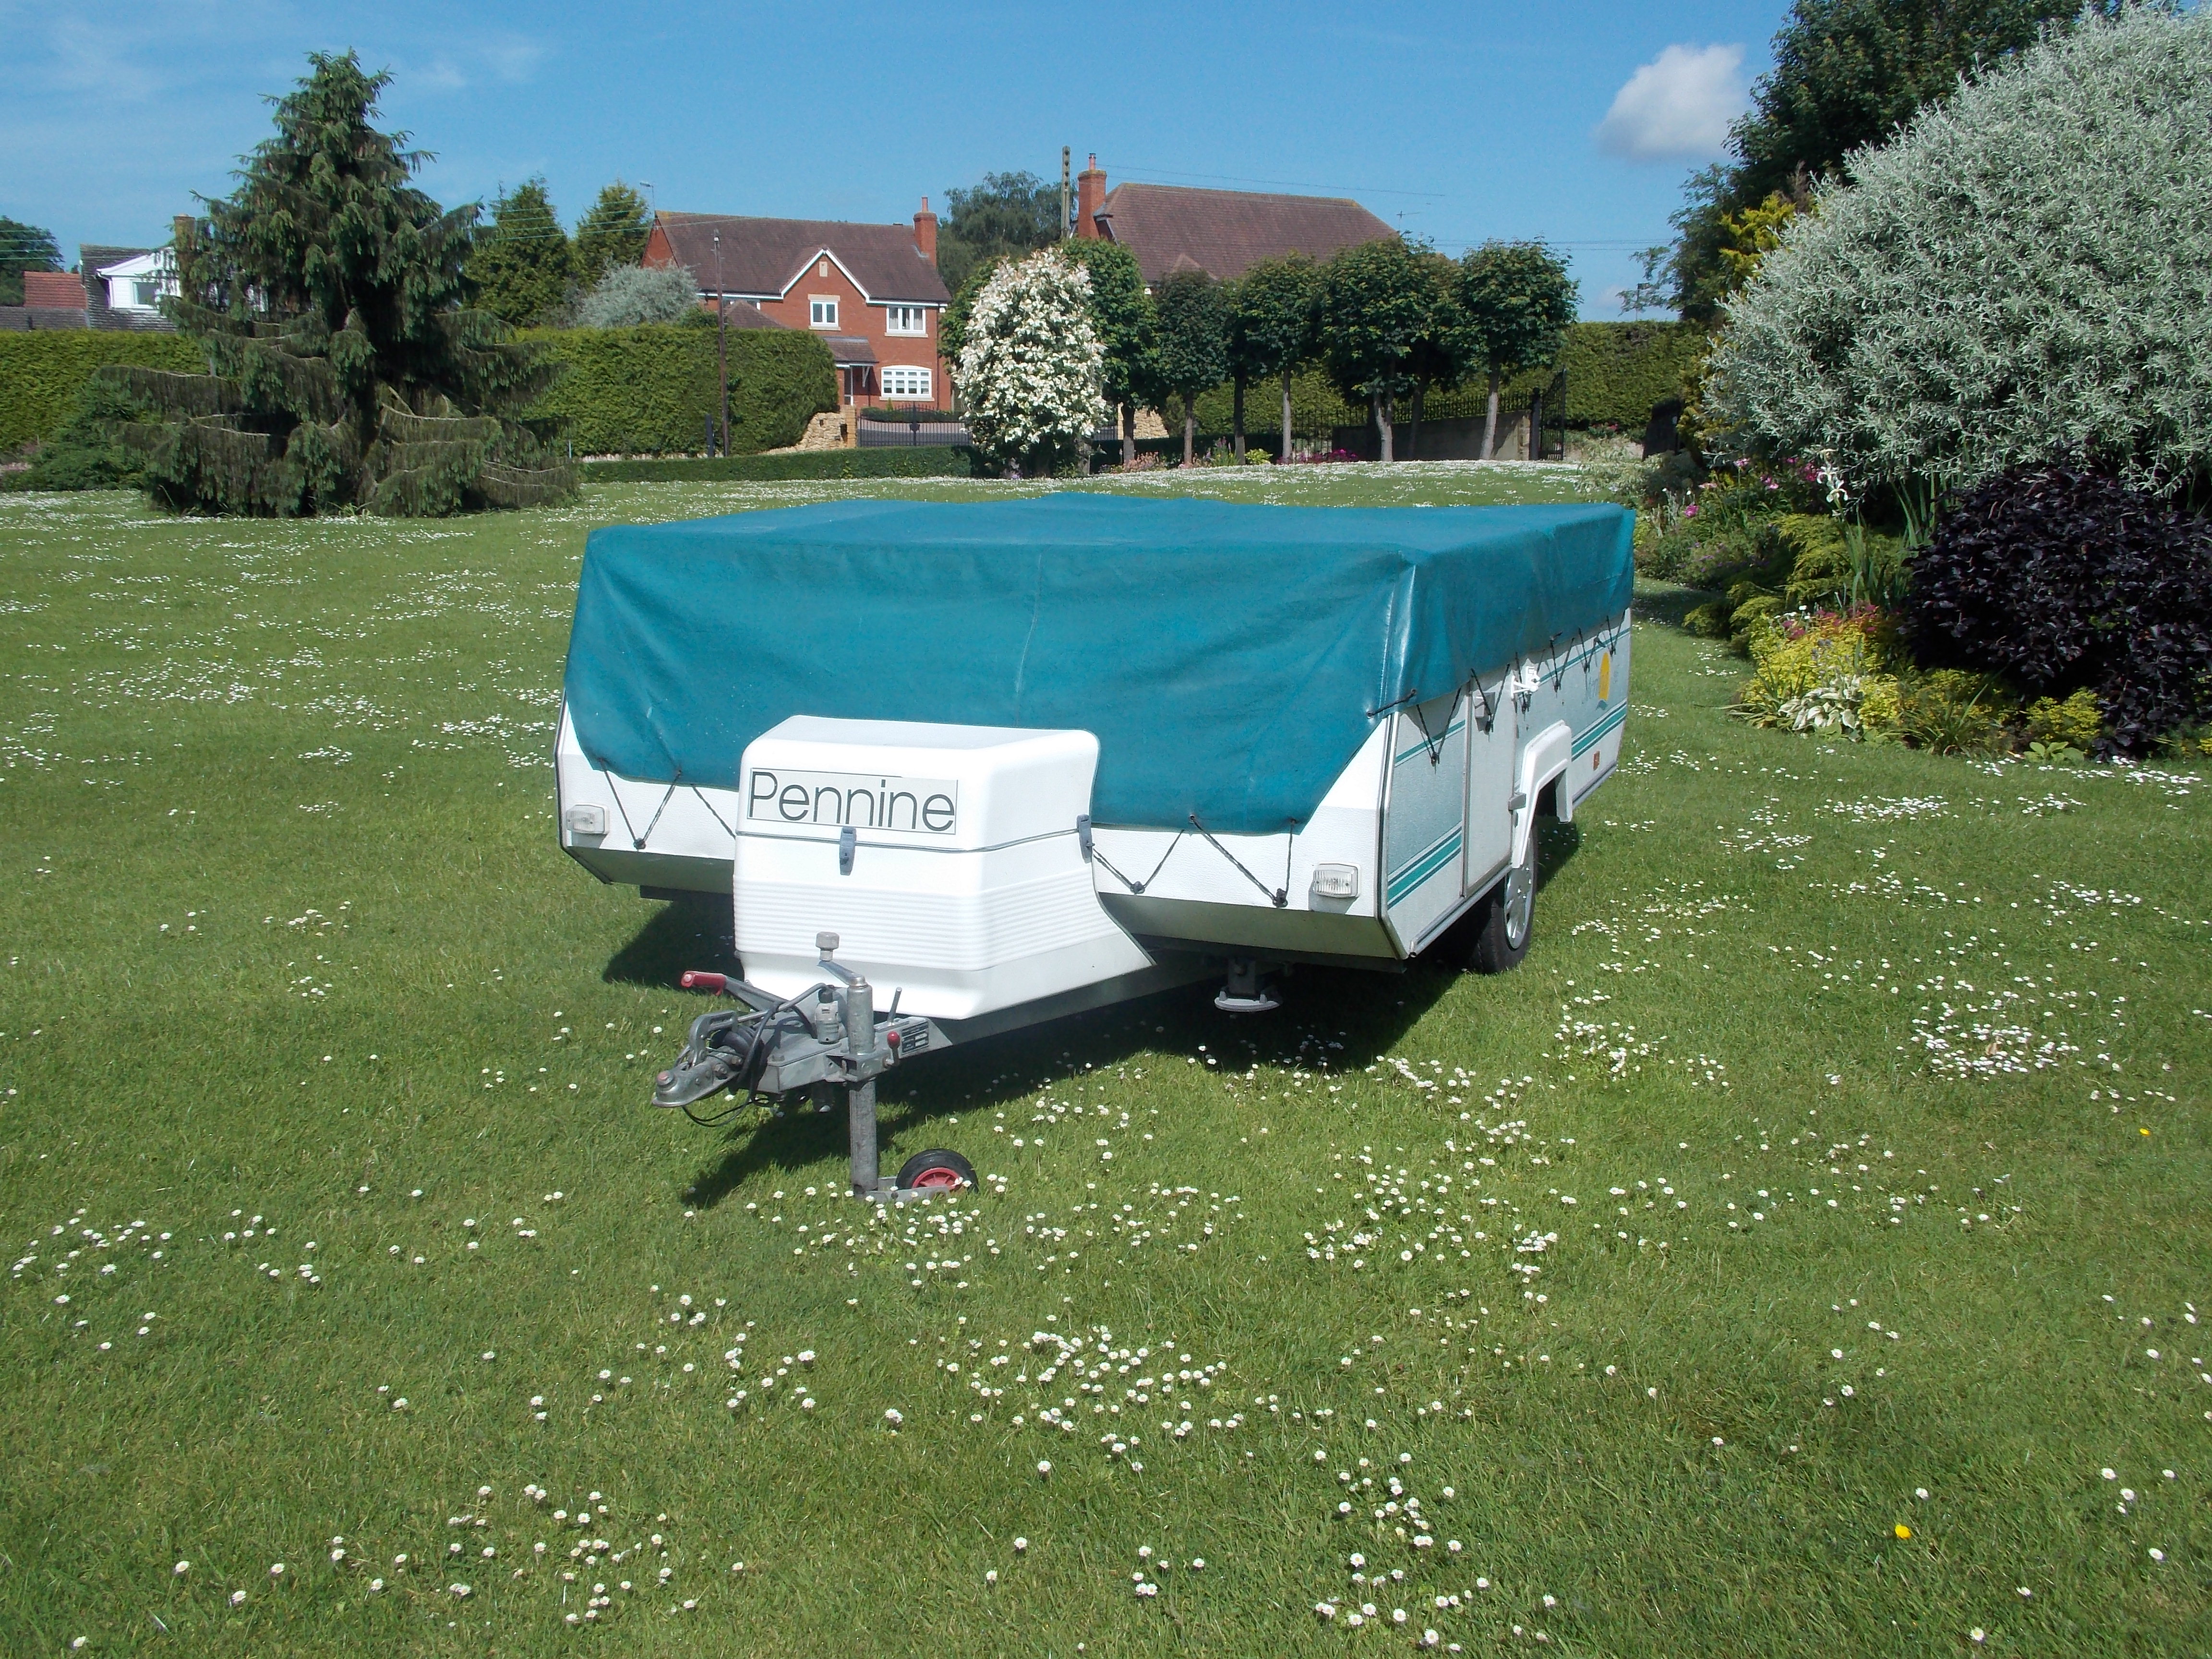
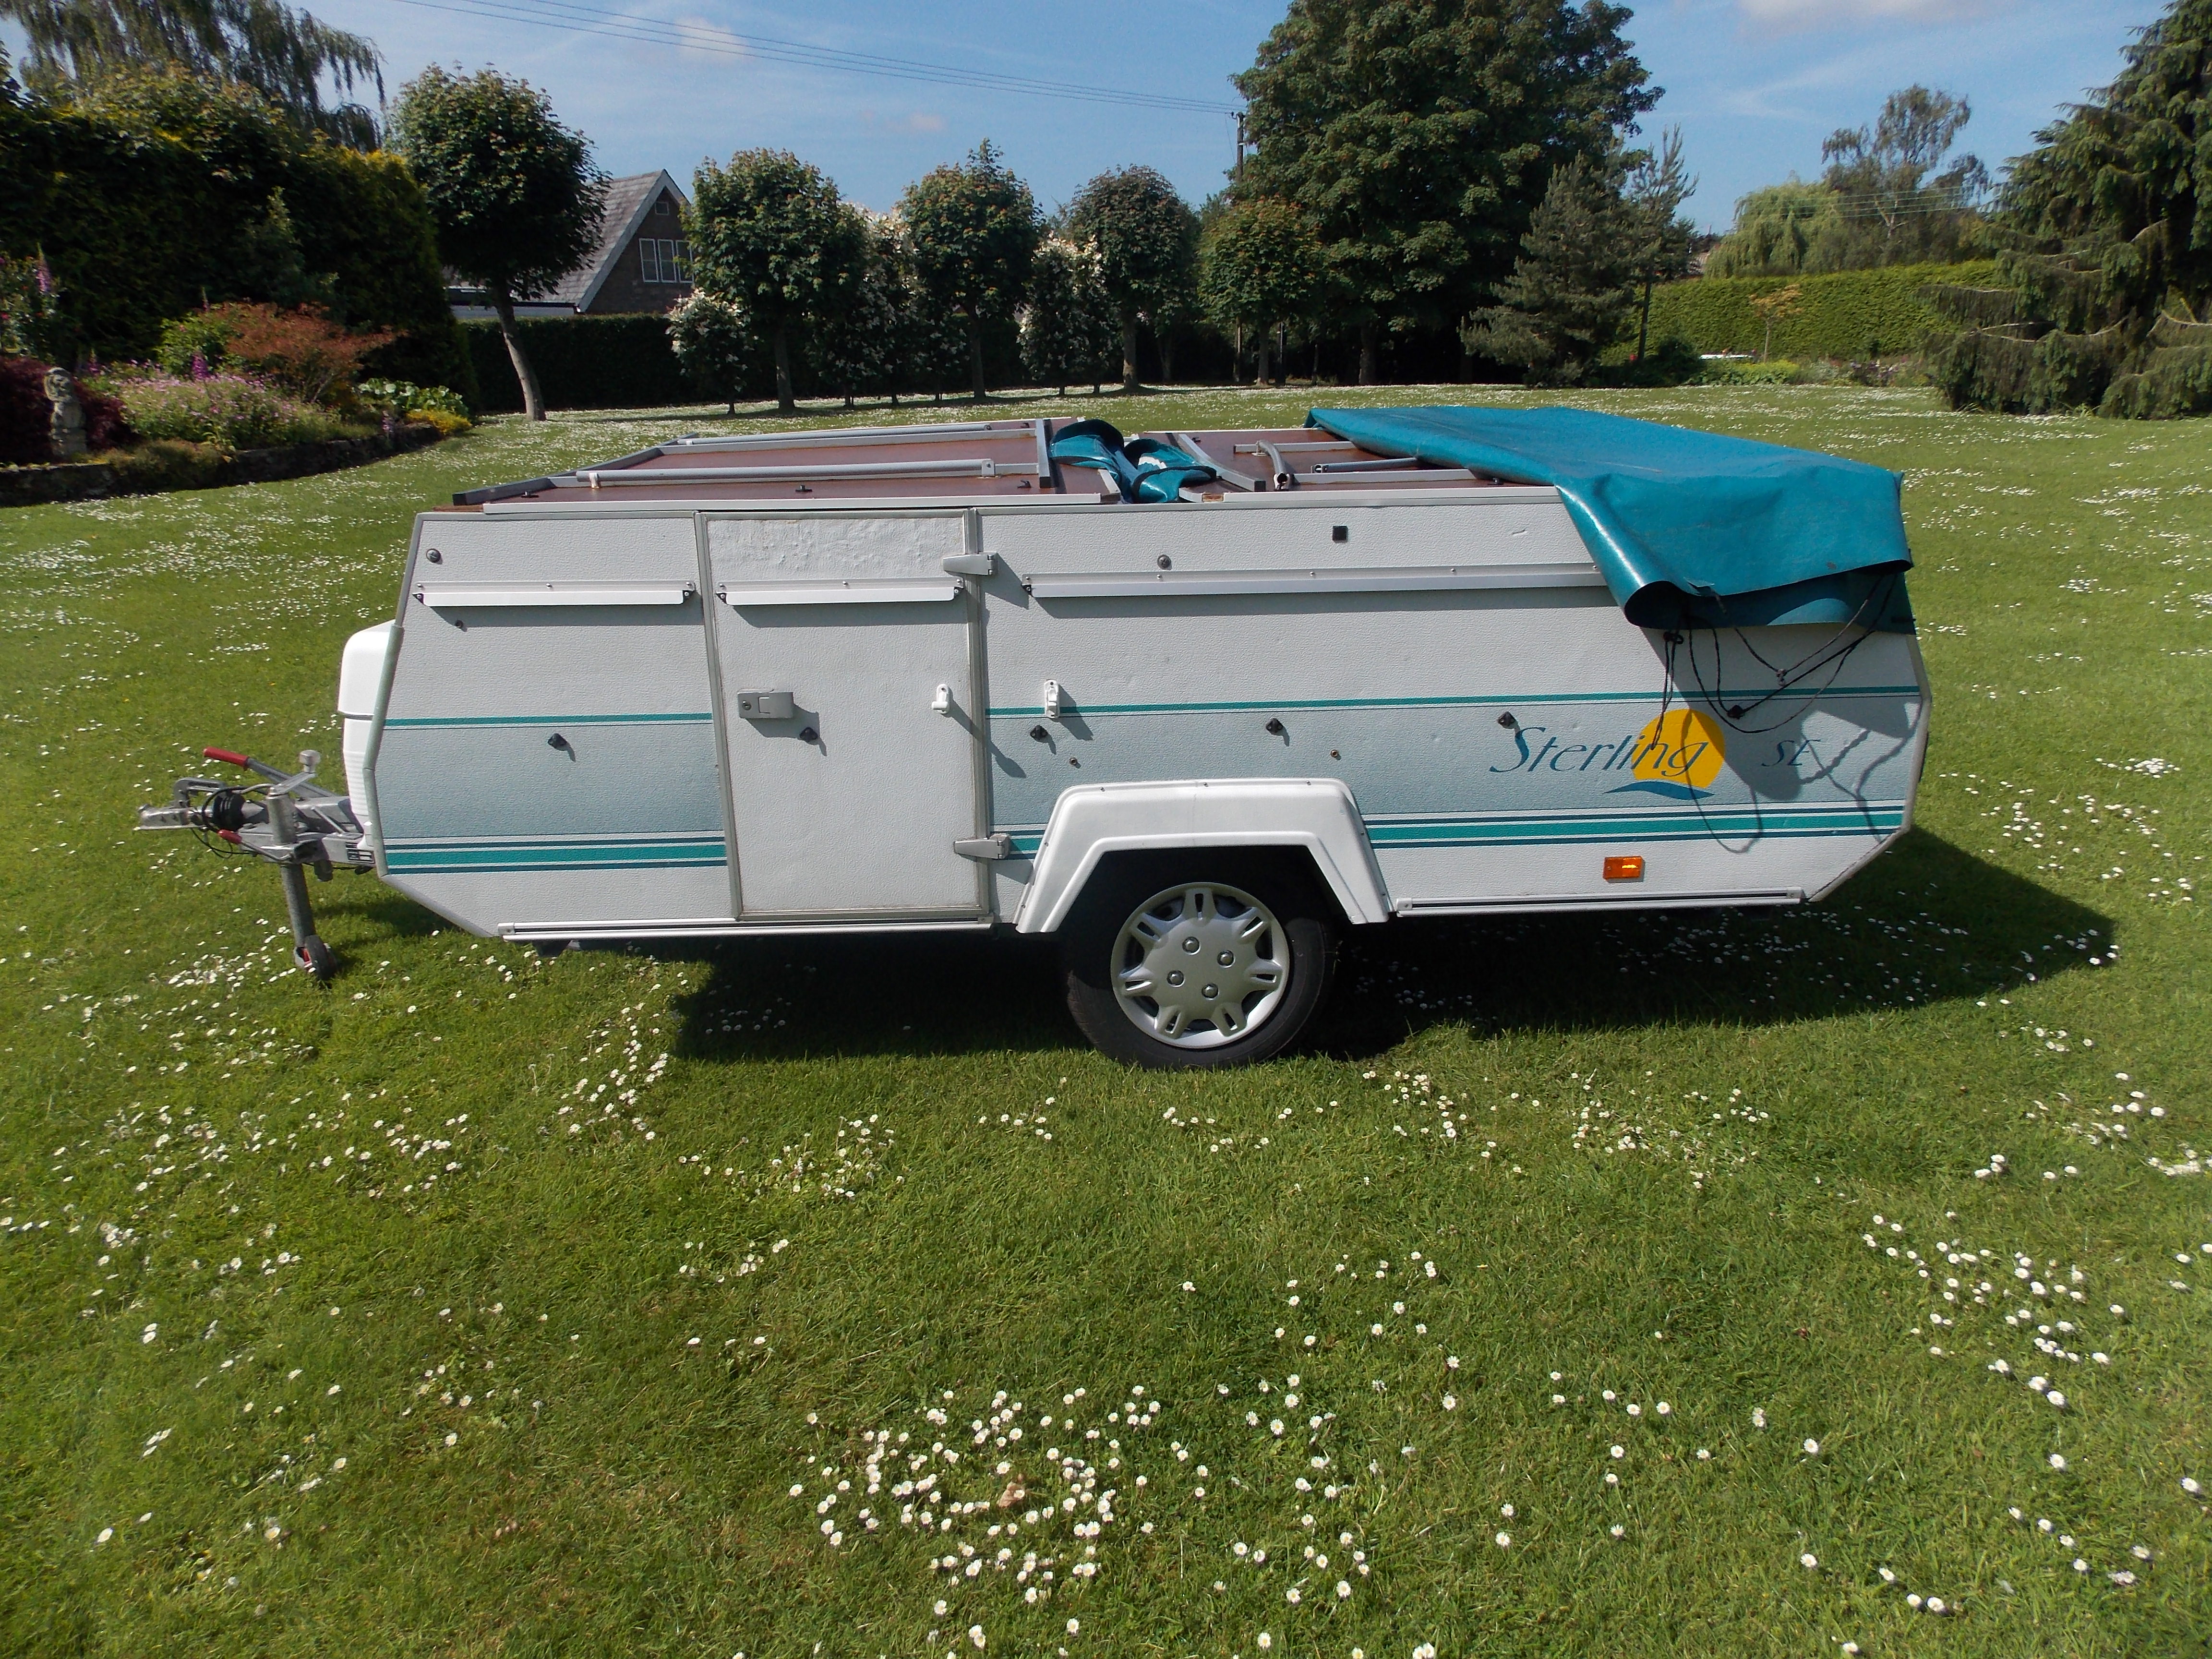
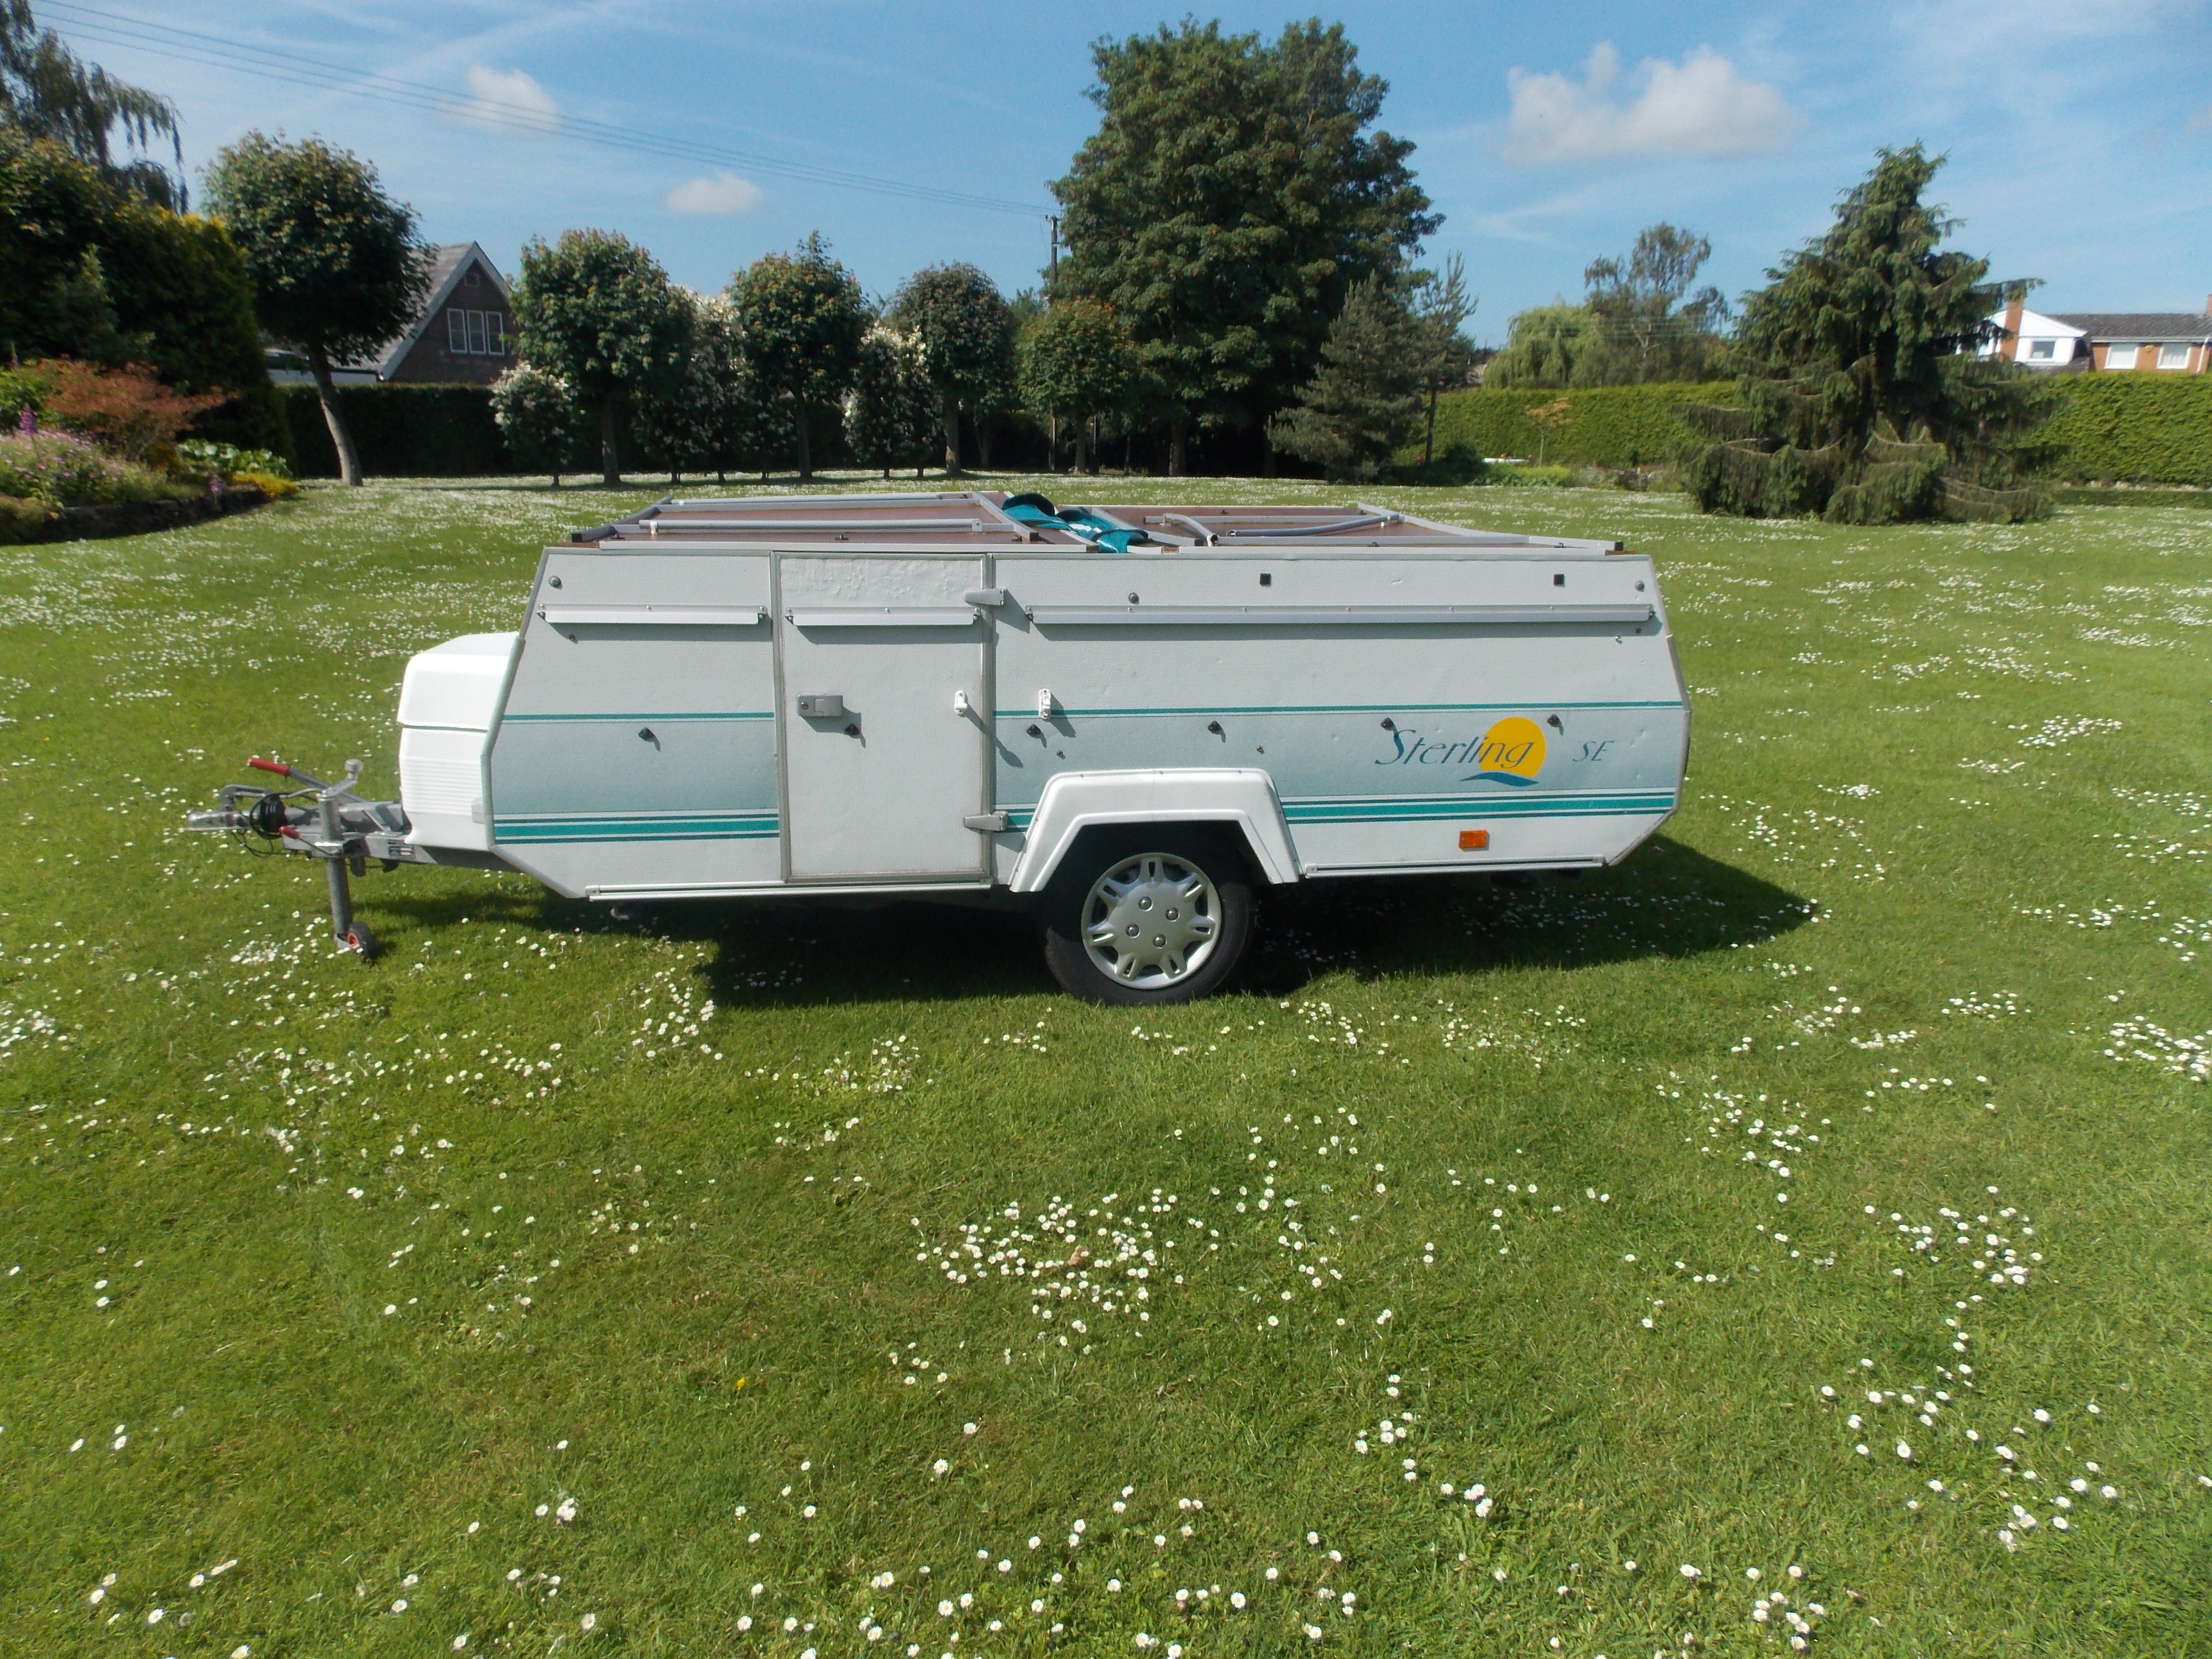
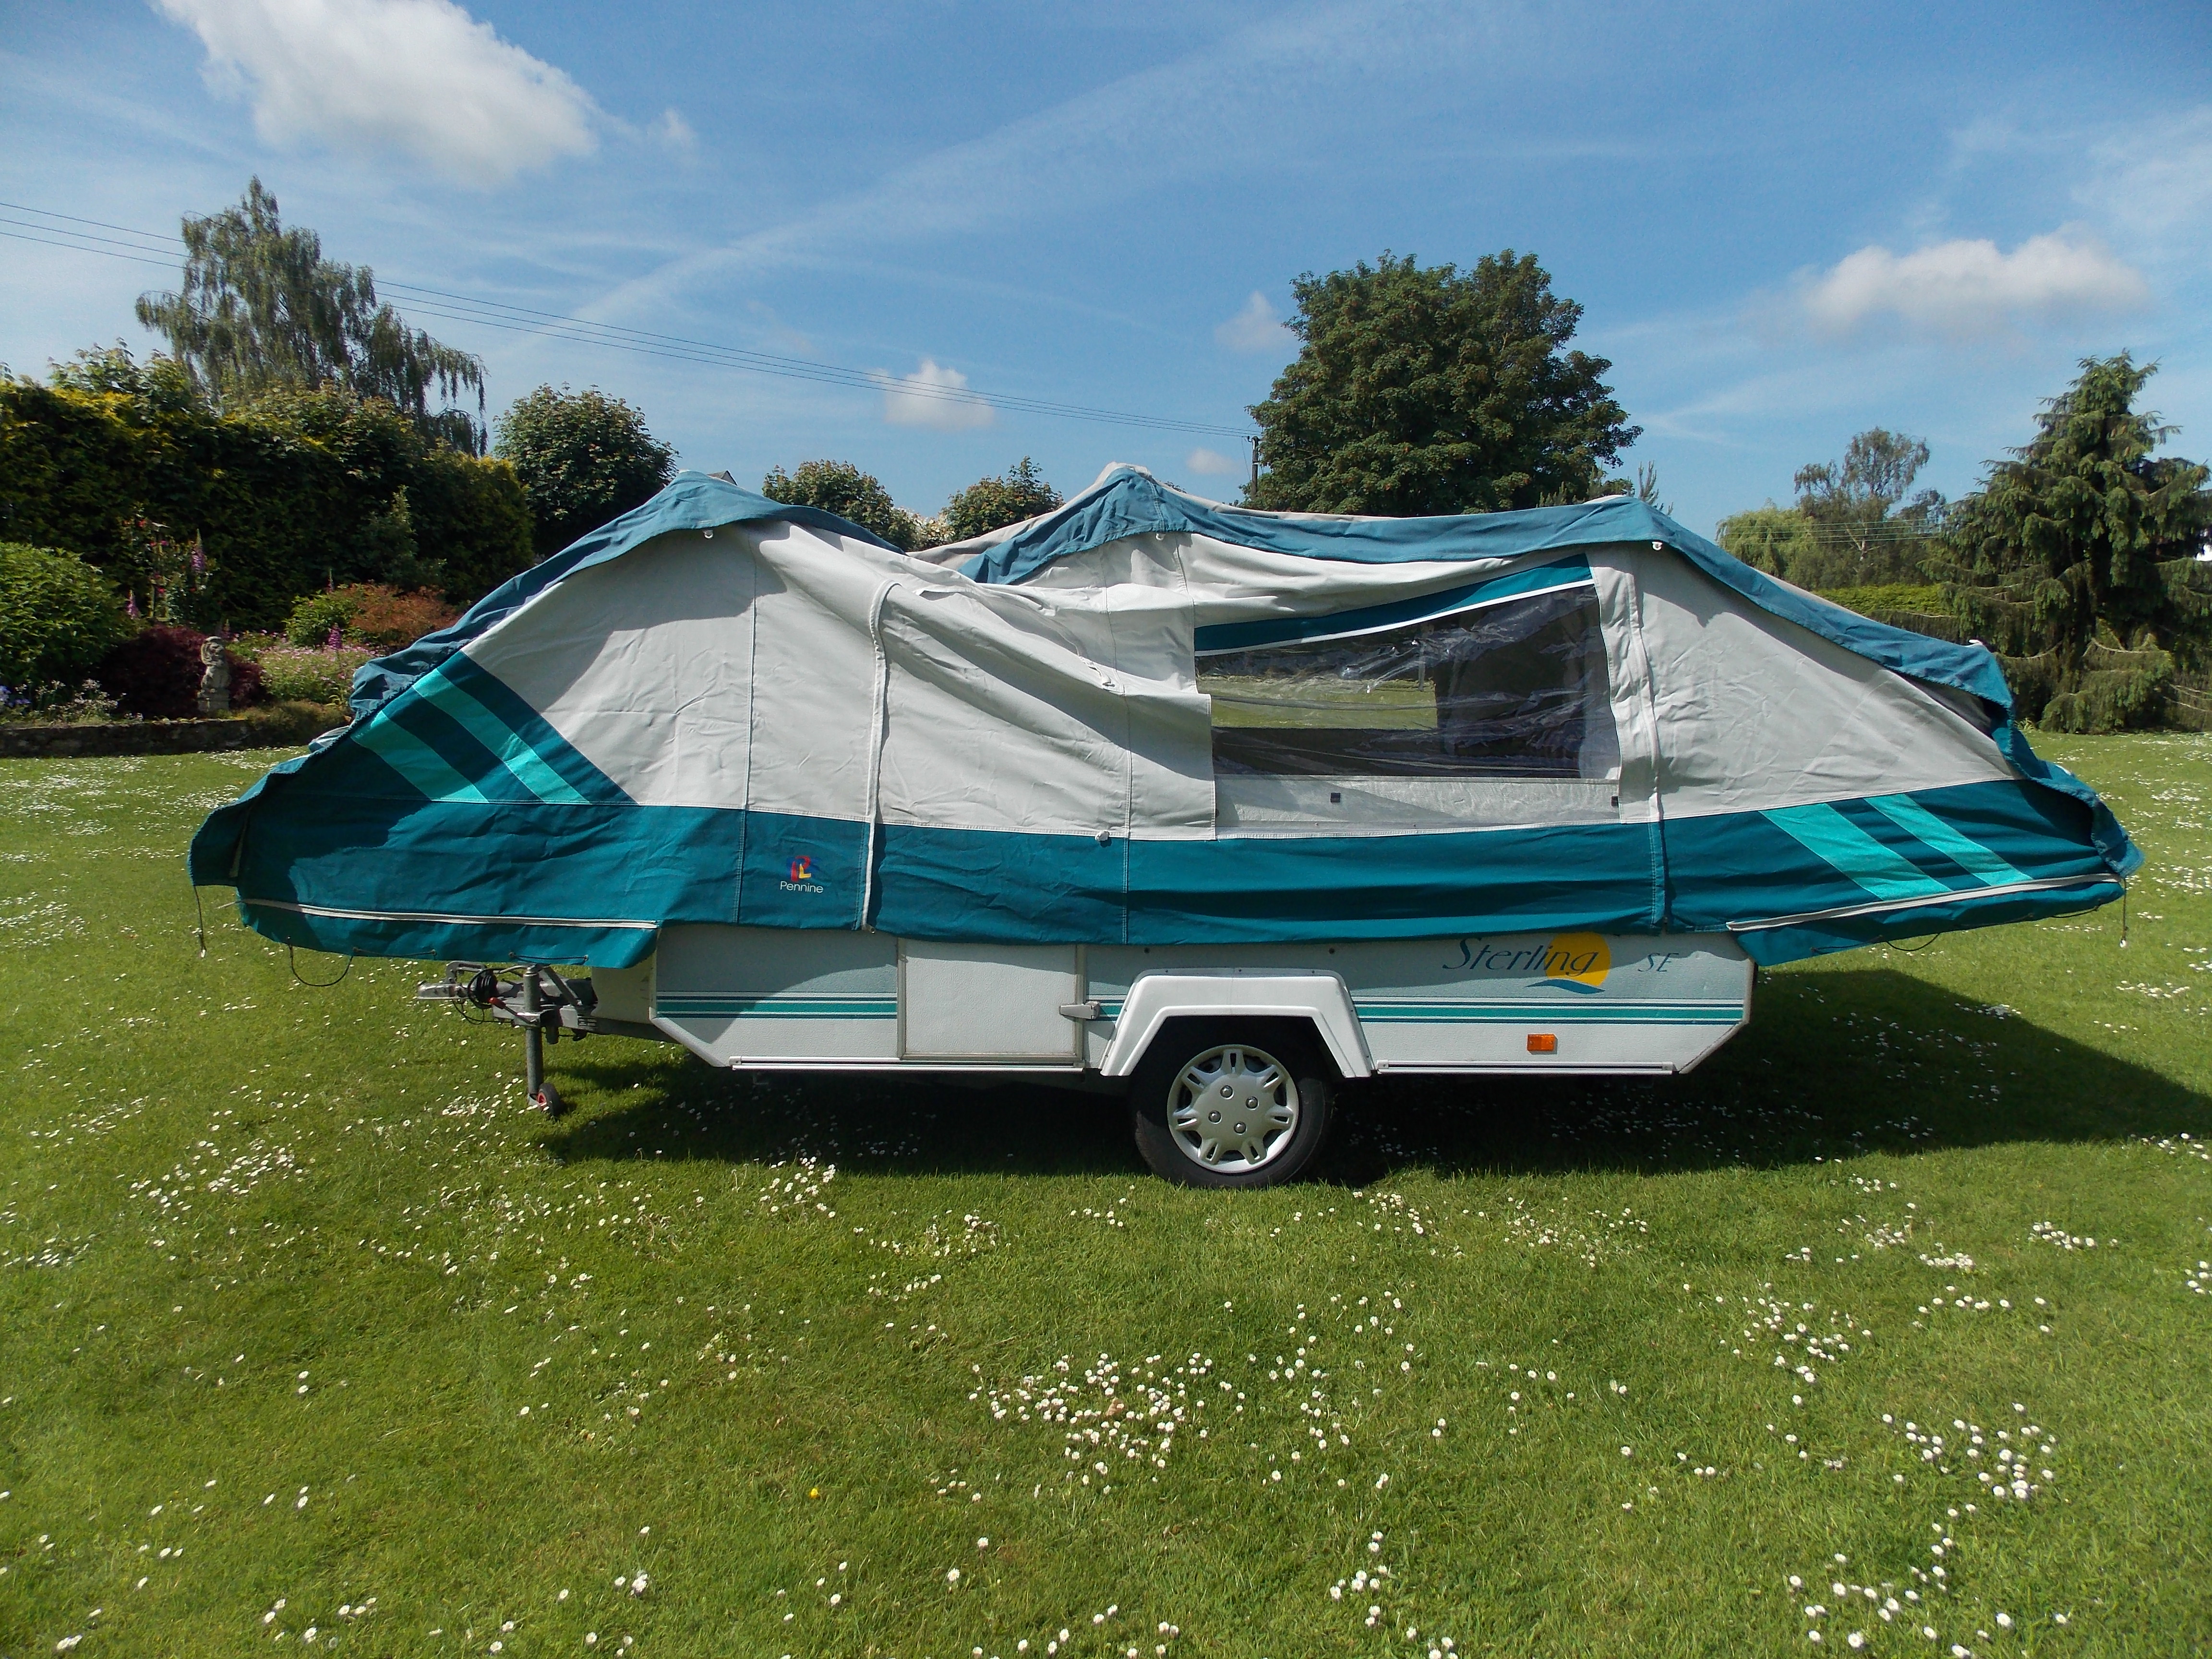
(1) Remove The Transit Cover
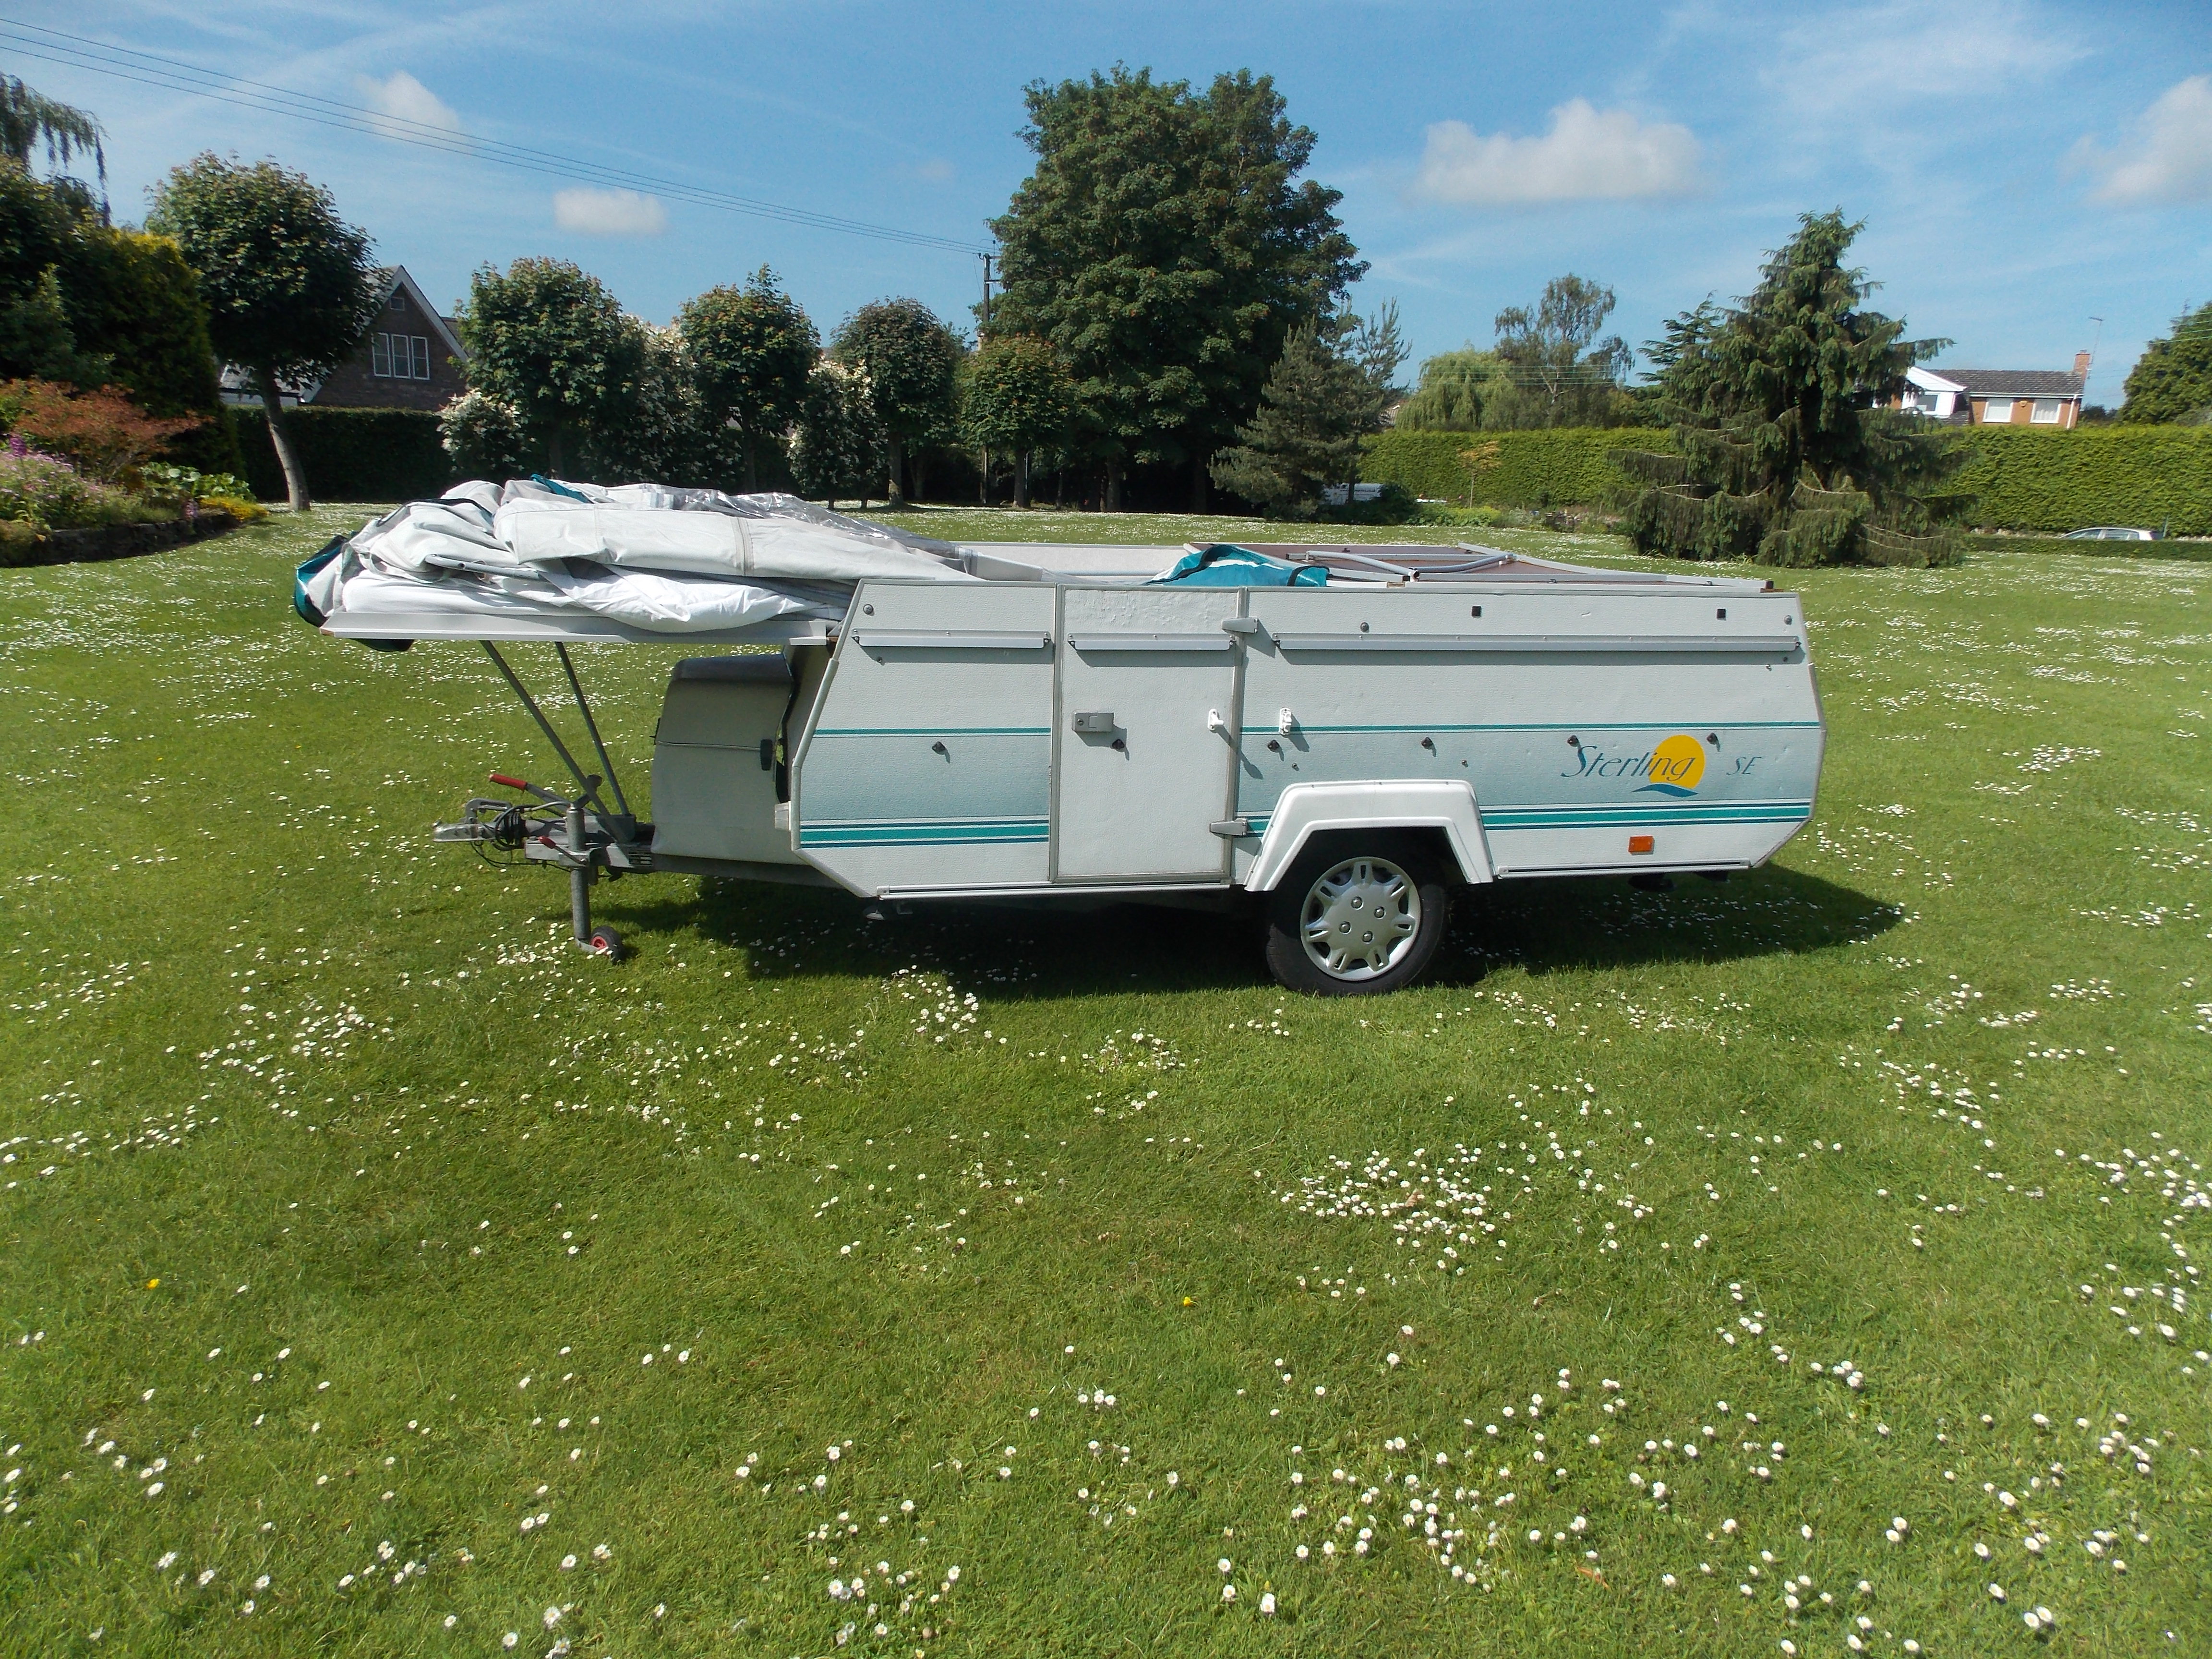
(2) Open Out First Bed
(3) Open Out Second Bed
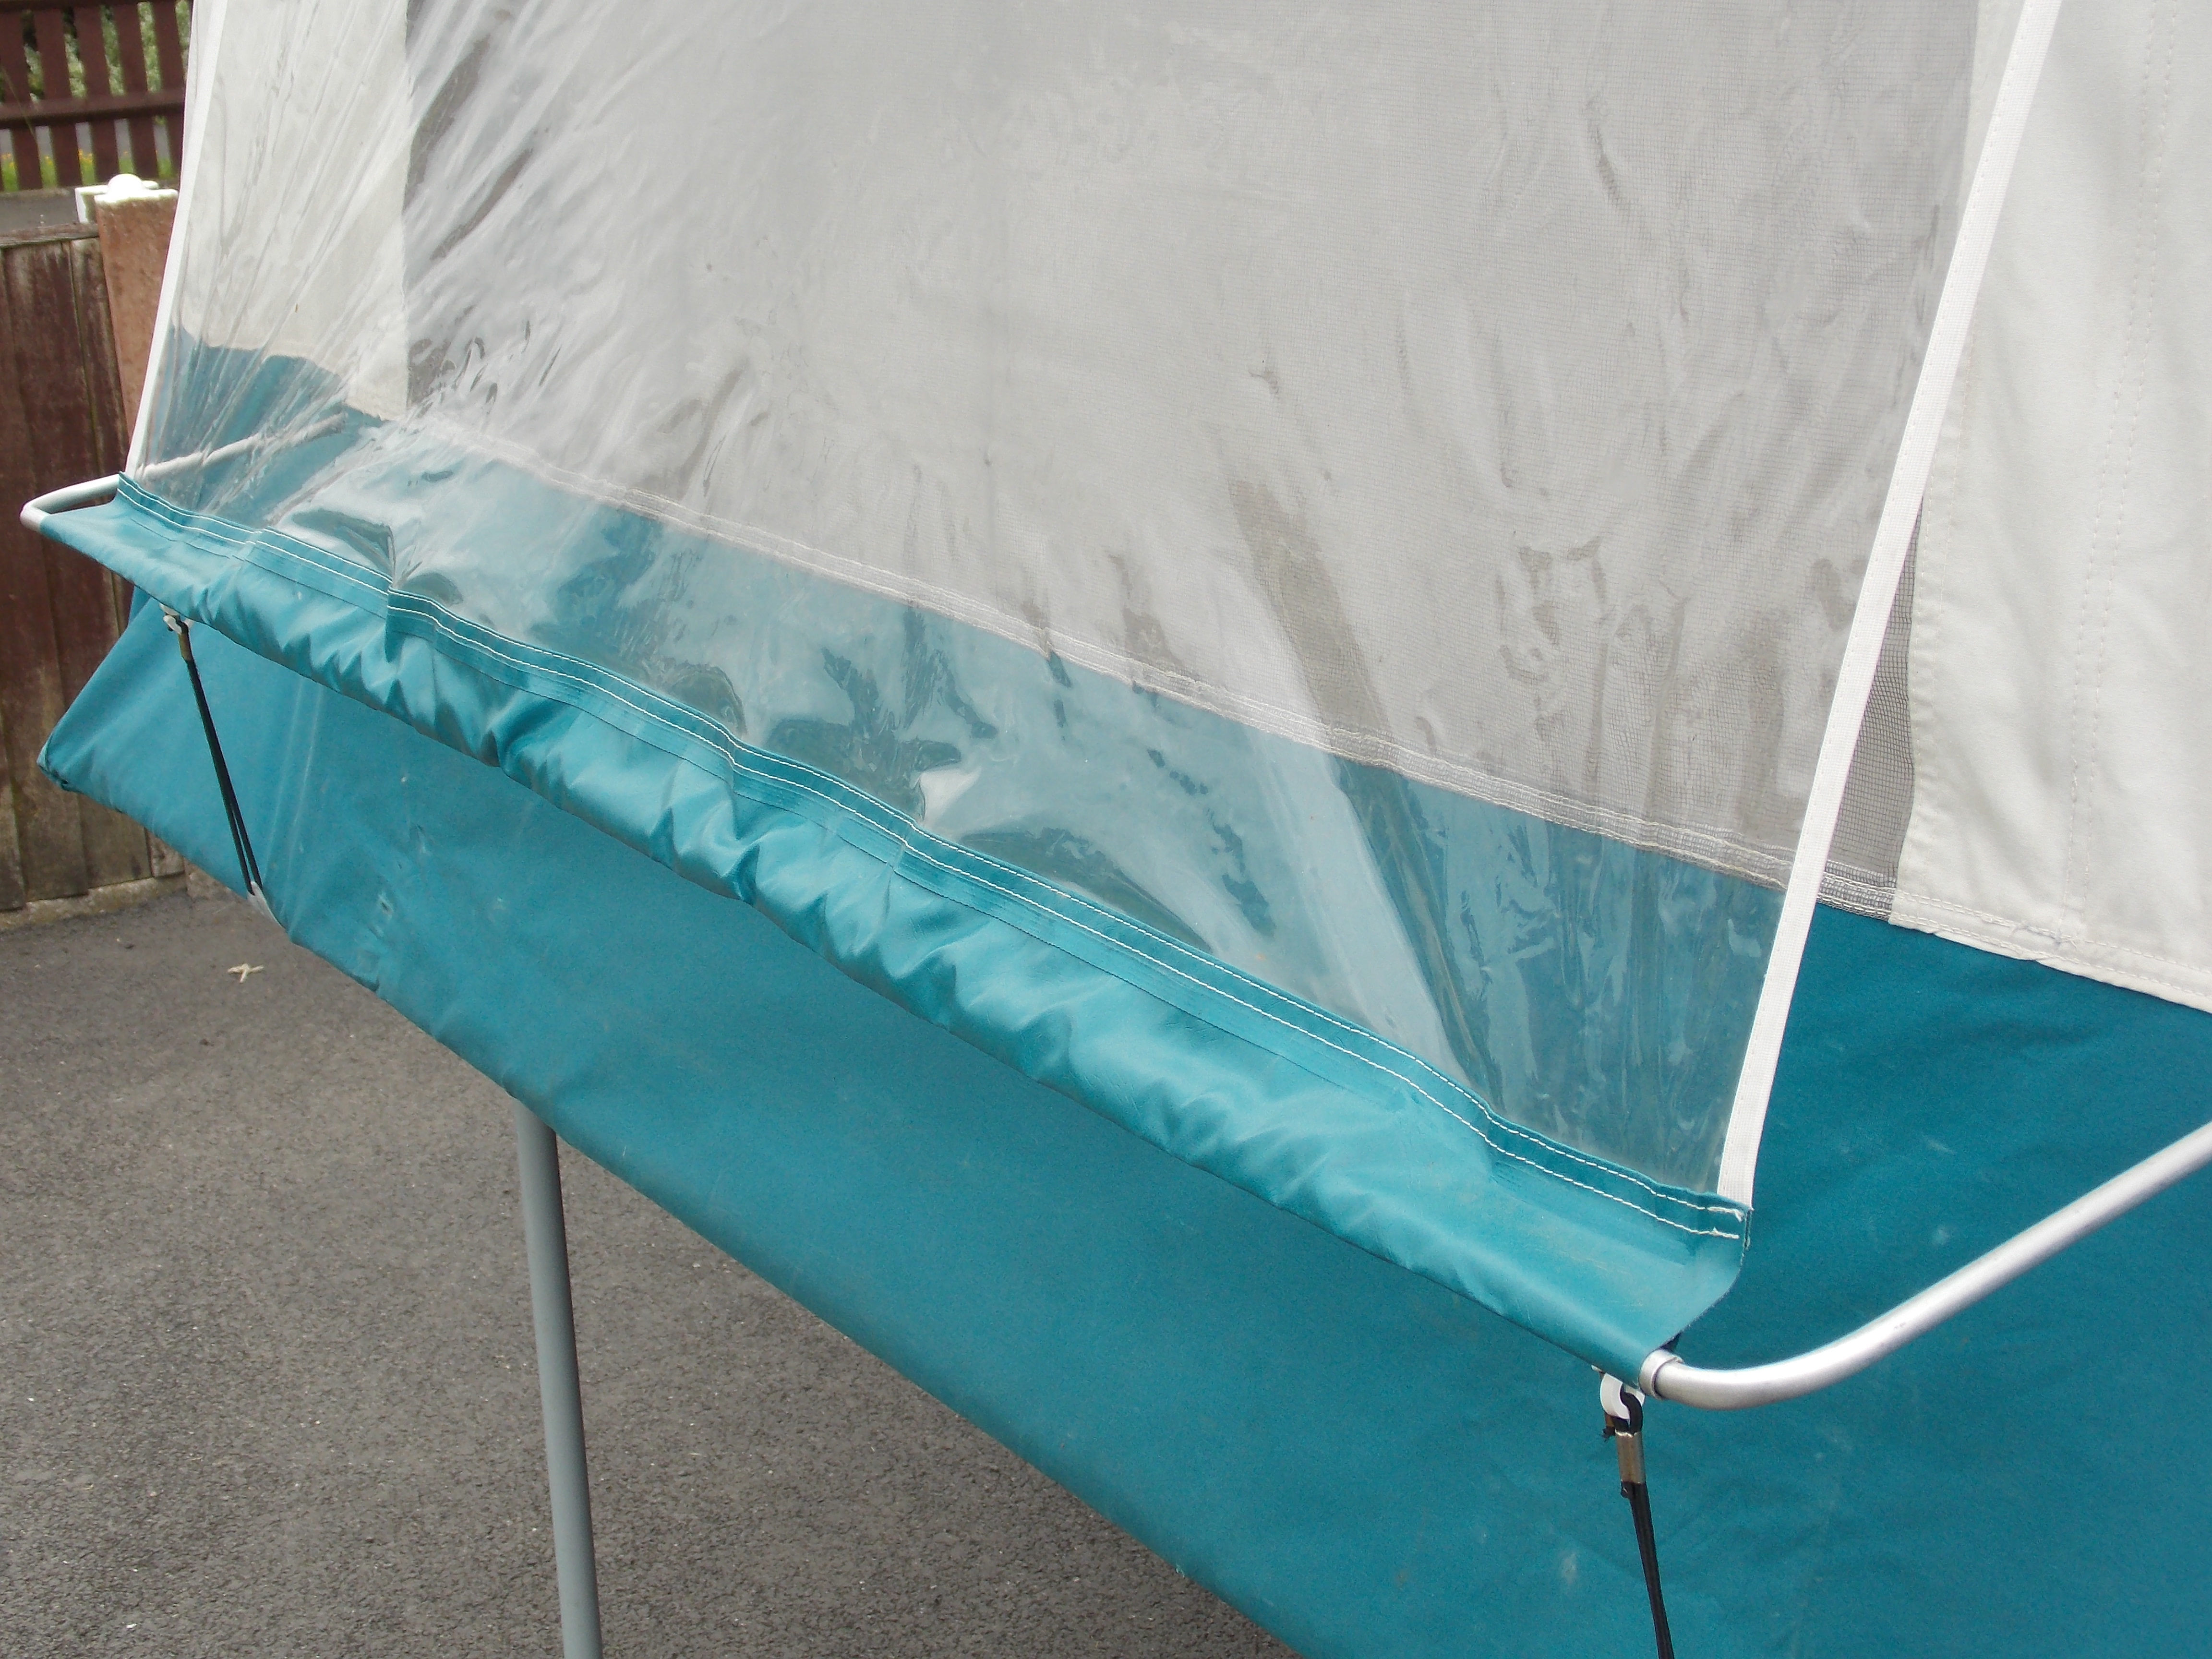
(4) Roll Down Canvas Sides
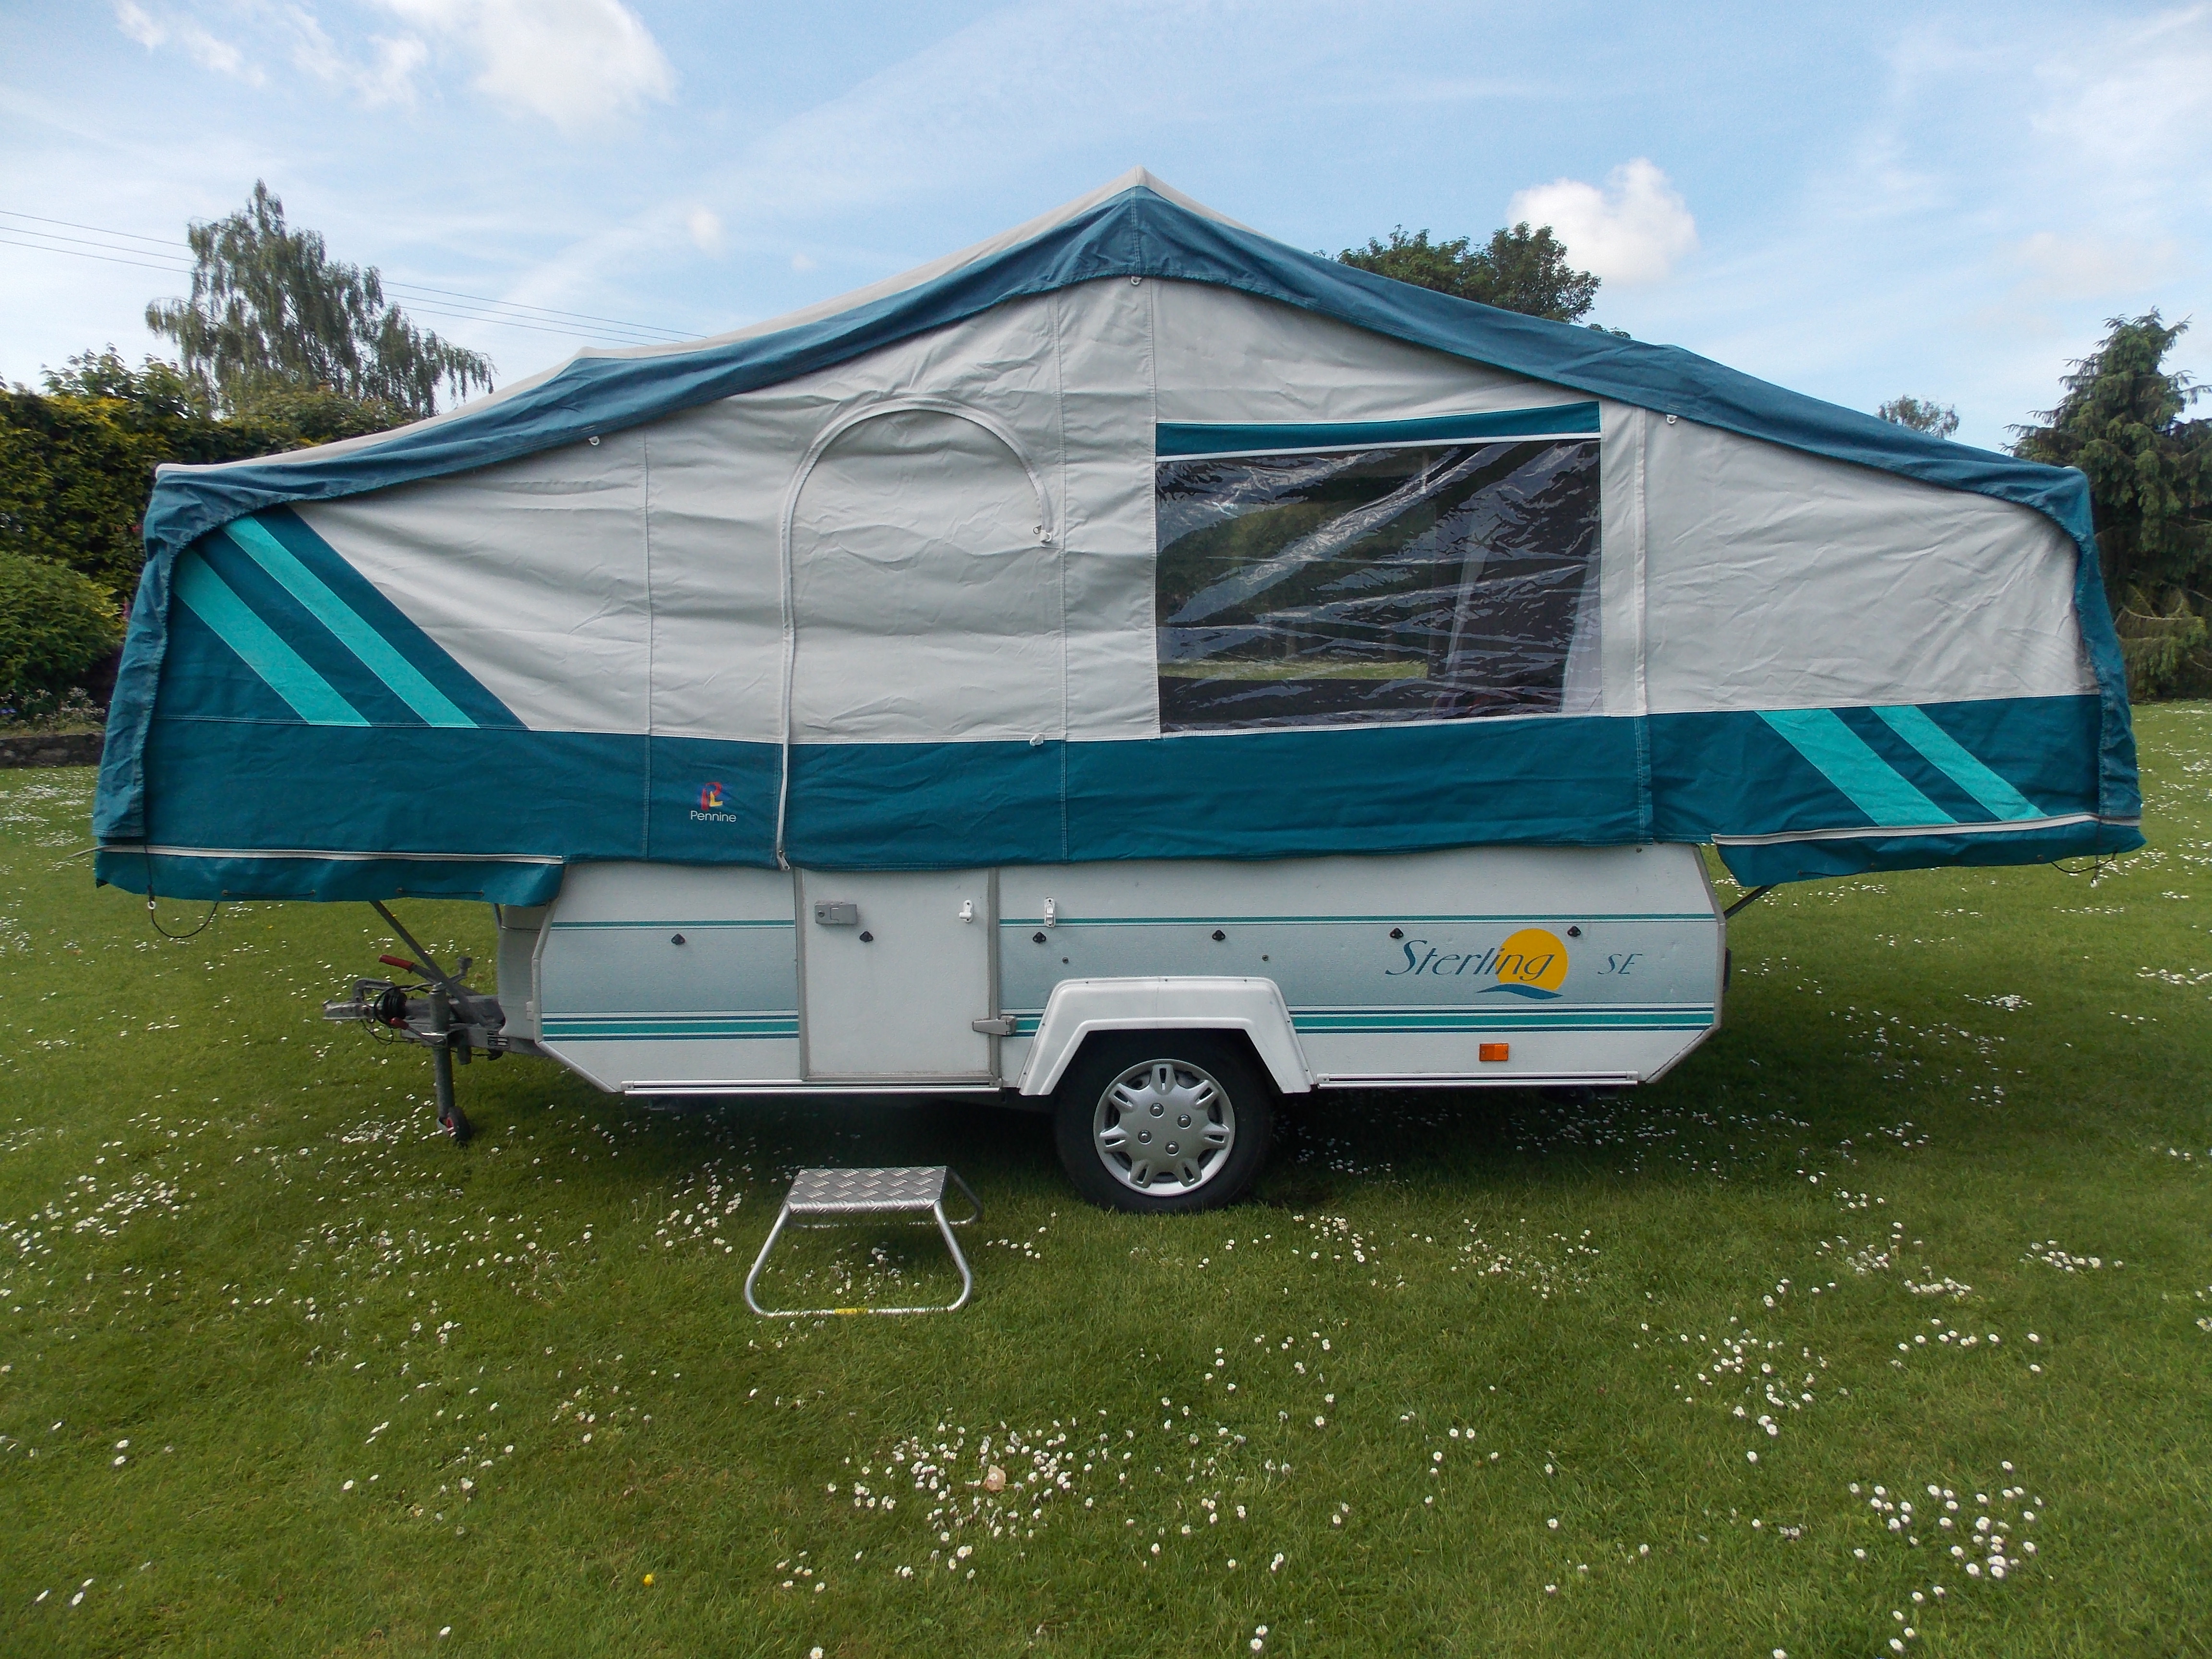
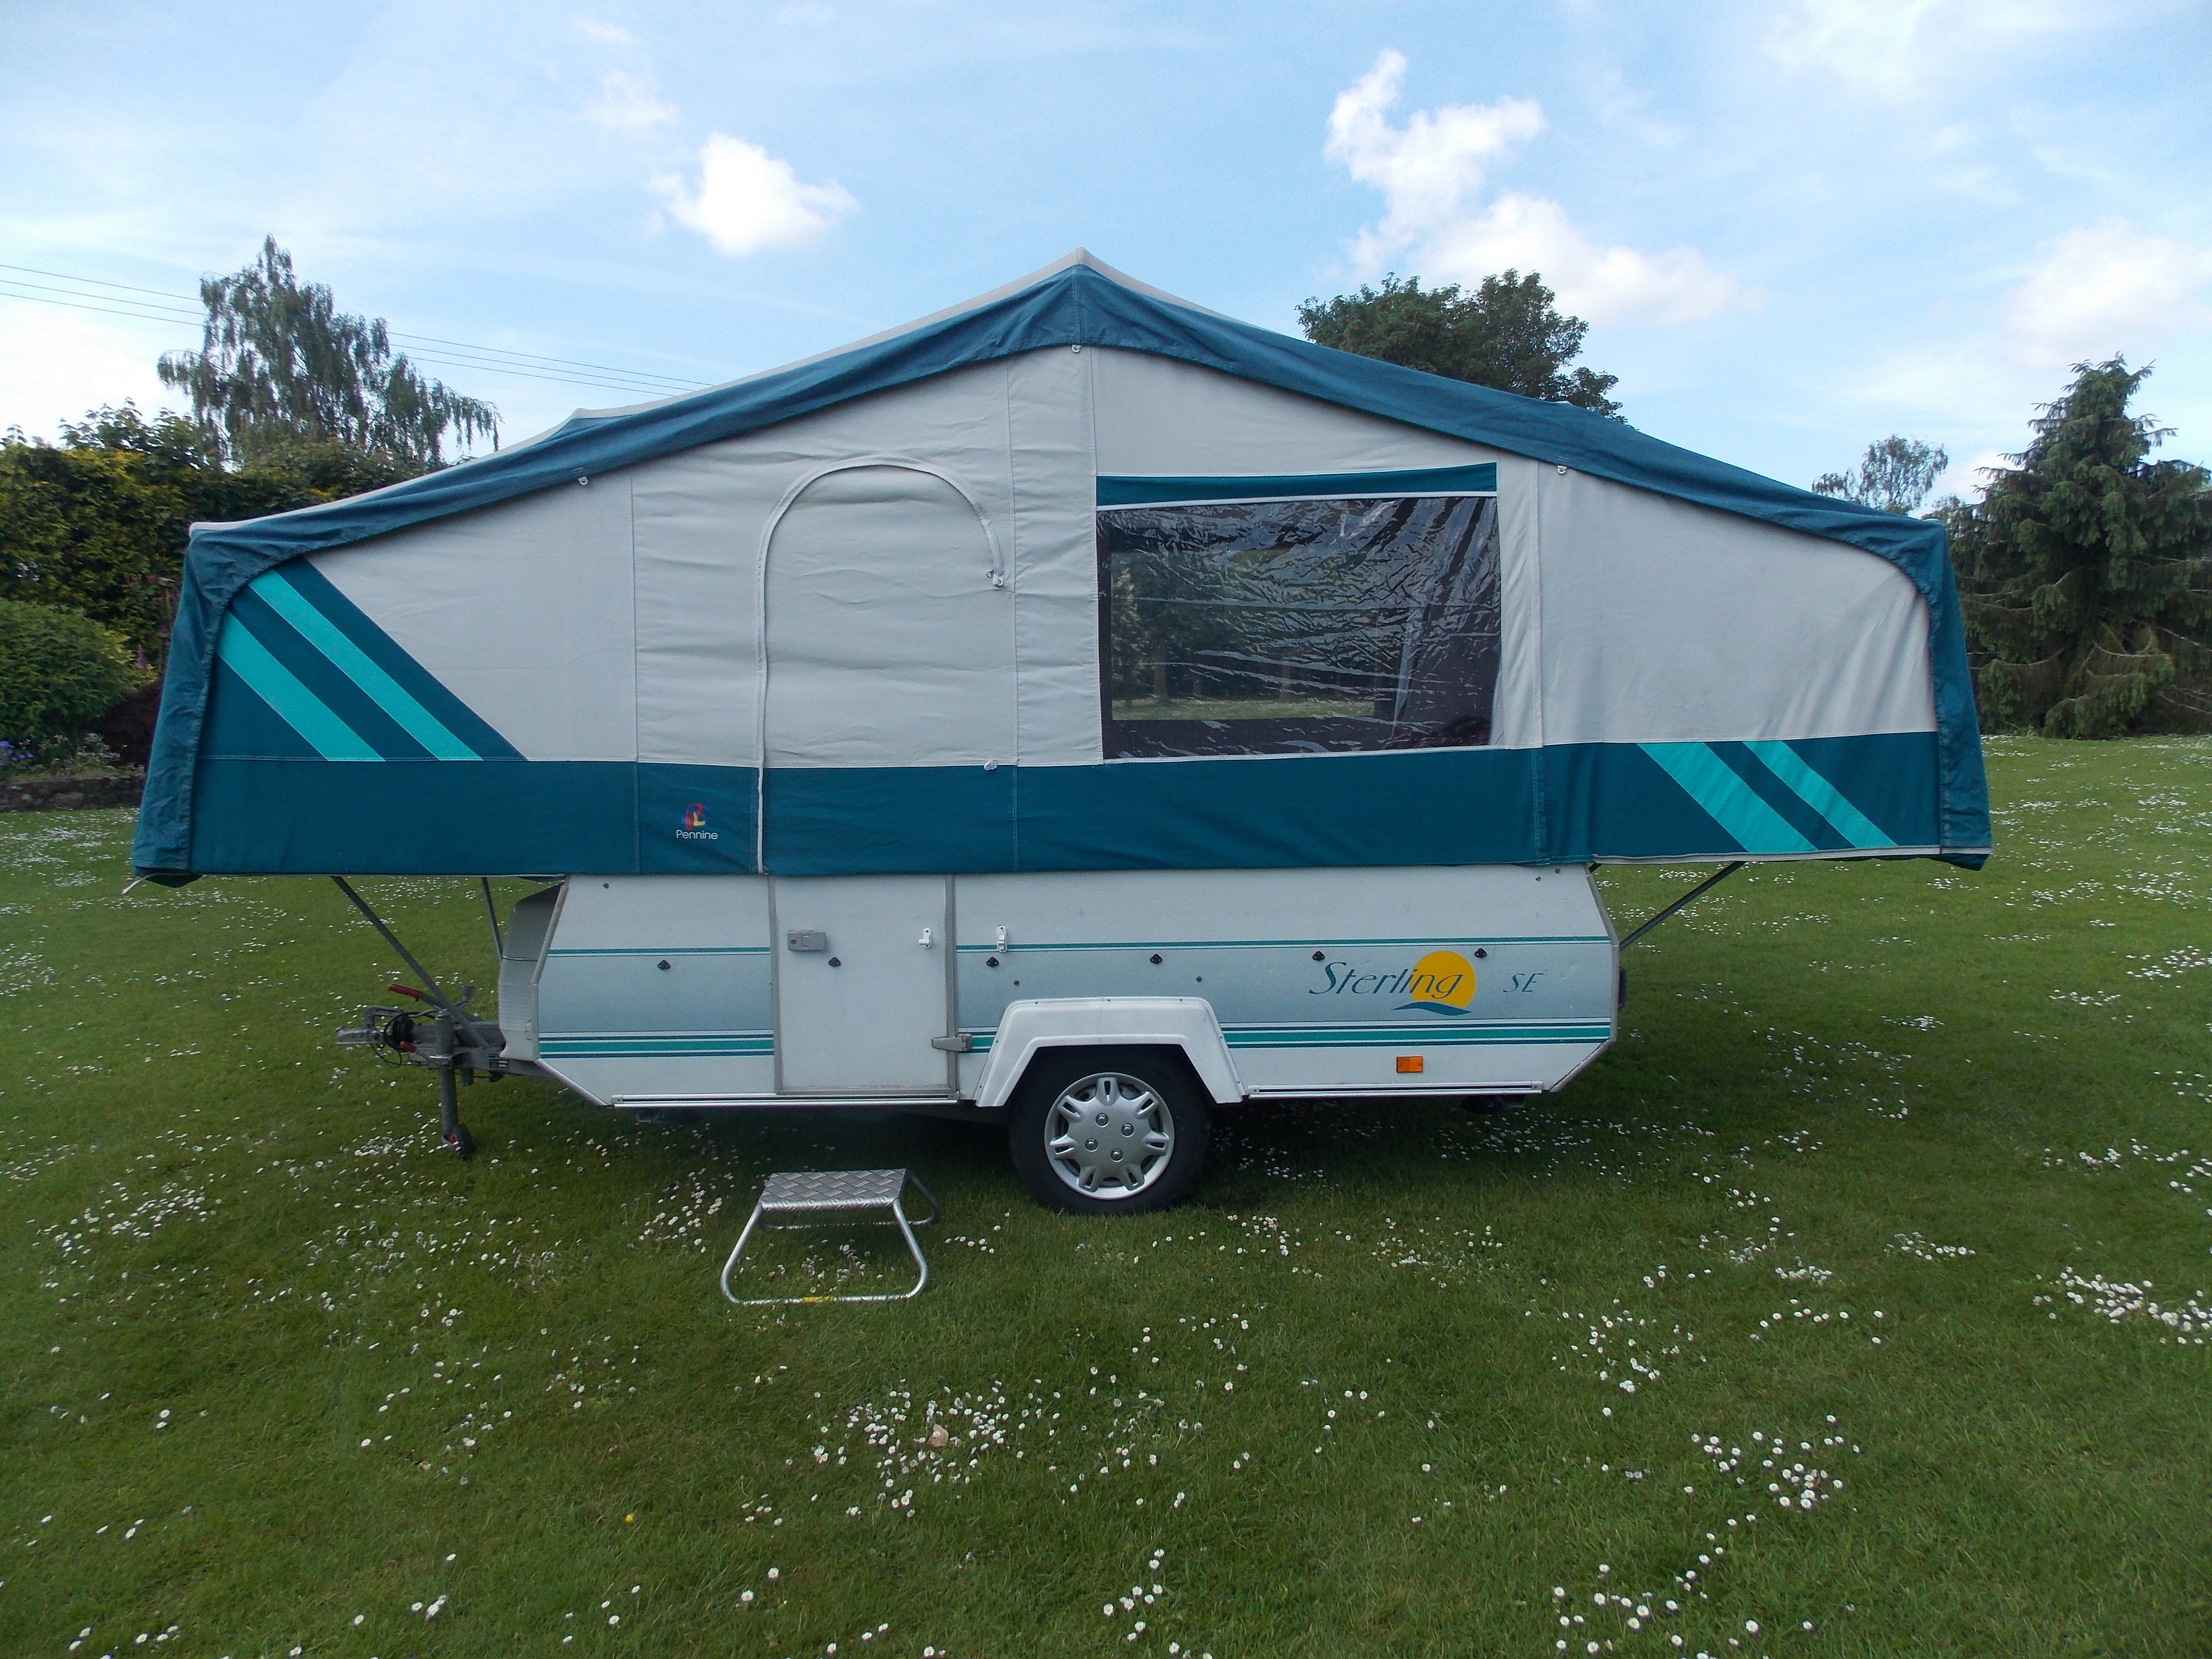
(5) Push Up All Poles To First Notch
(6) Attach Canvas With Velcros Strips & Bungee Cord & Extend Poles To fully Tension Canvas
(7) Open Side Panel (If Required)
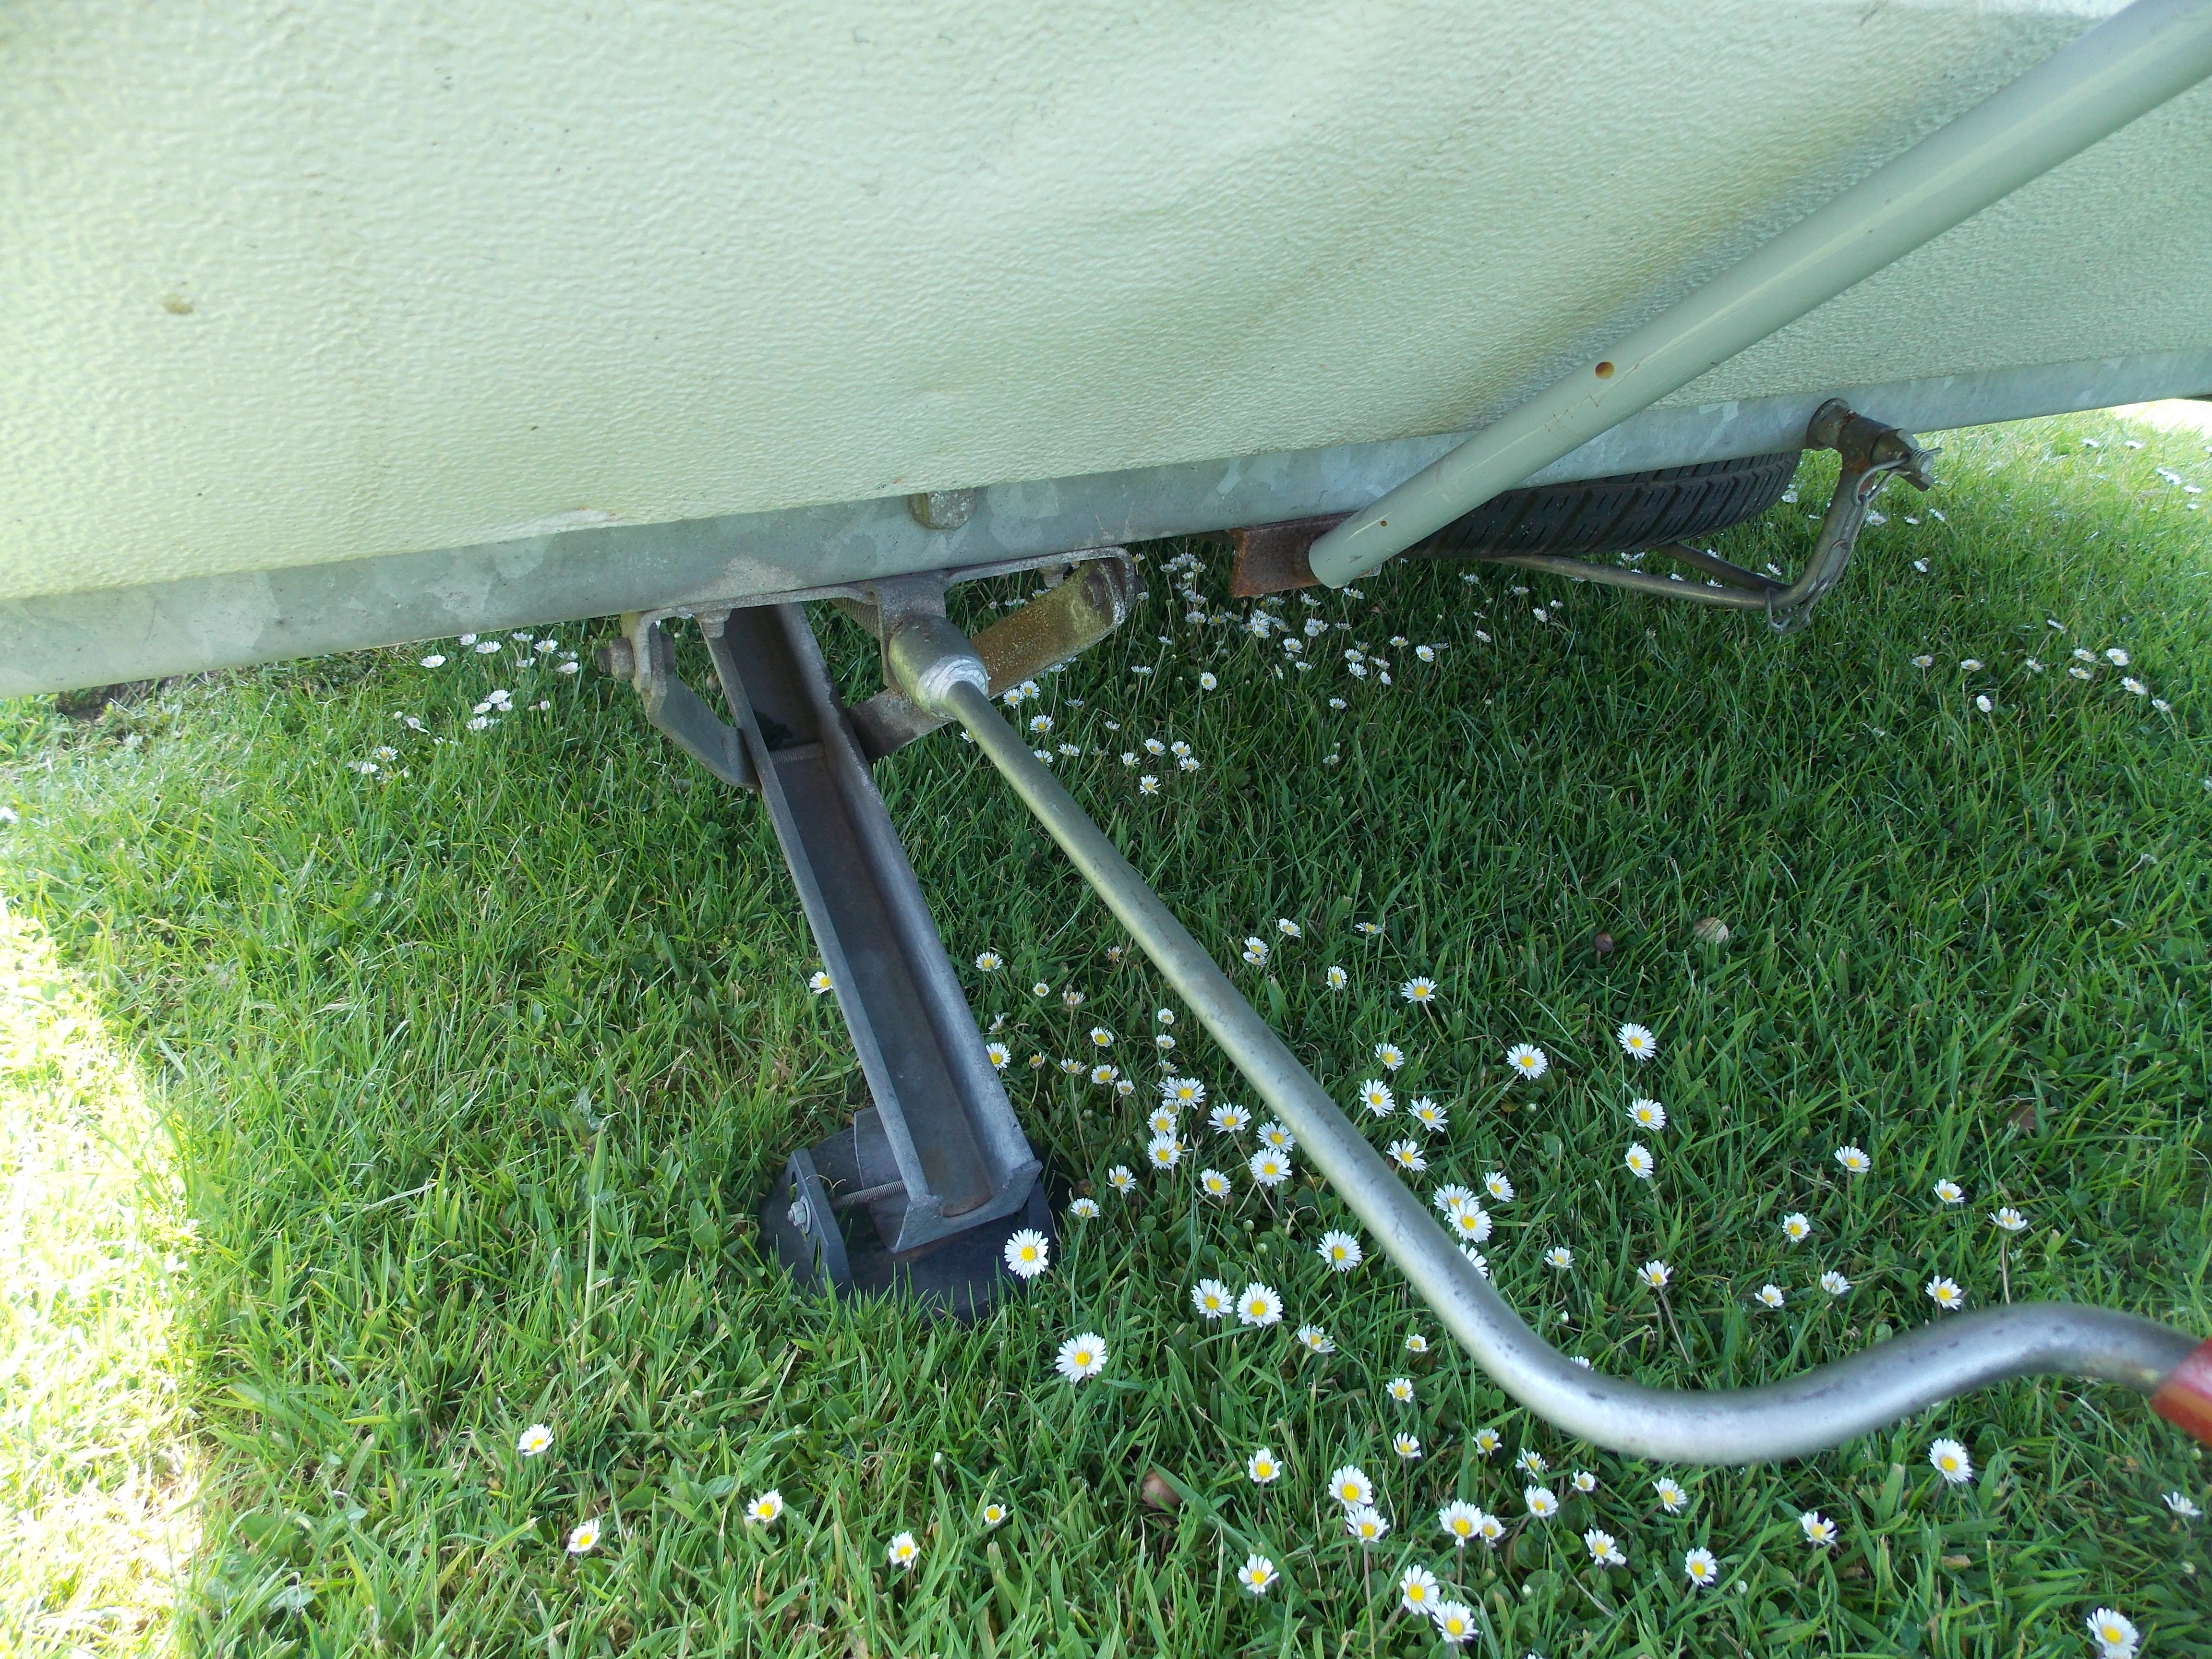
(8) Lower Corner Steadies
(9) Set Up Interior (Sequence May Vary)
(10) Set Up Penn-Vent System
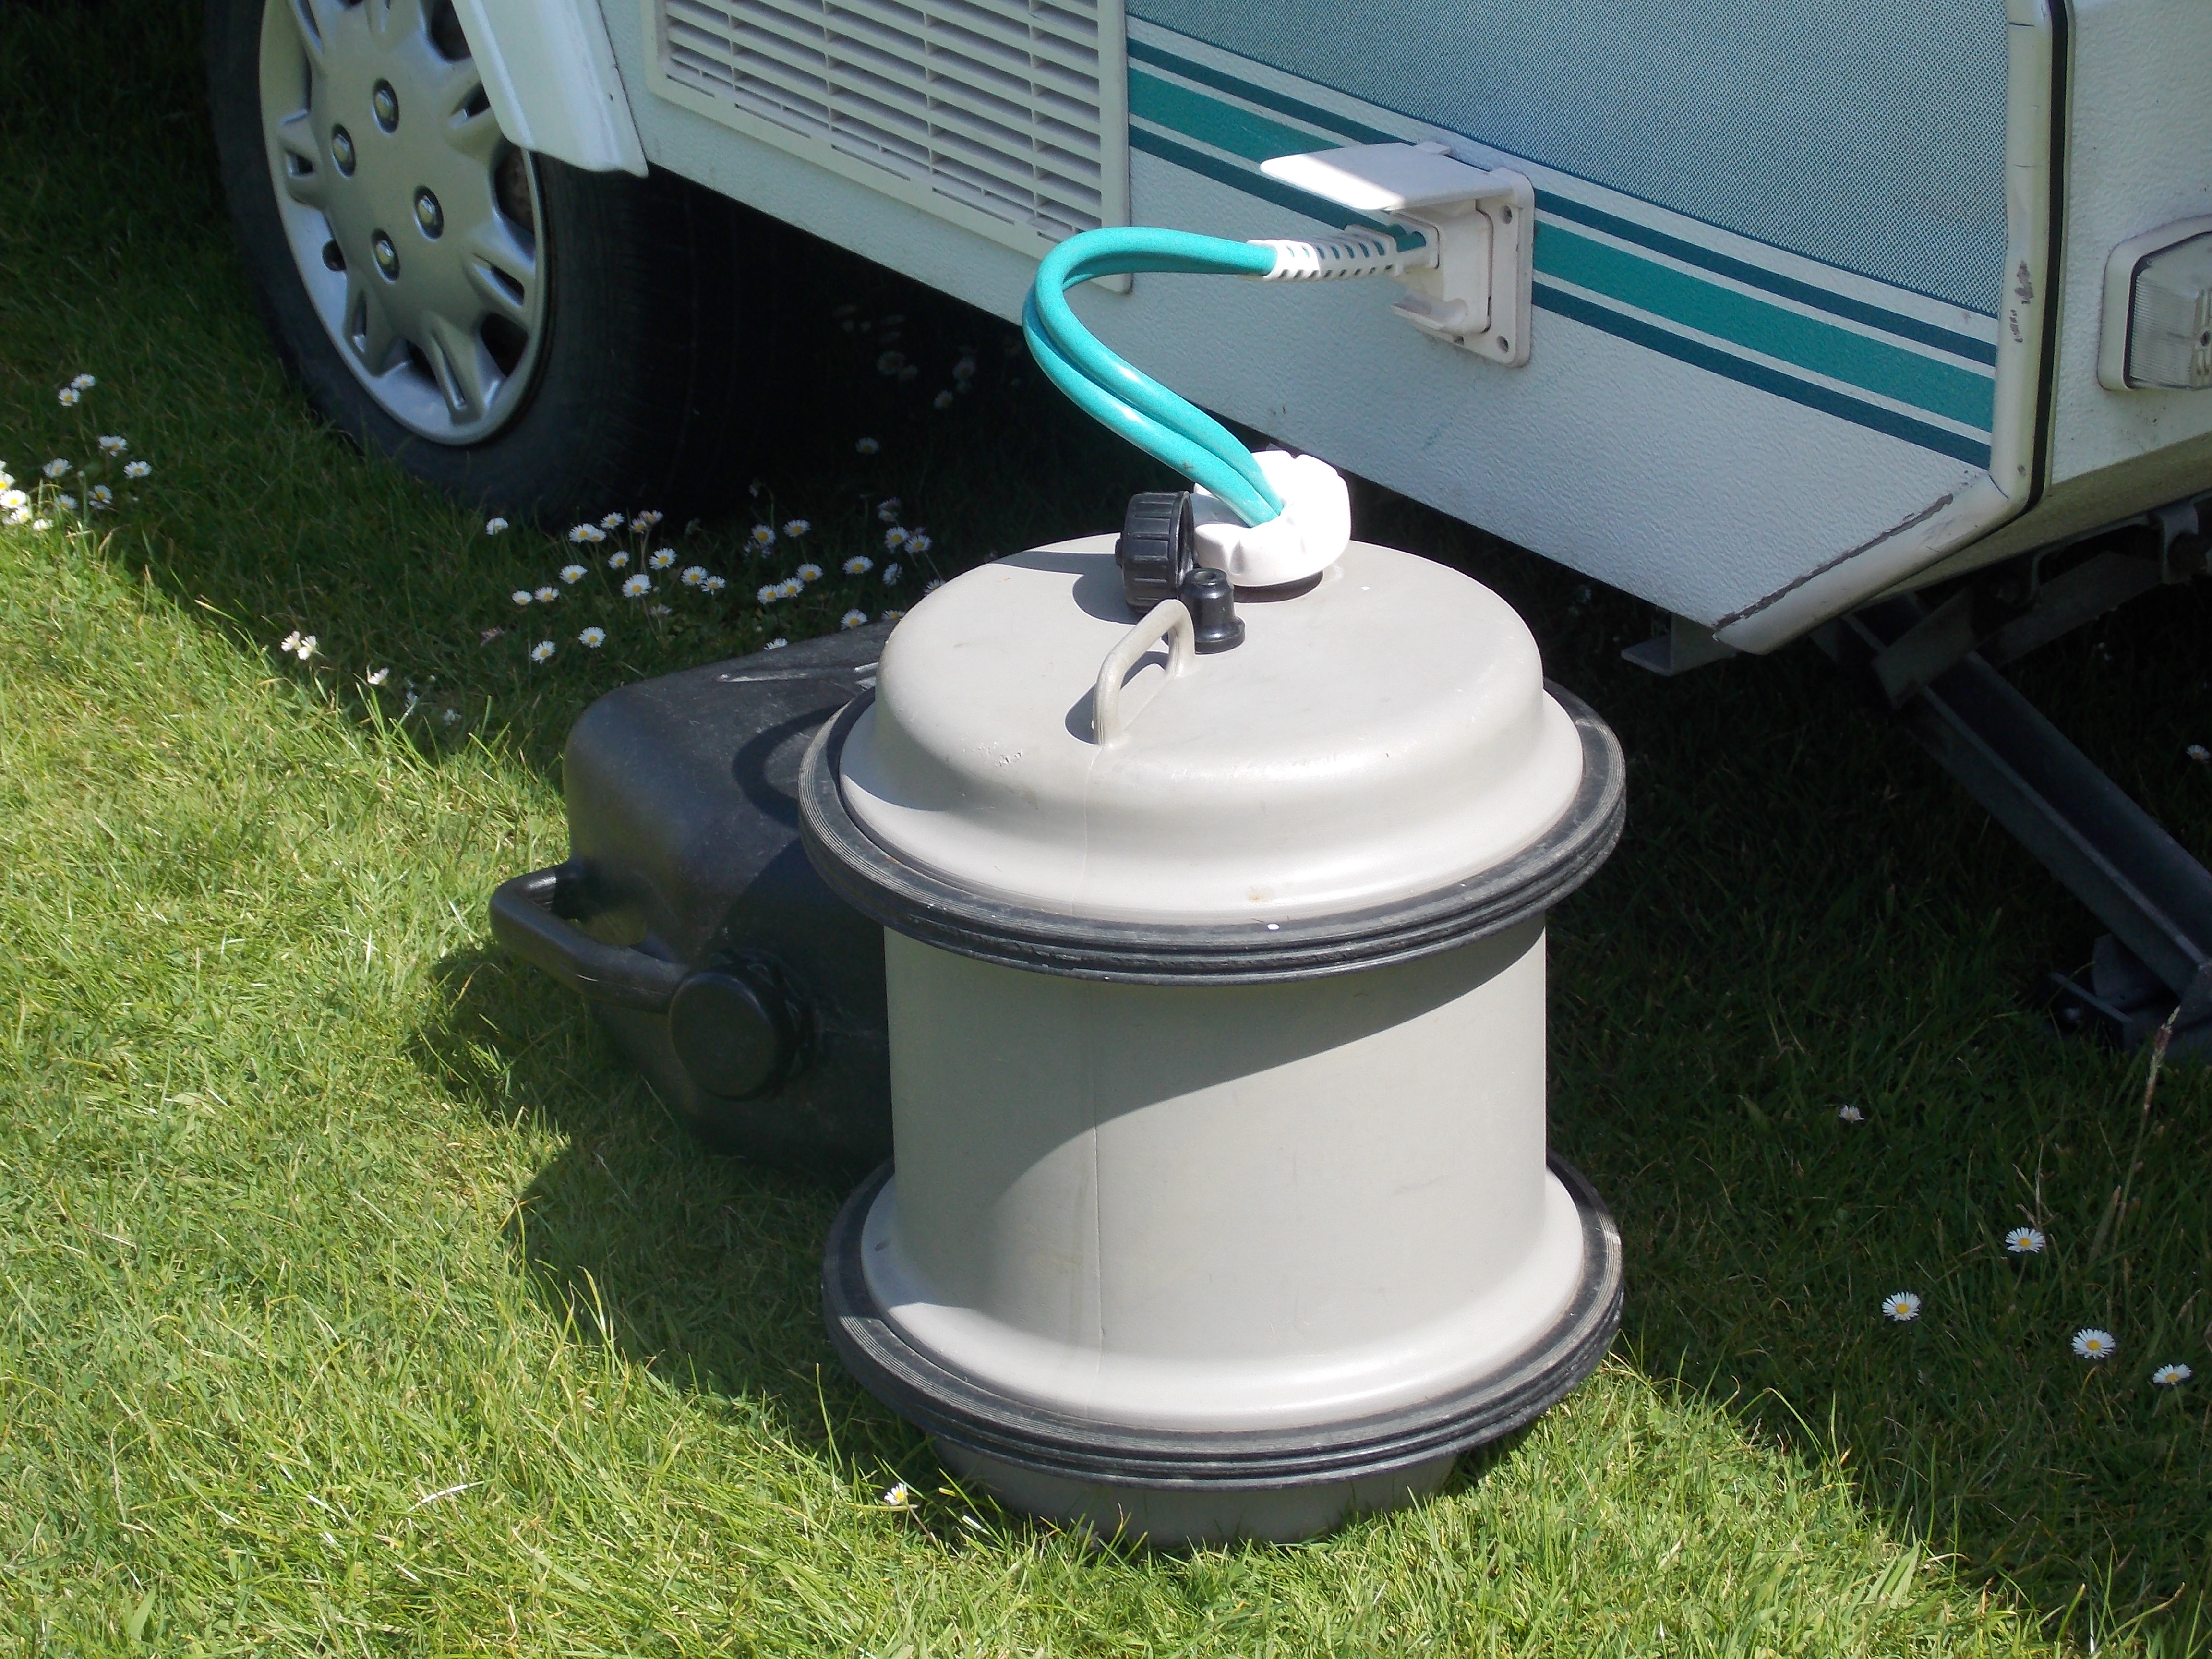
(11) Connect Fresh & Waste Water Containers, Gas & Electric Hookup
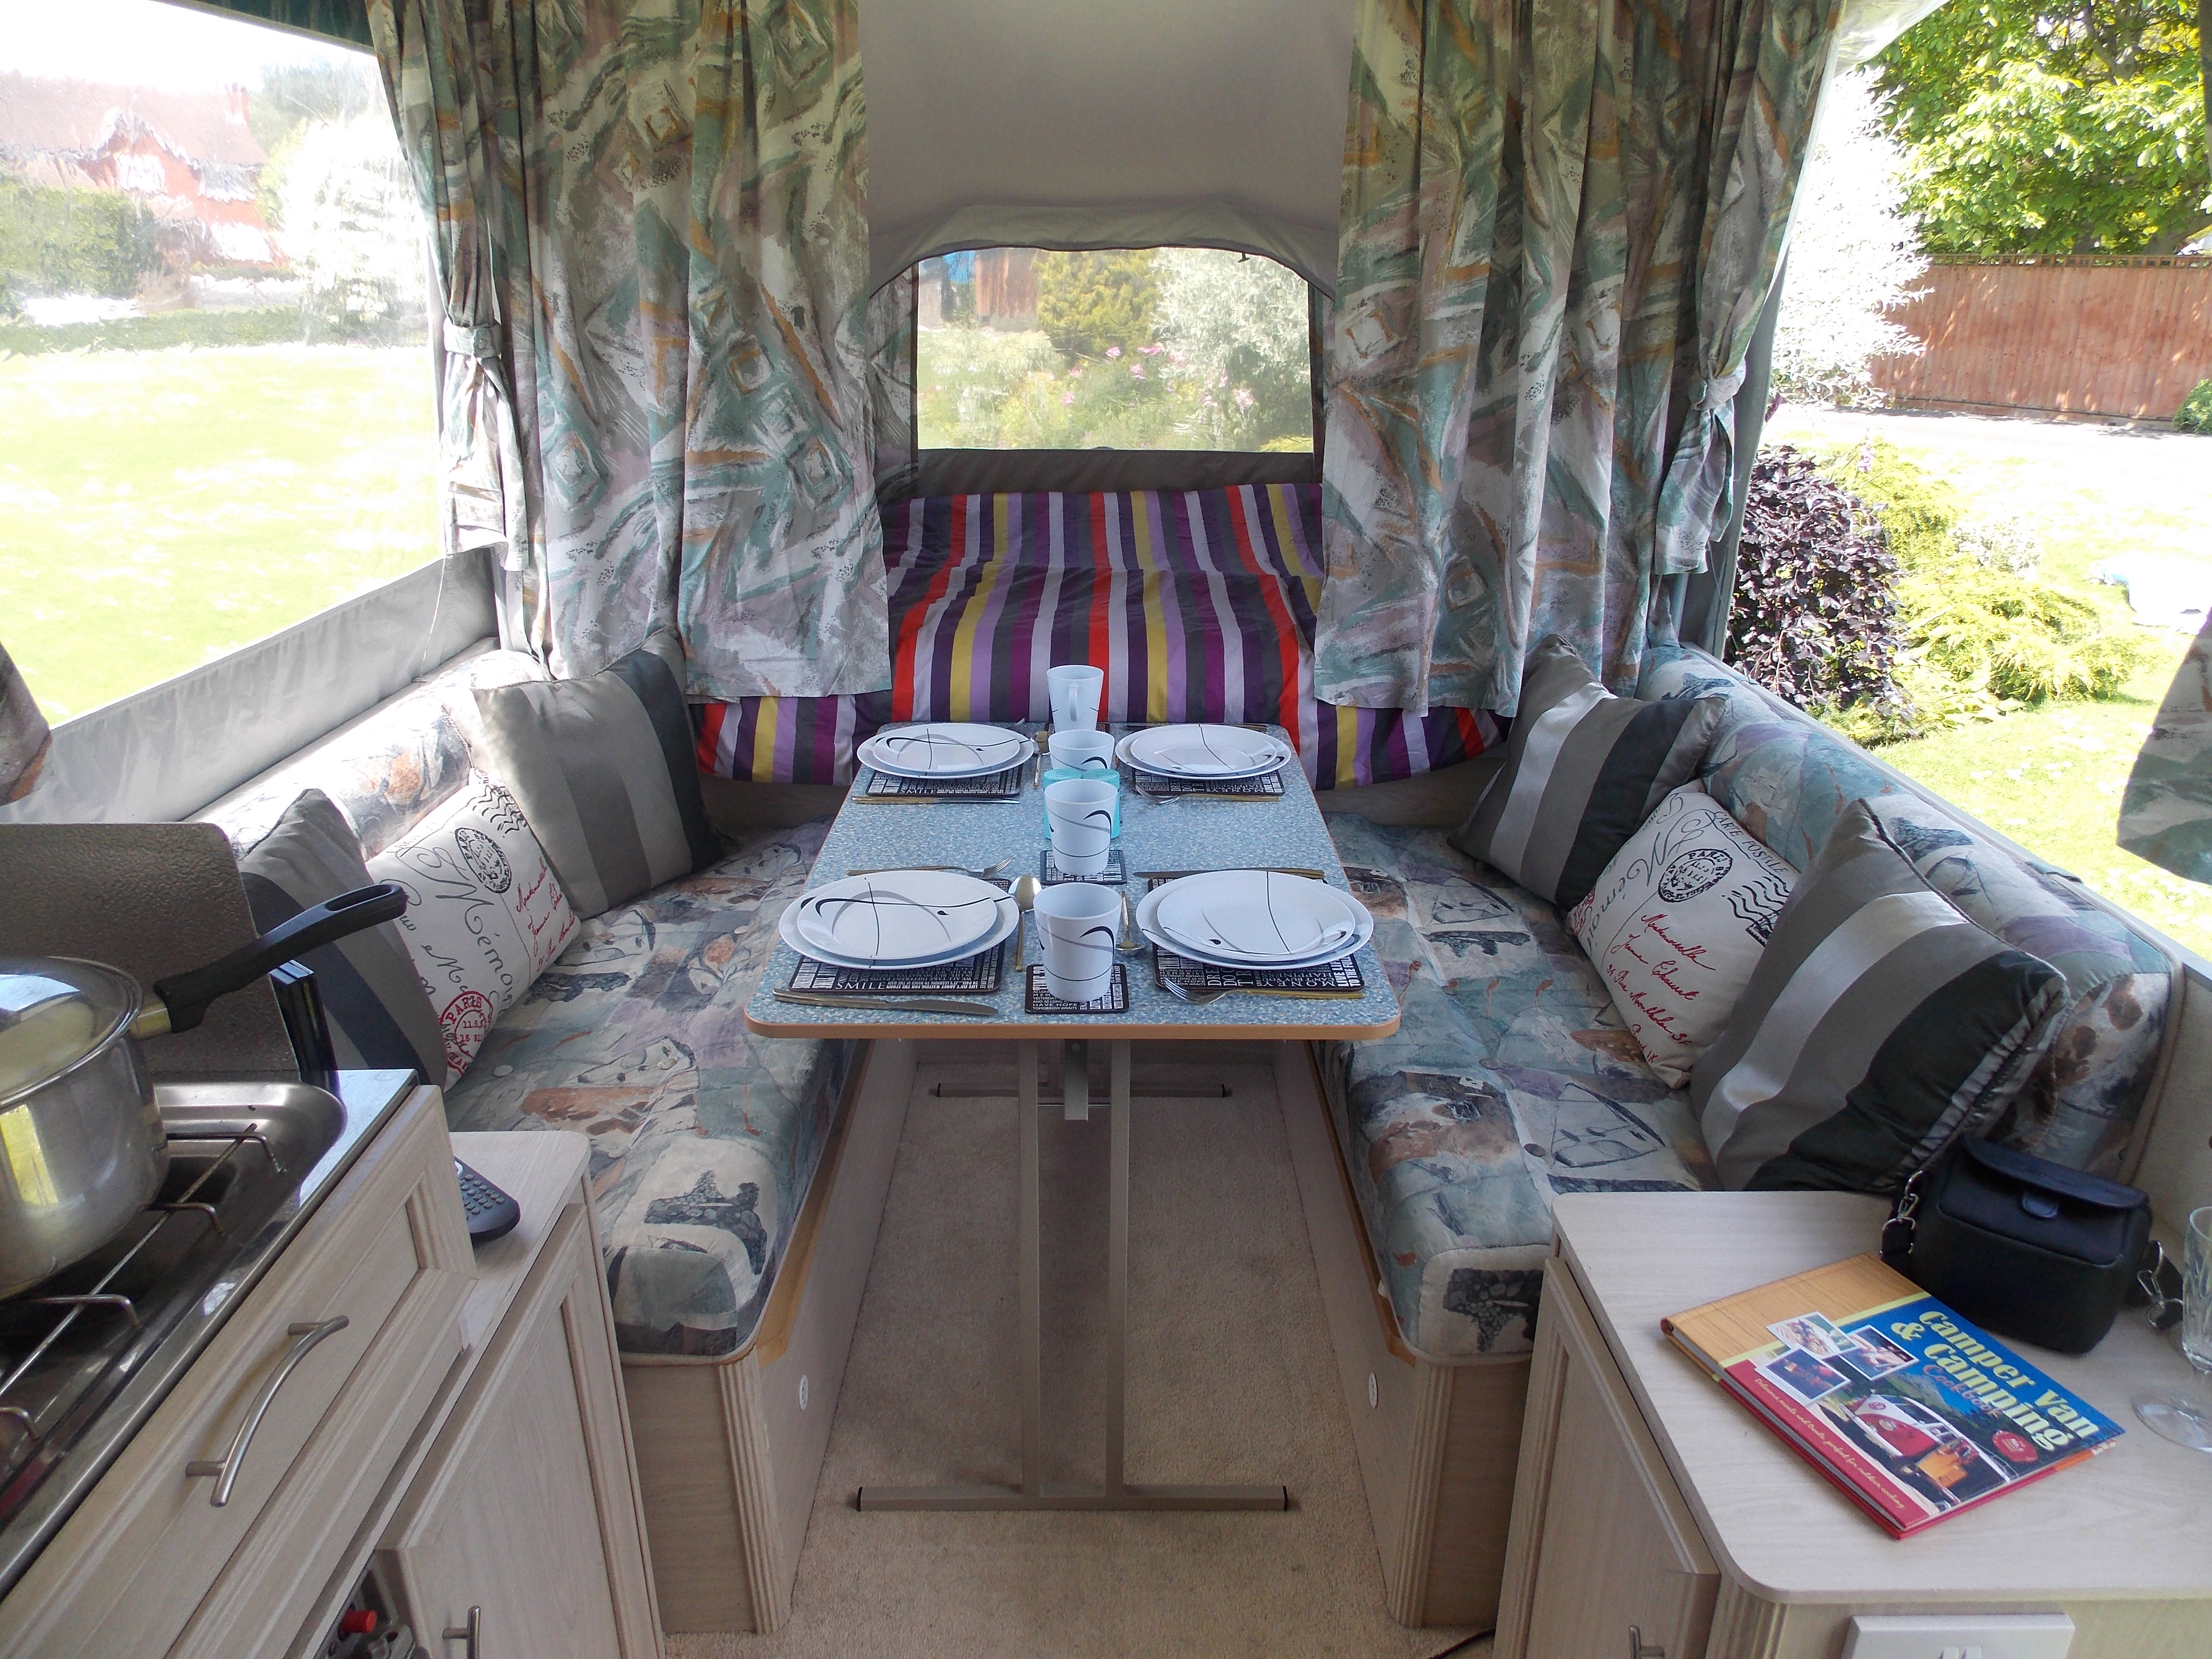
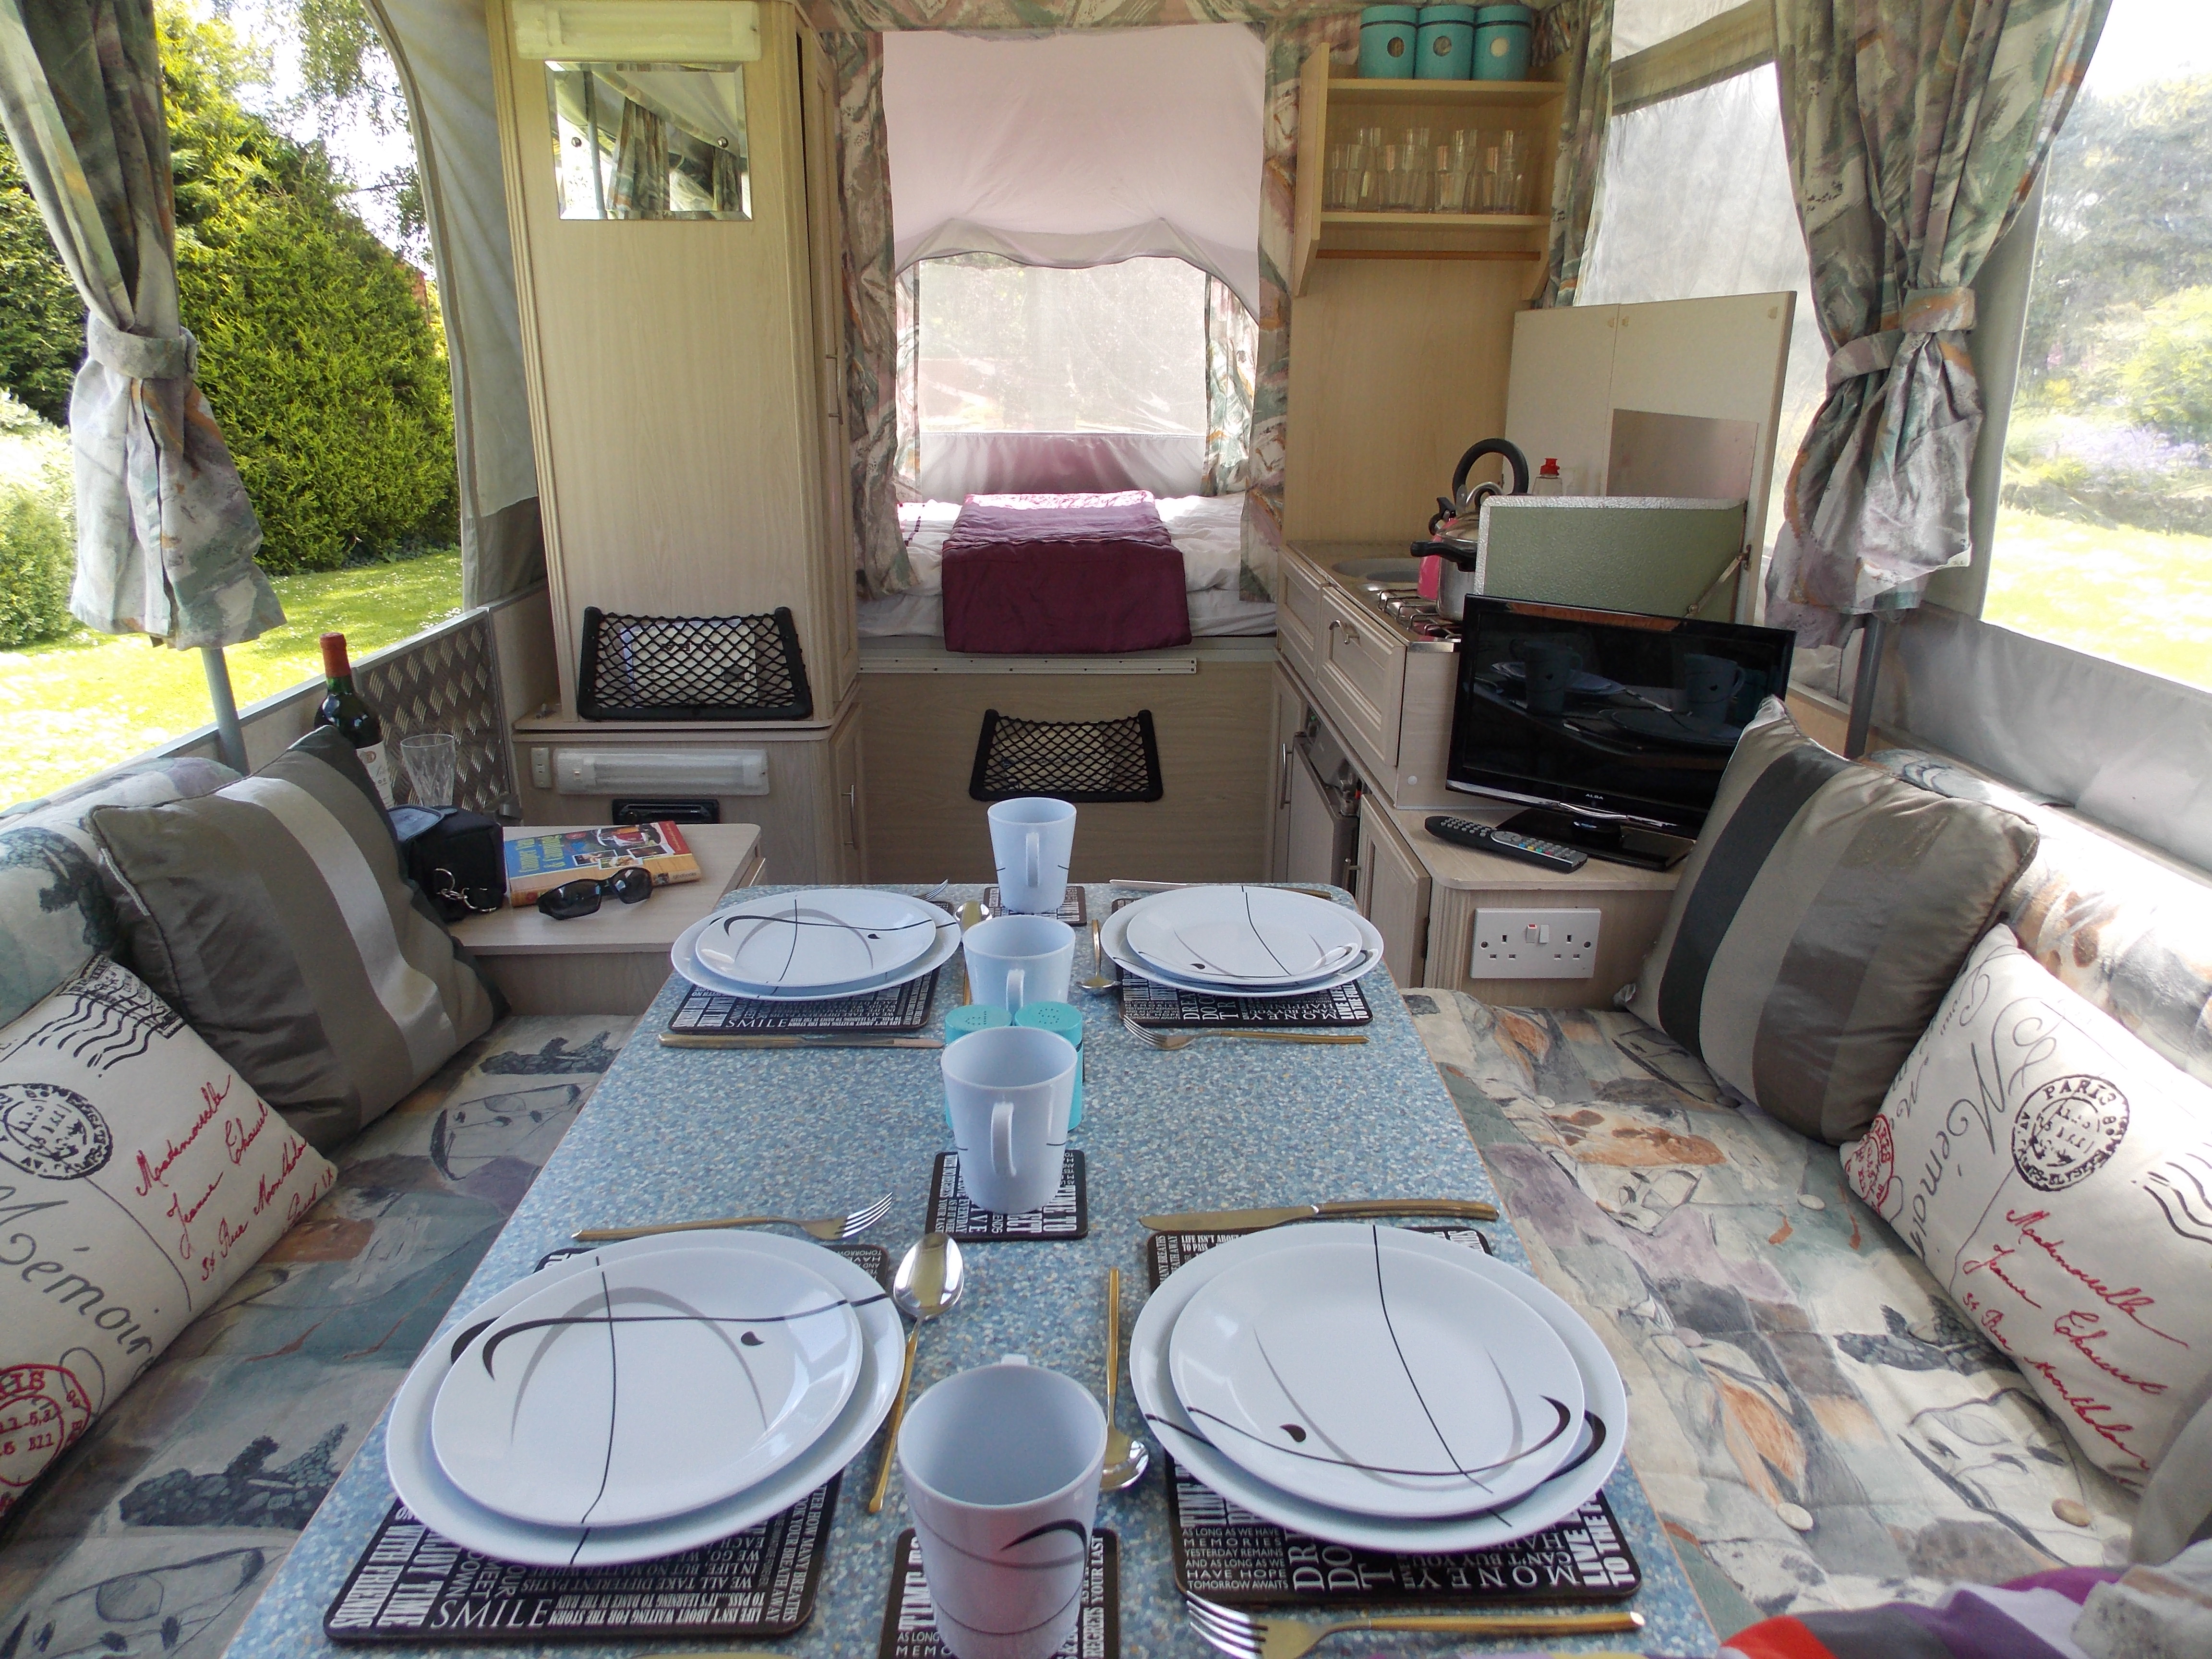
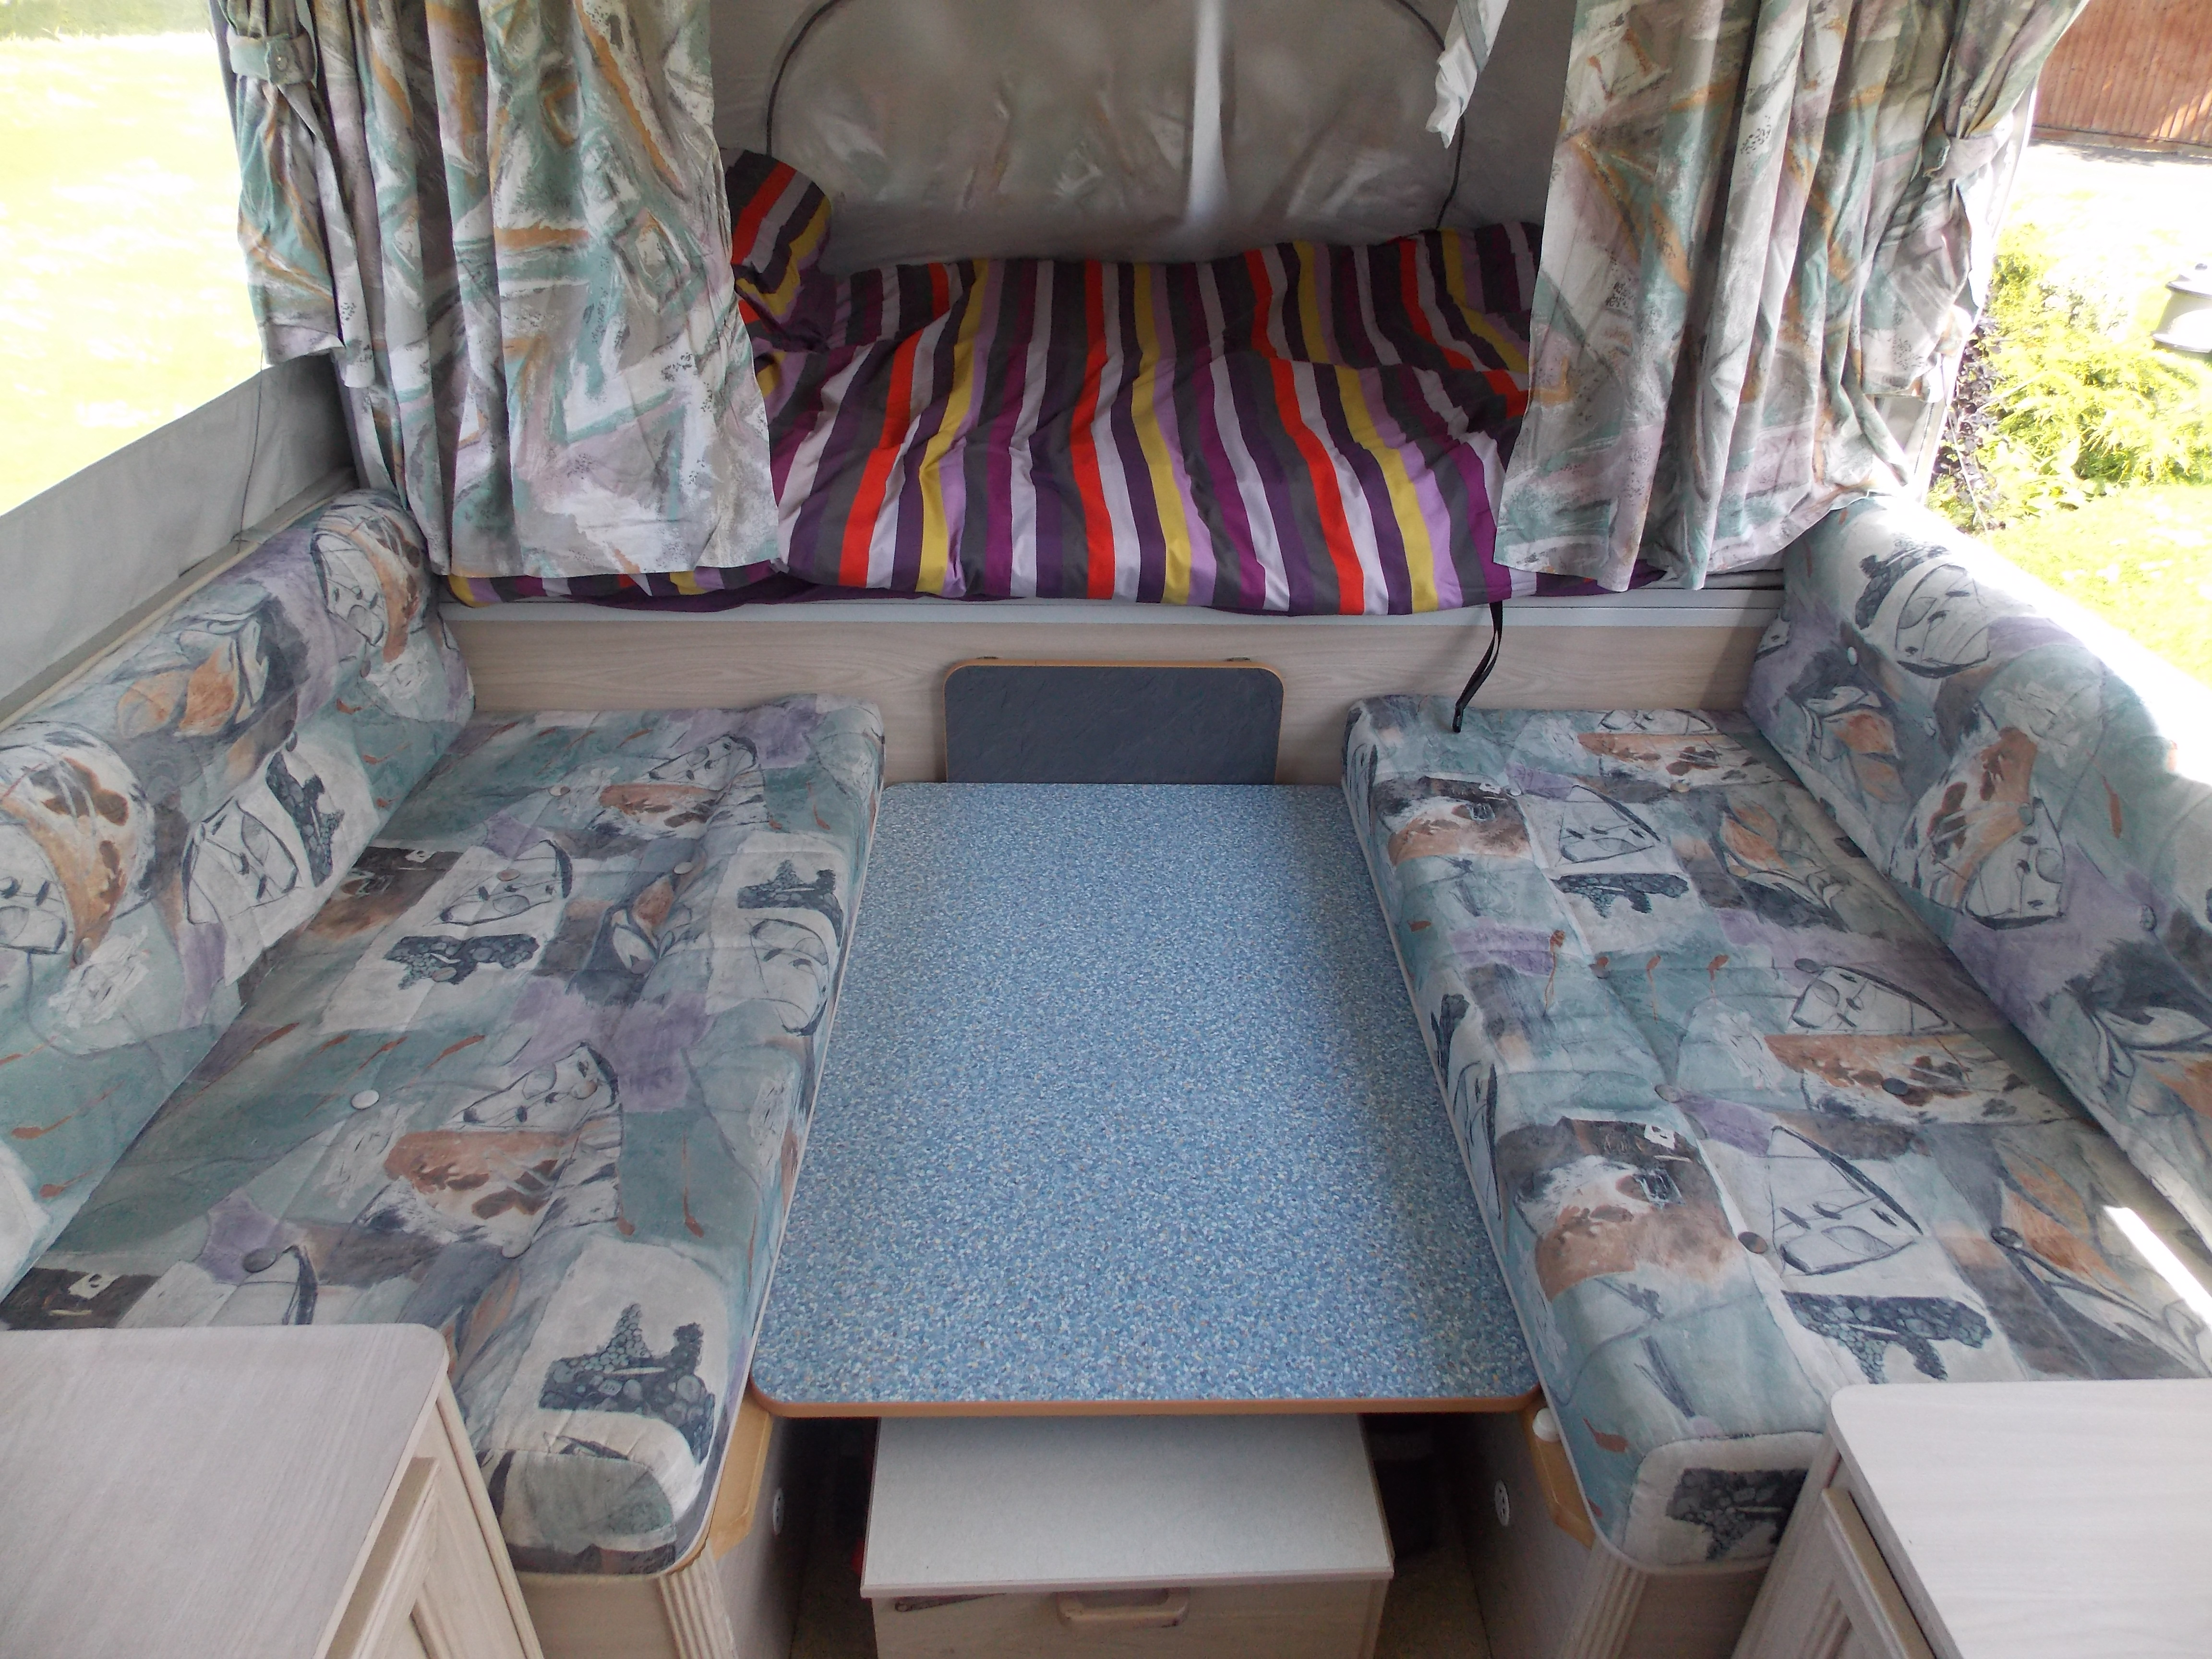
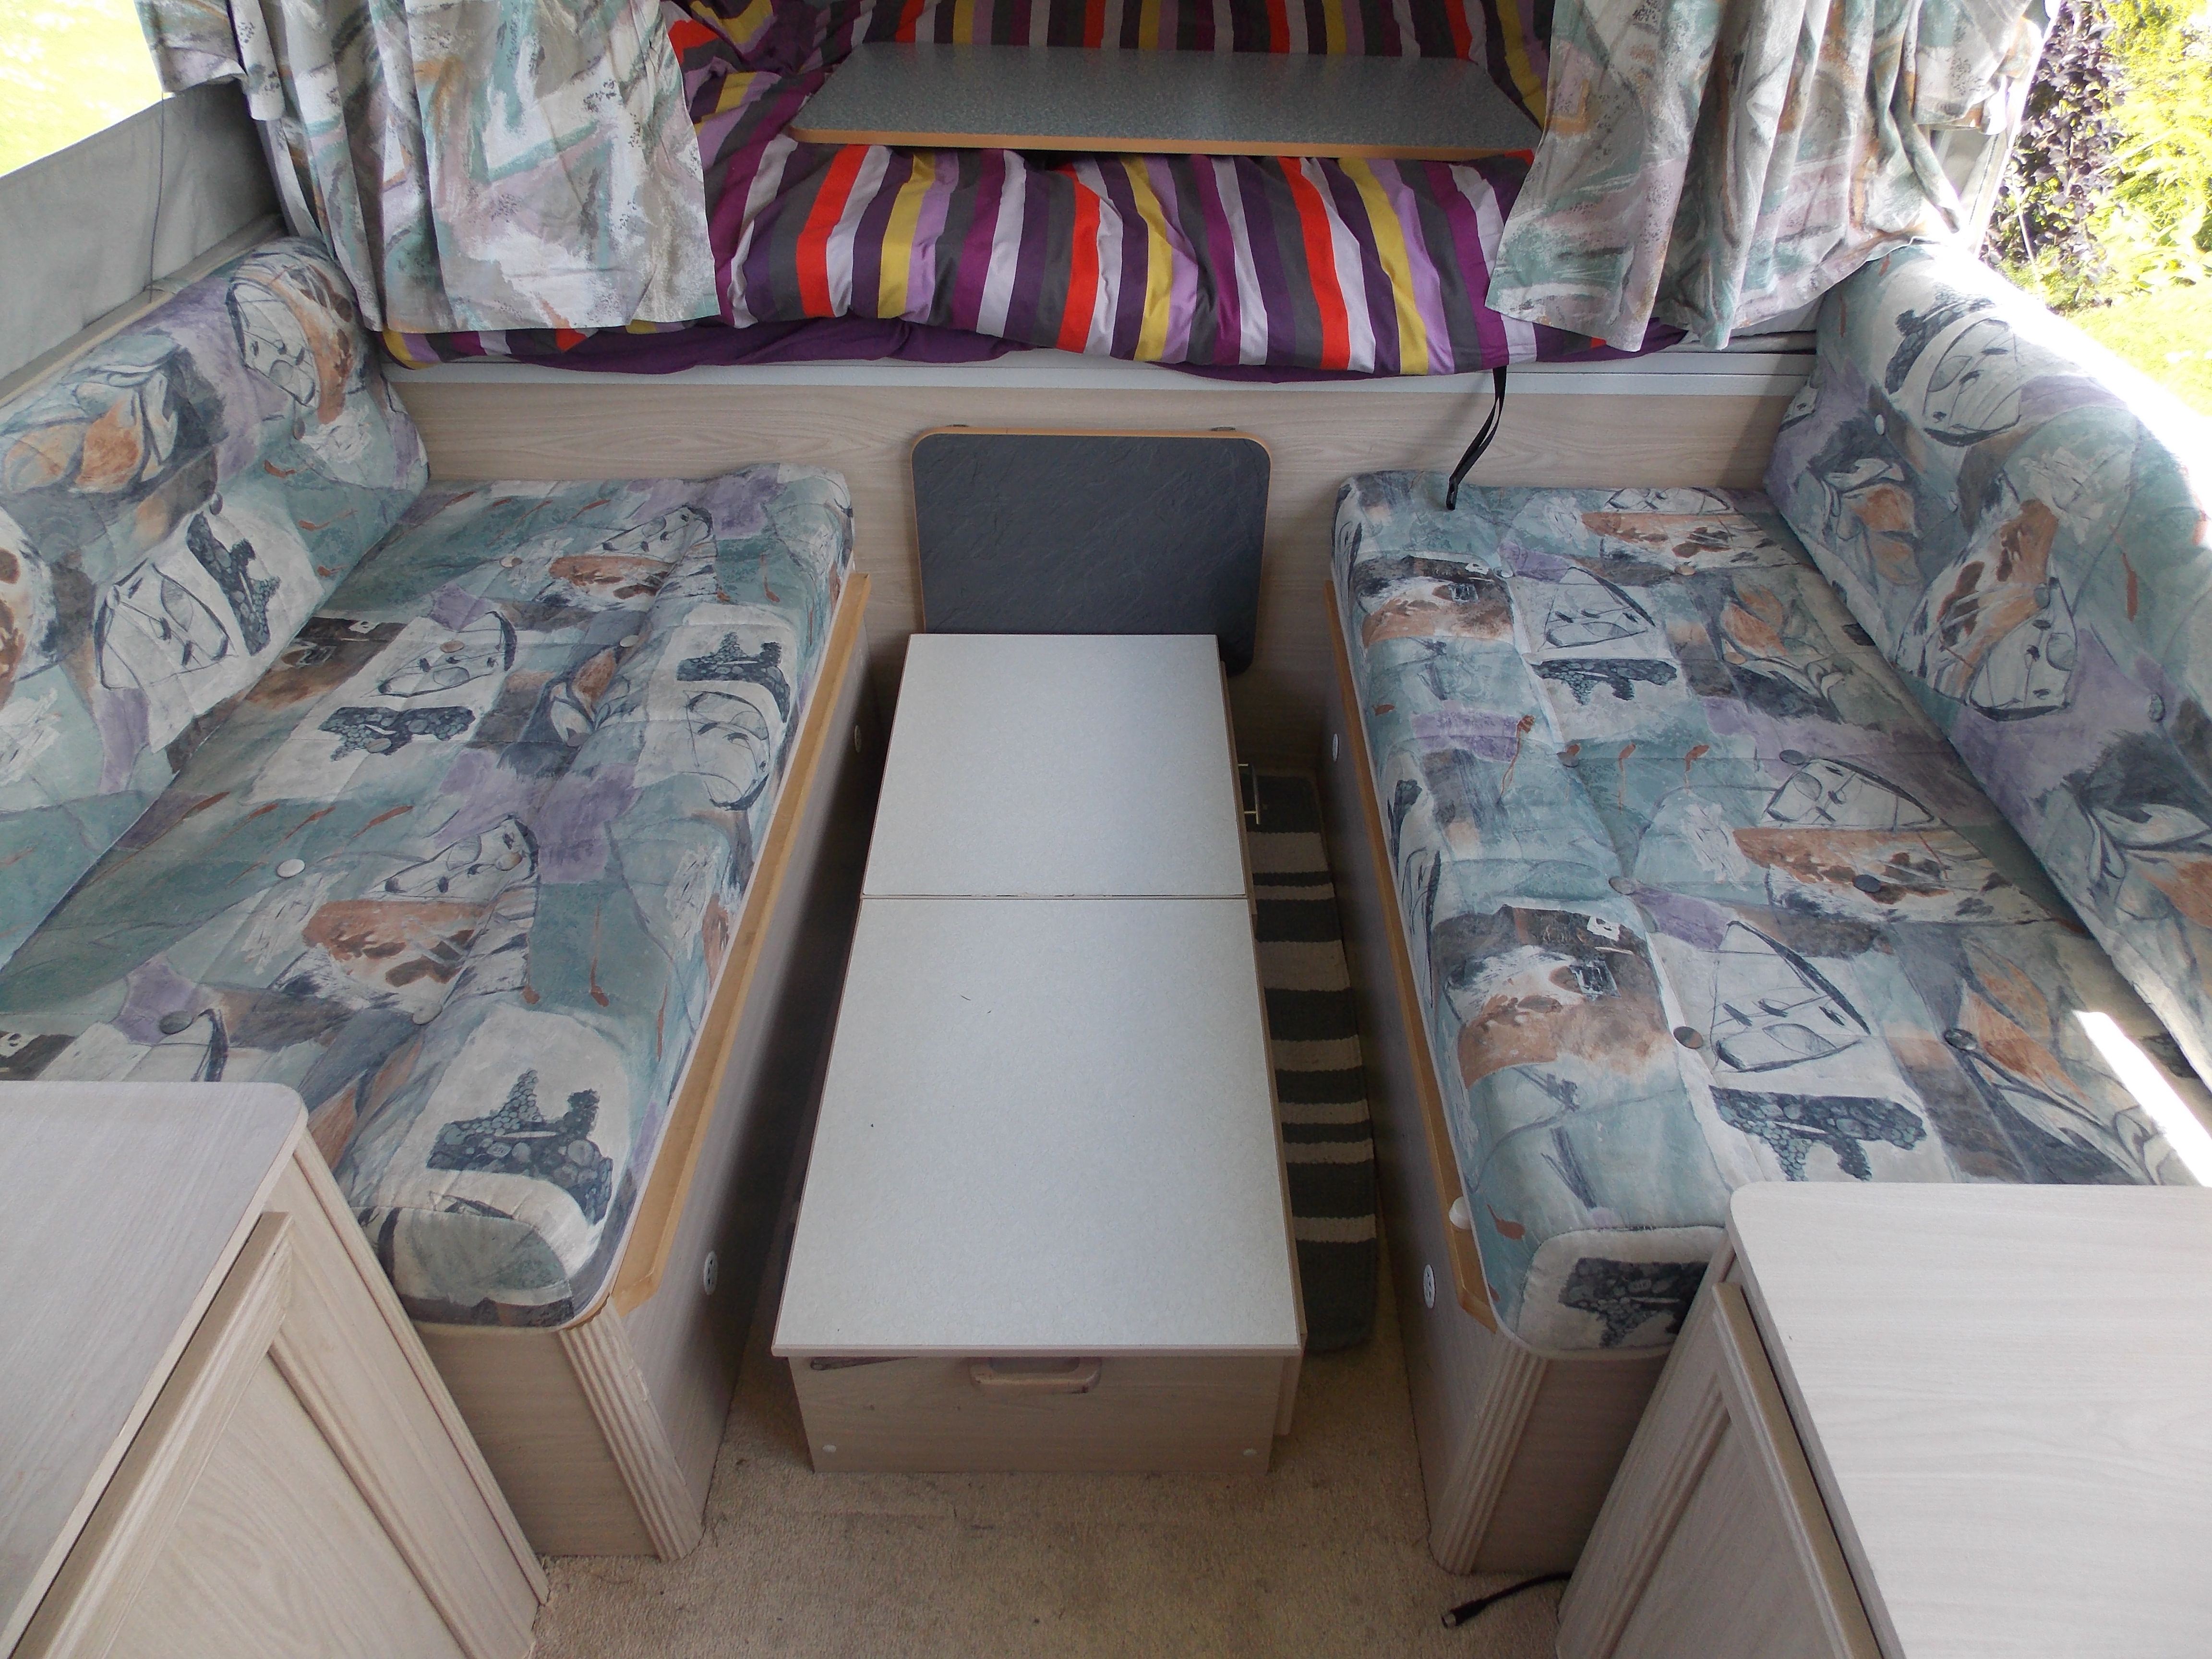
Interior Layout Of The Sterling
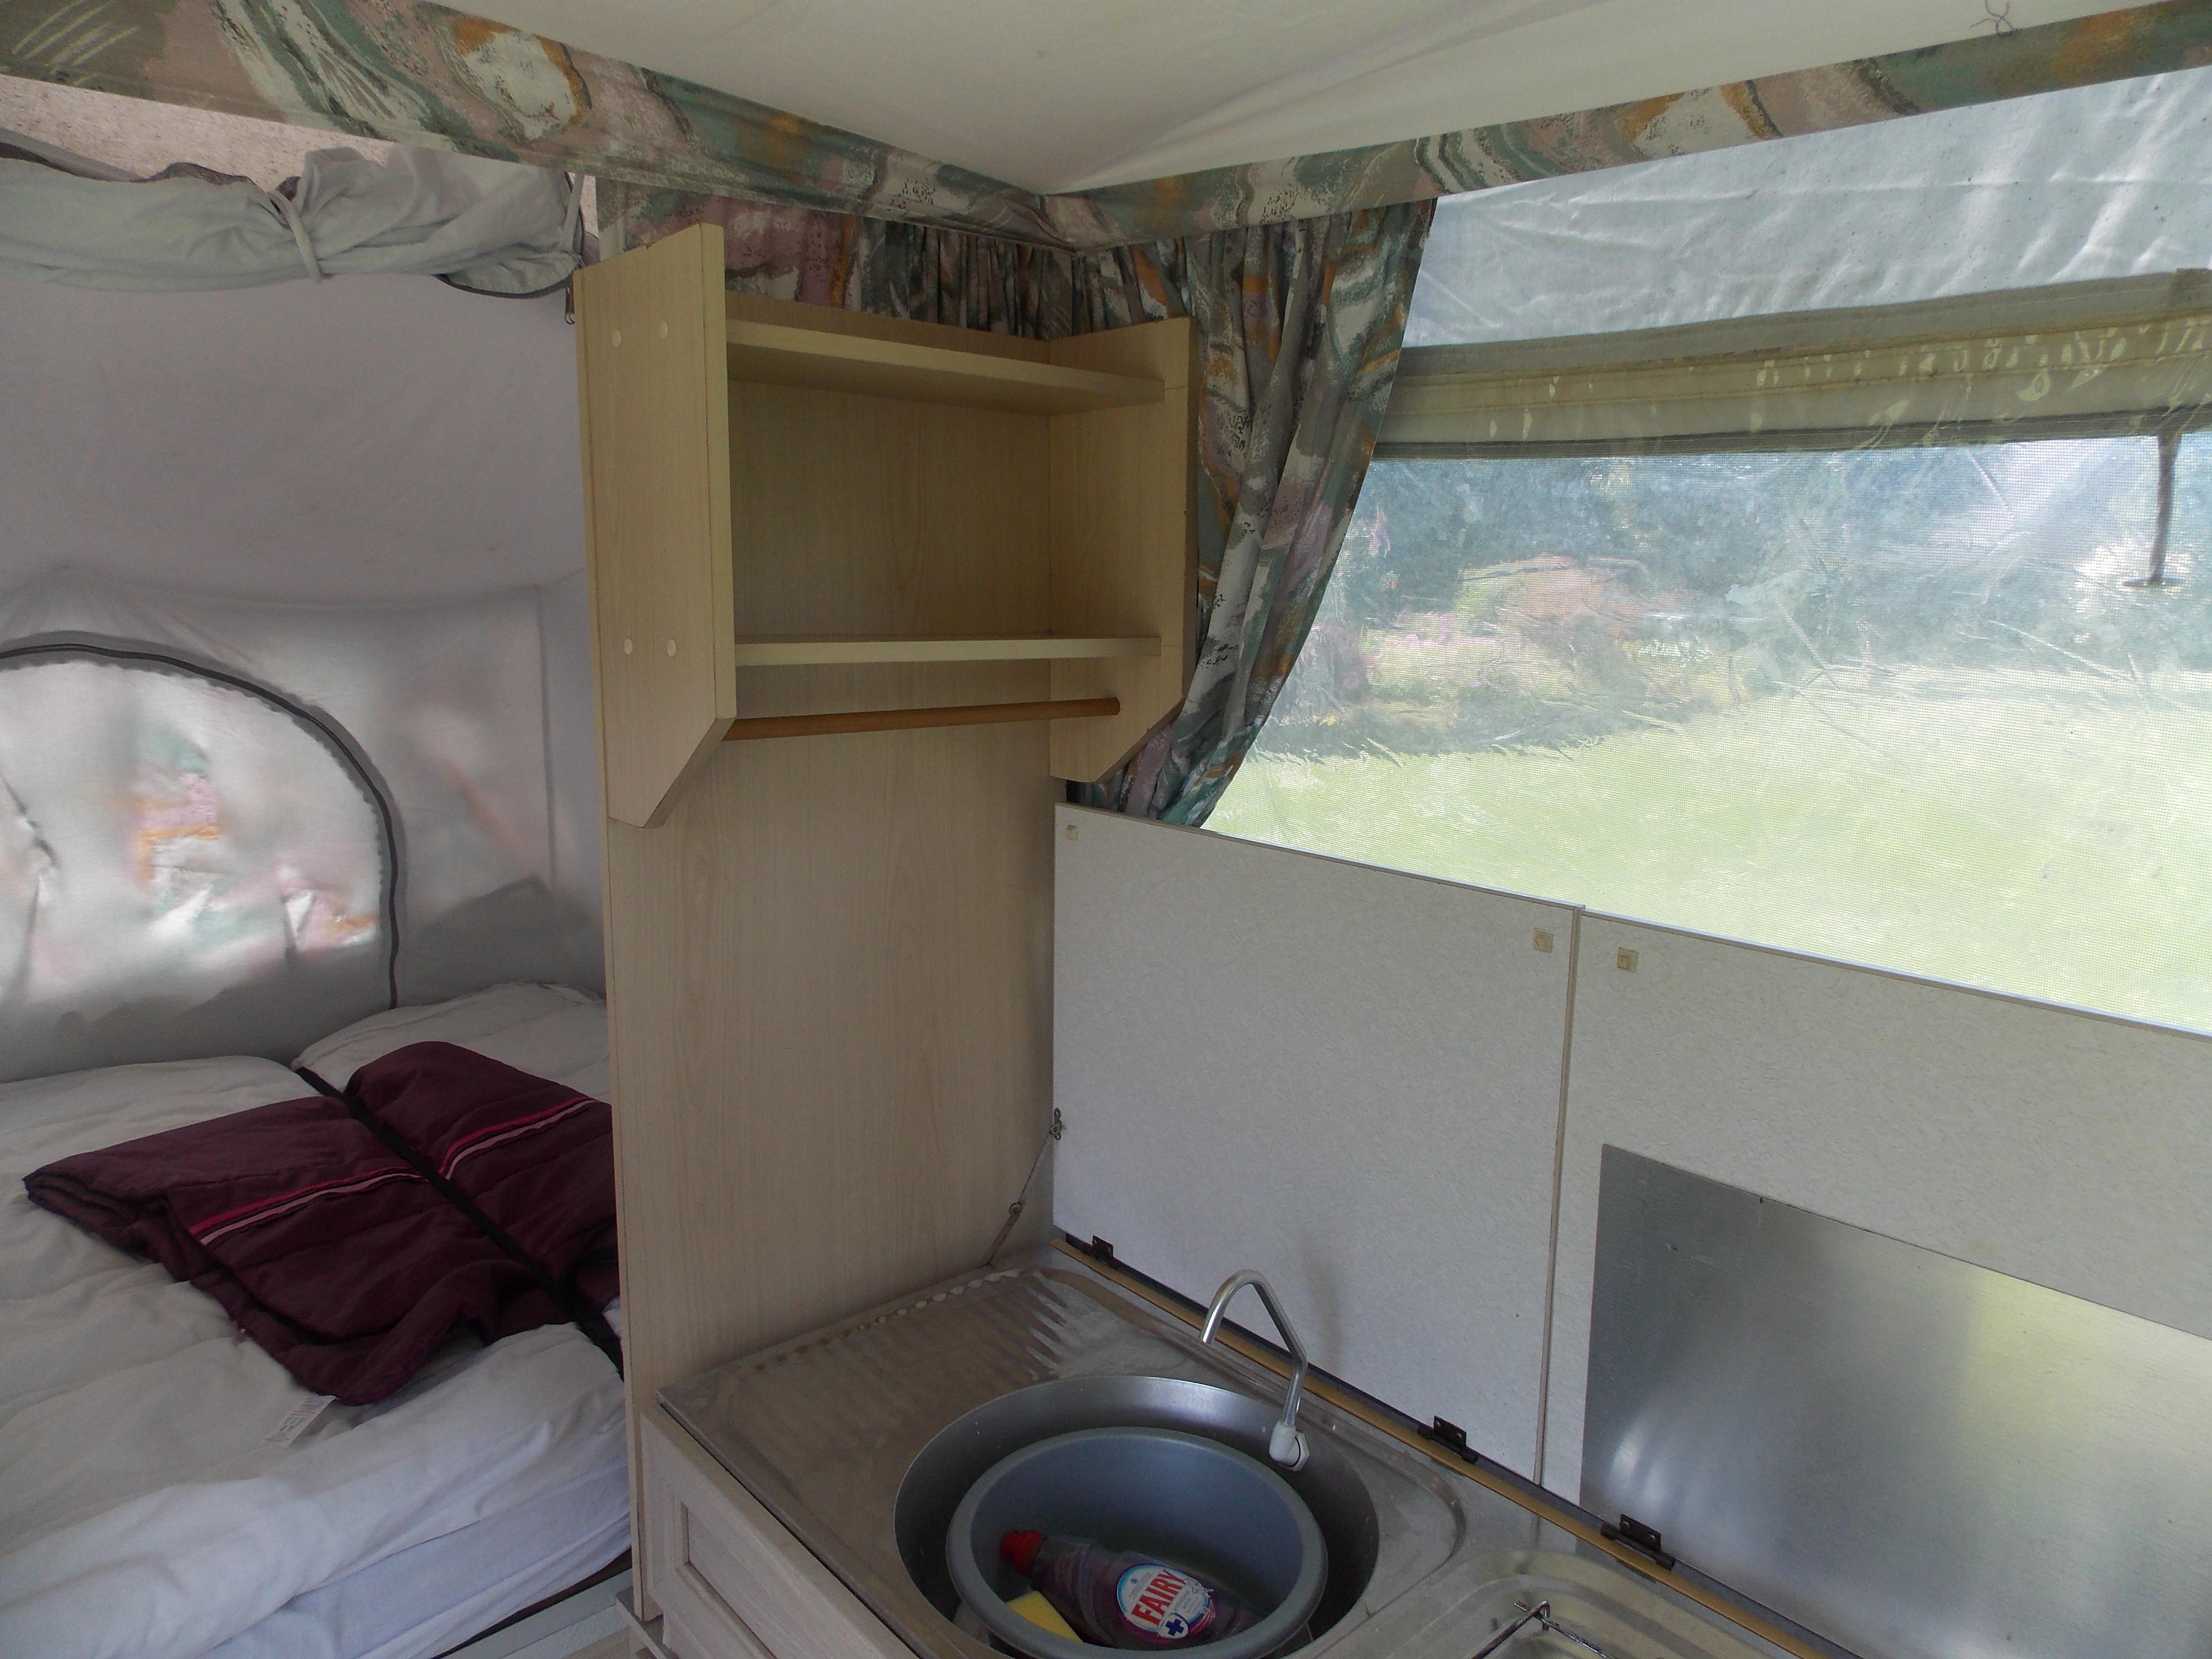
Lift, Slide & Lock Wardrobe Into Place
Hang Curtains
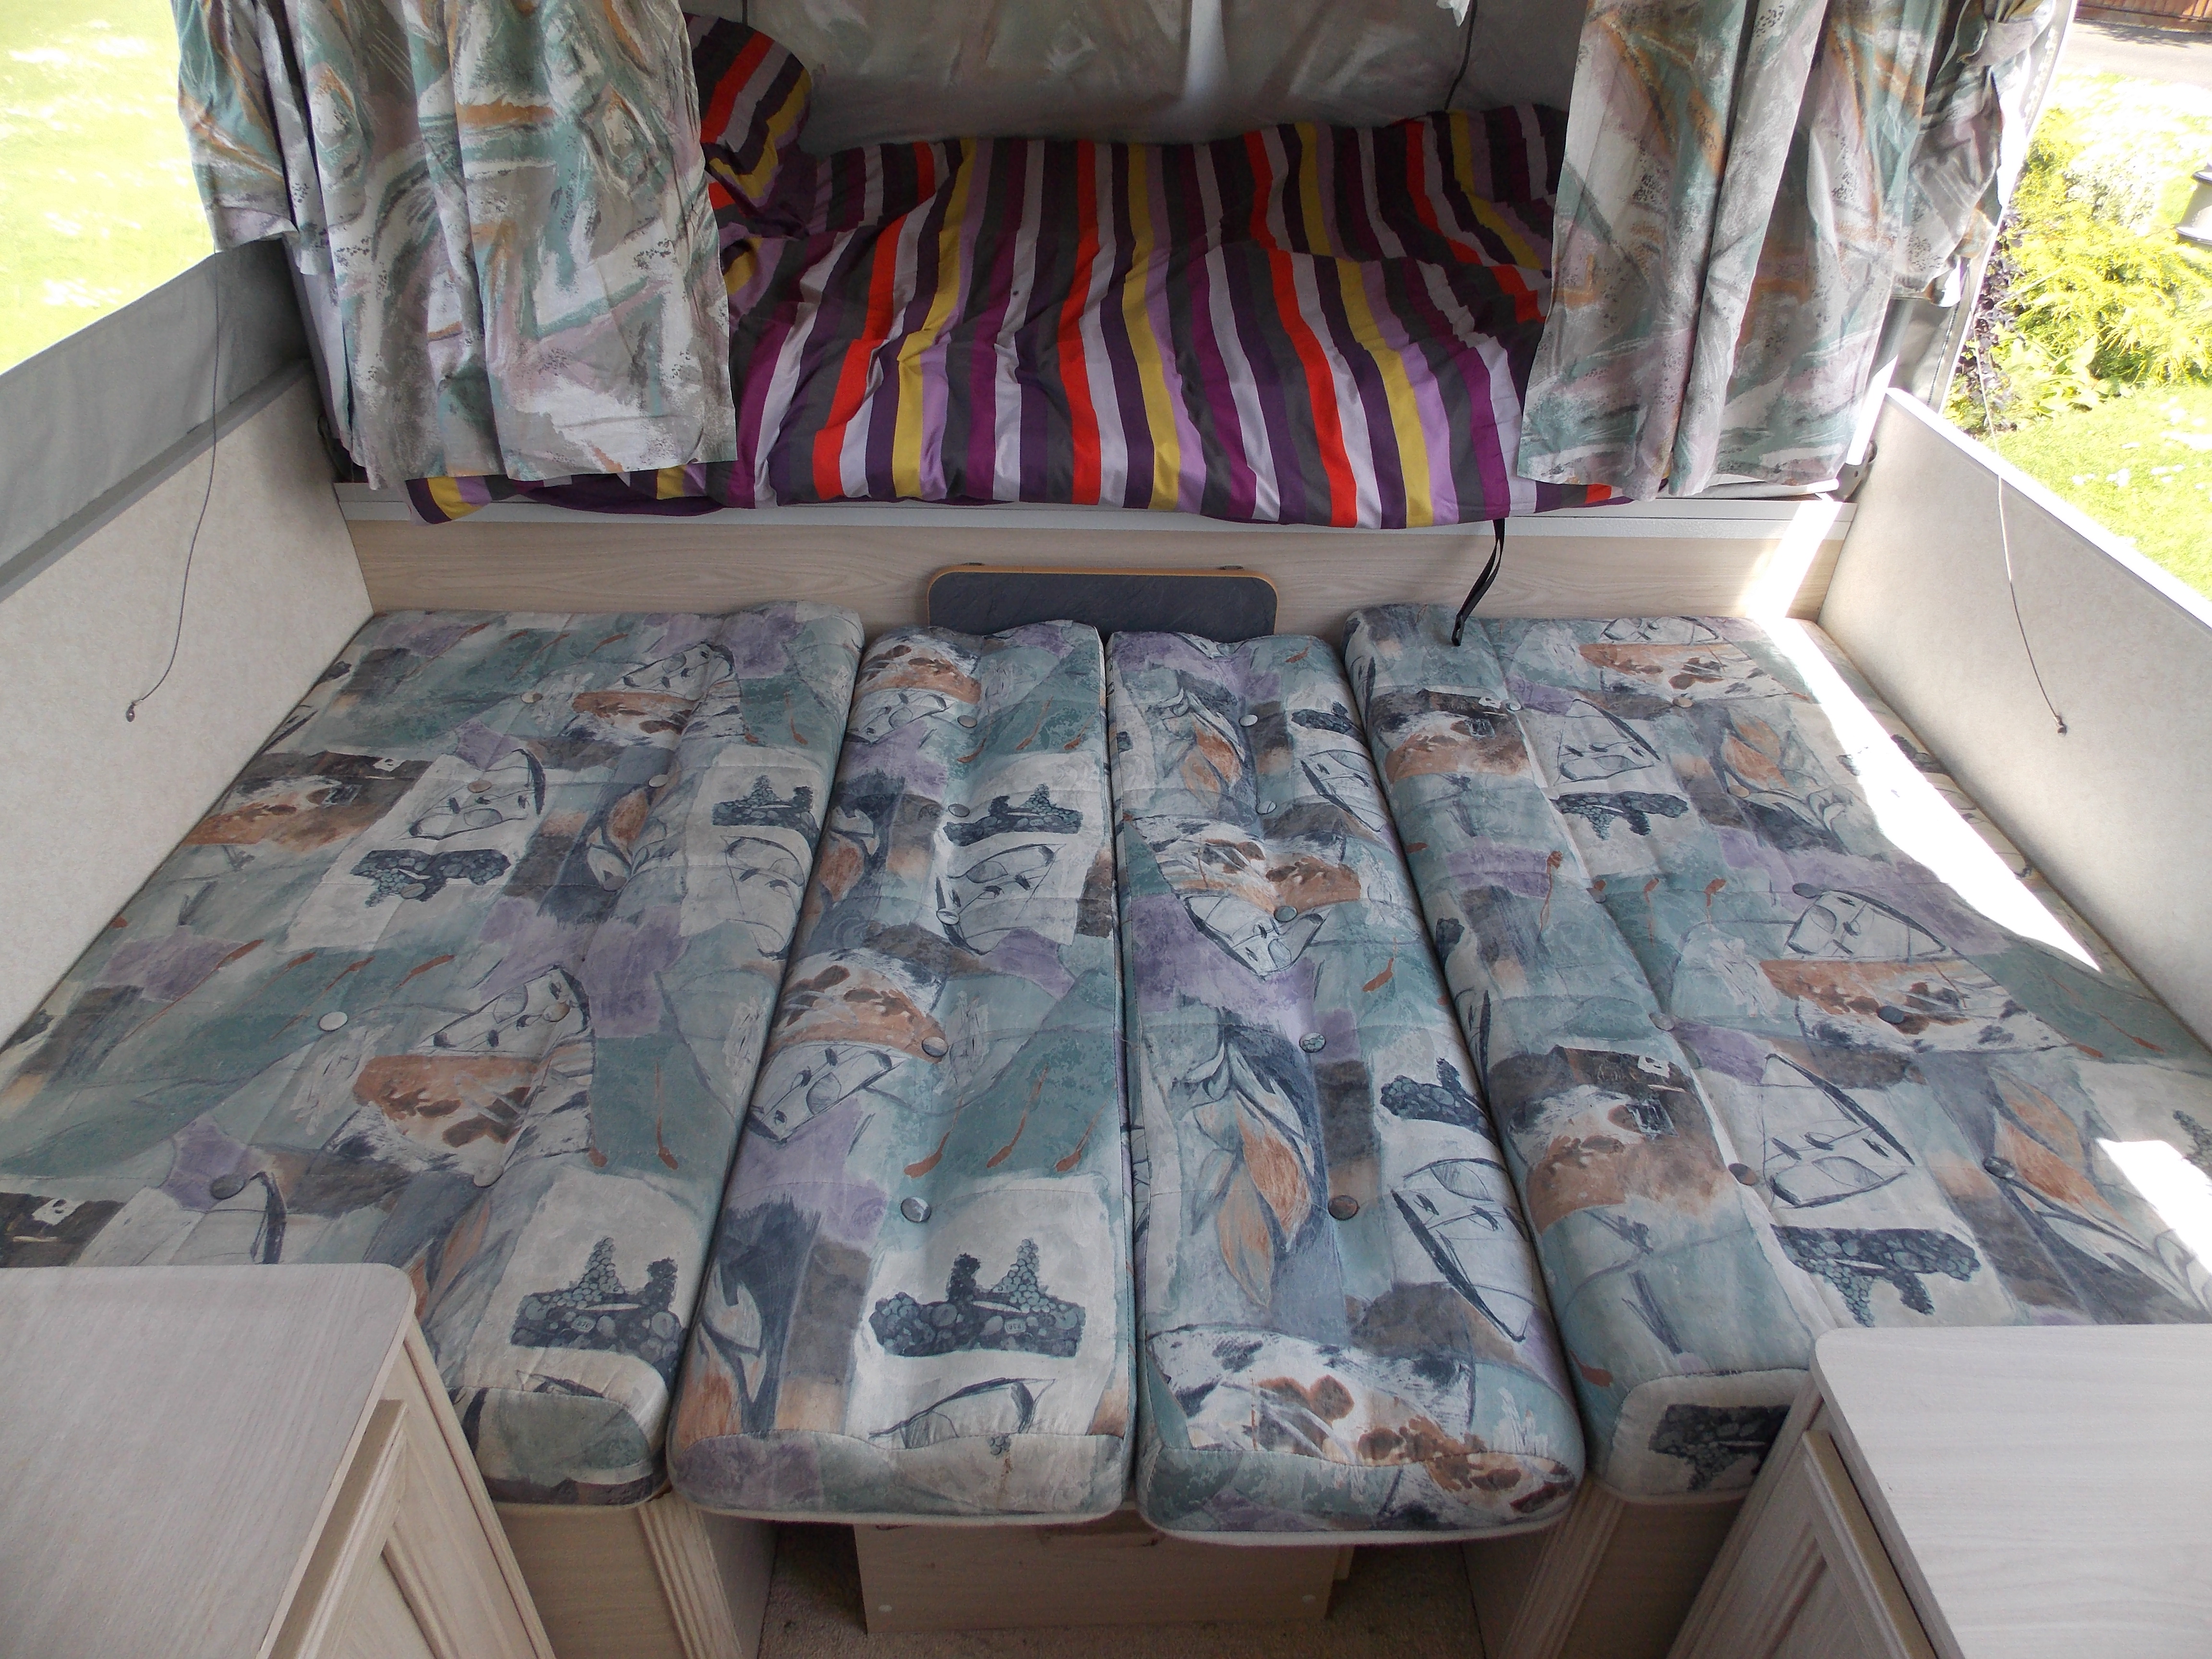
Use Back Rest Cushions To Make Up Settees
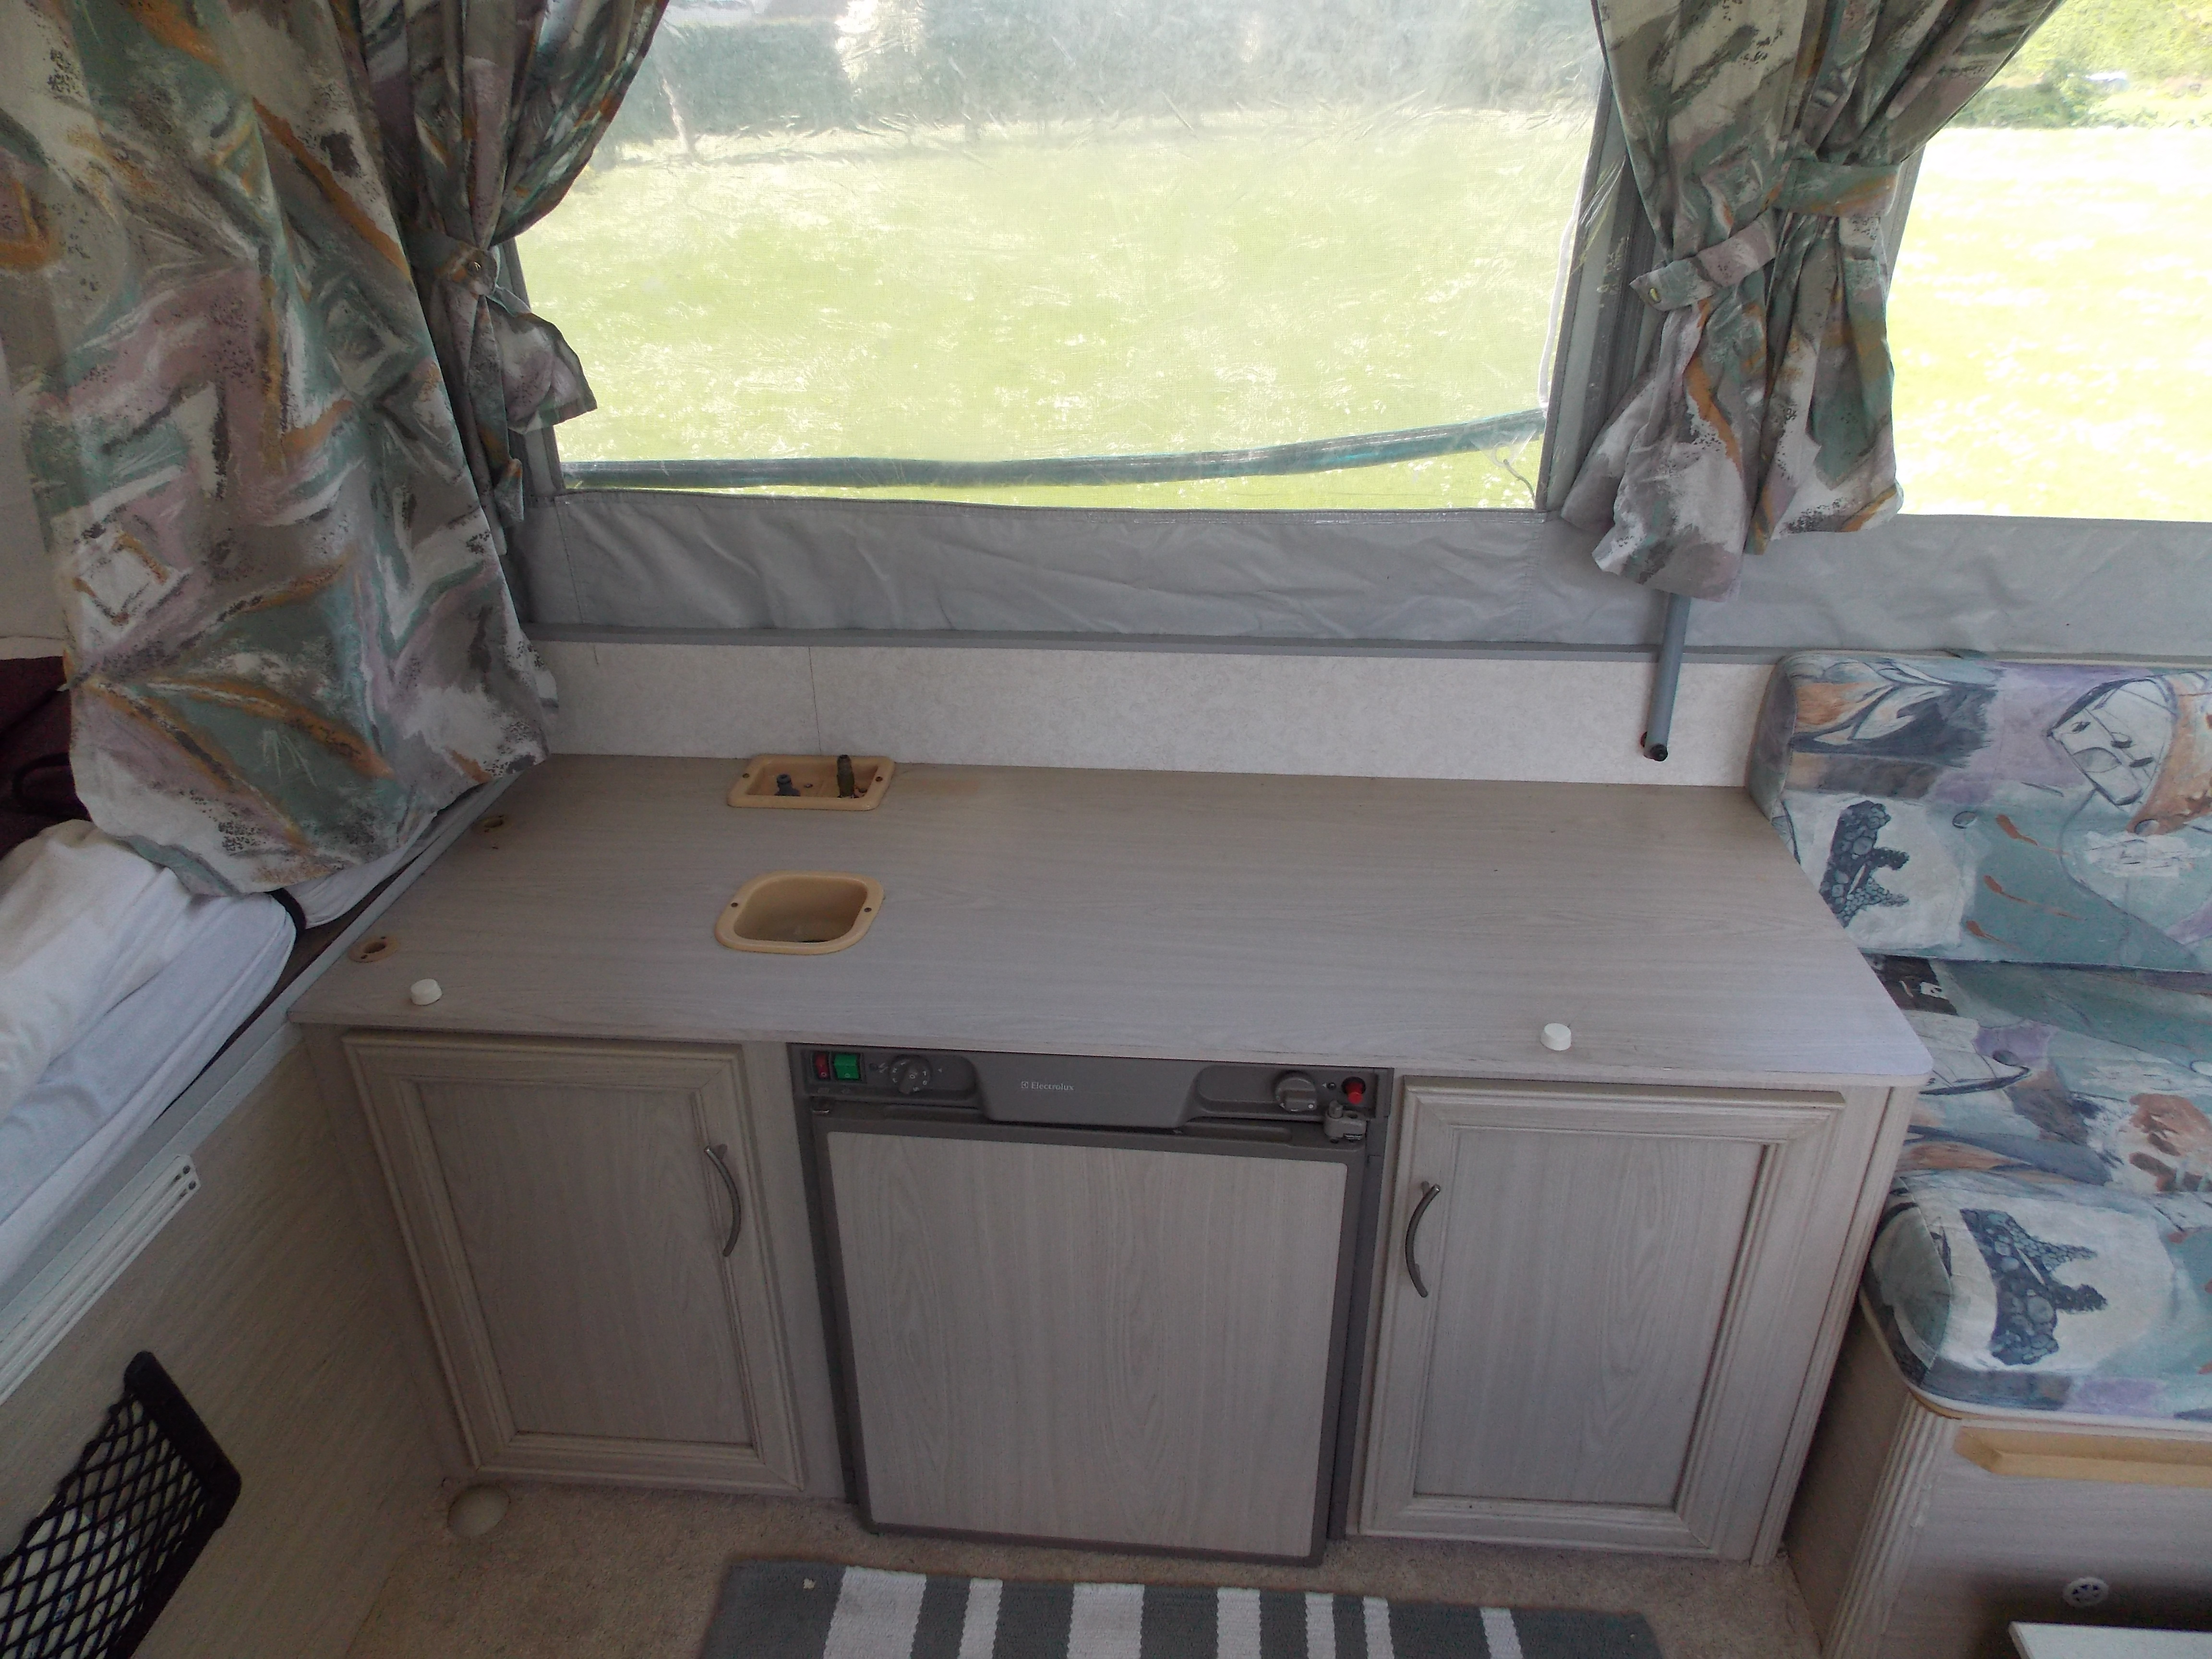
Move Table To Reveal Kitchen Unit
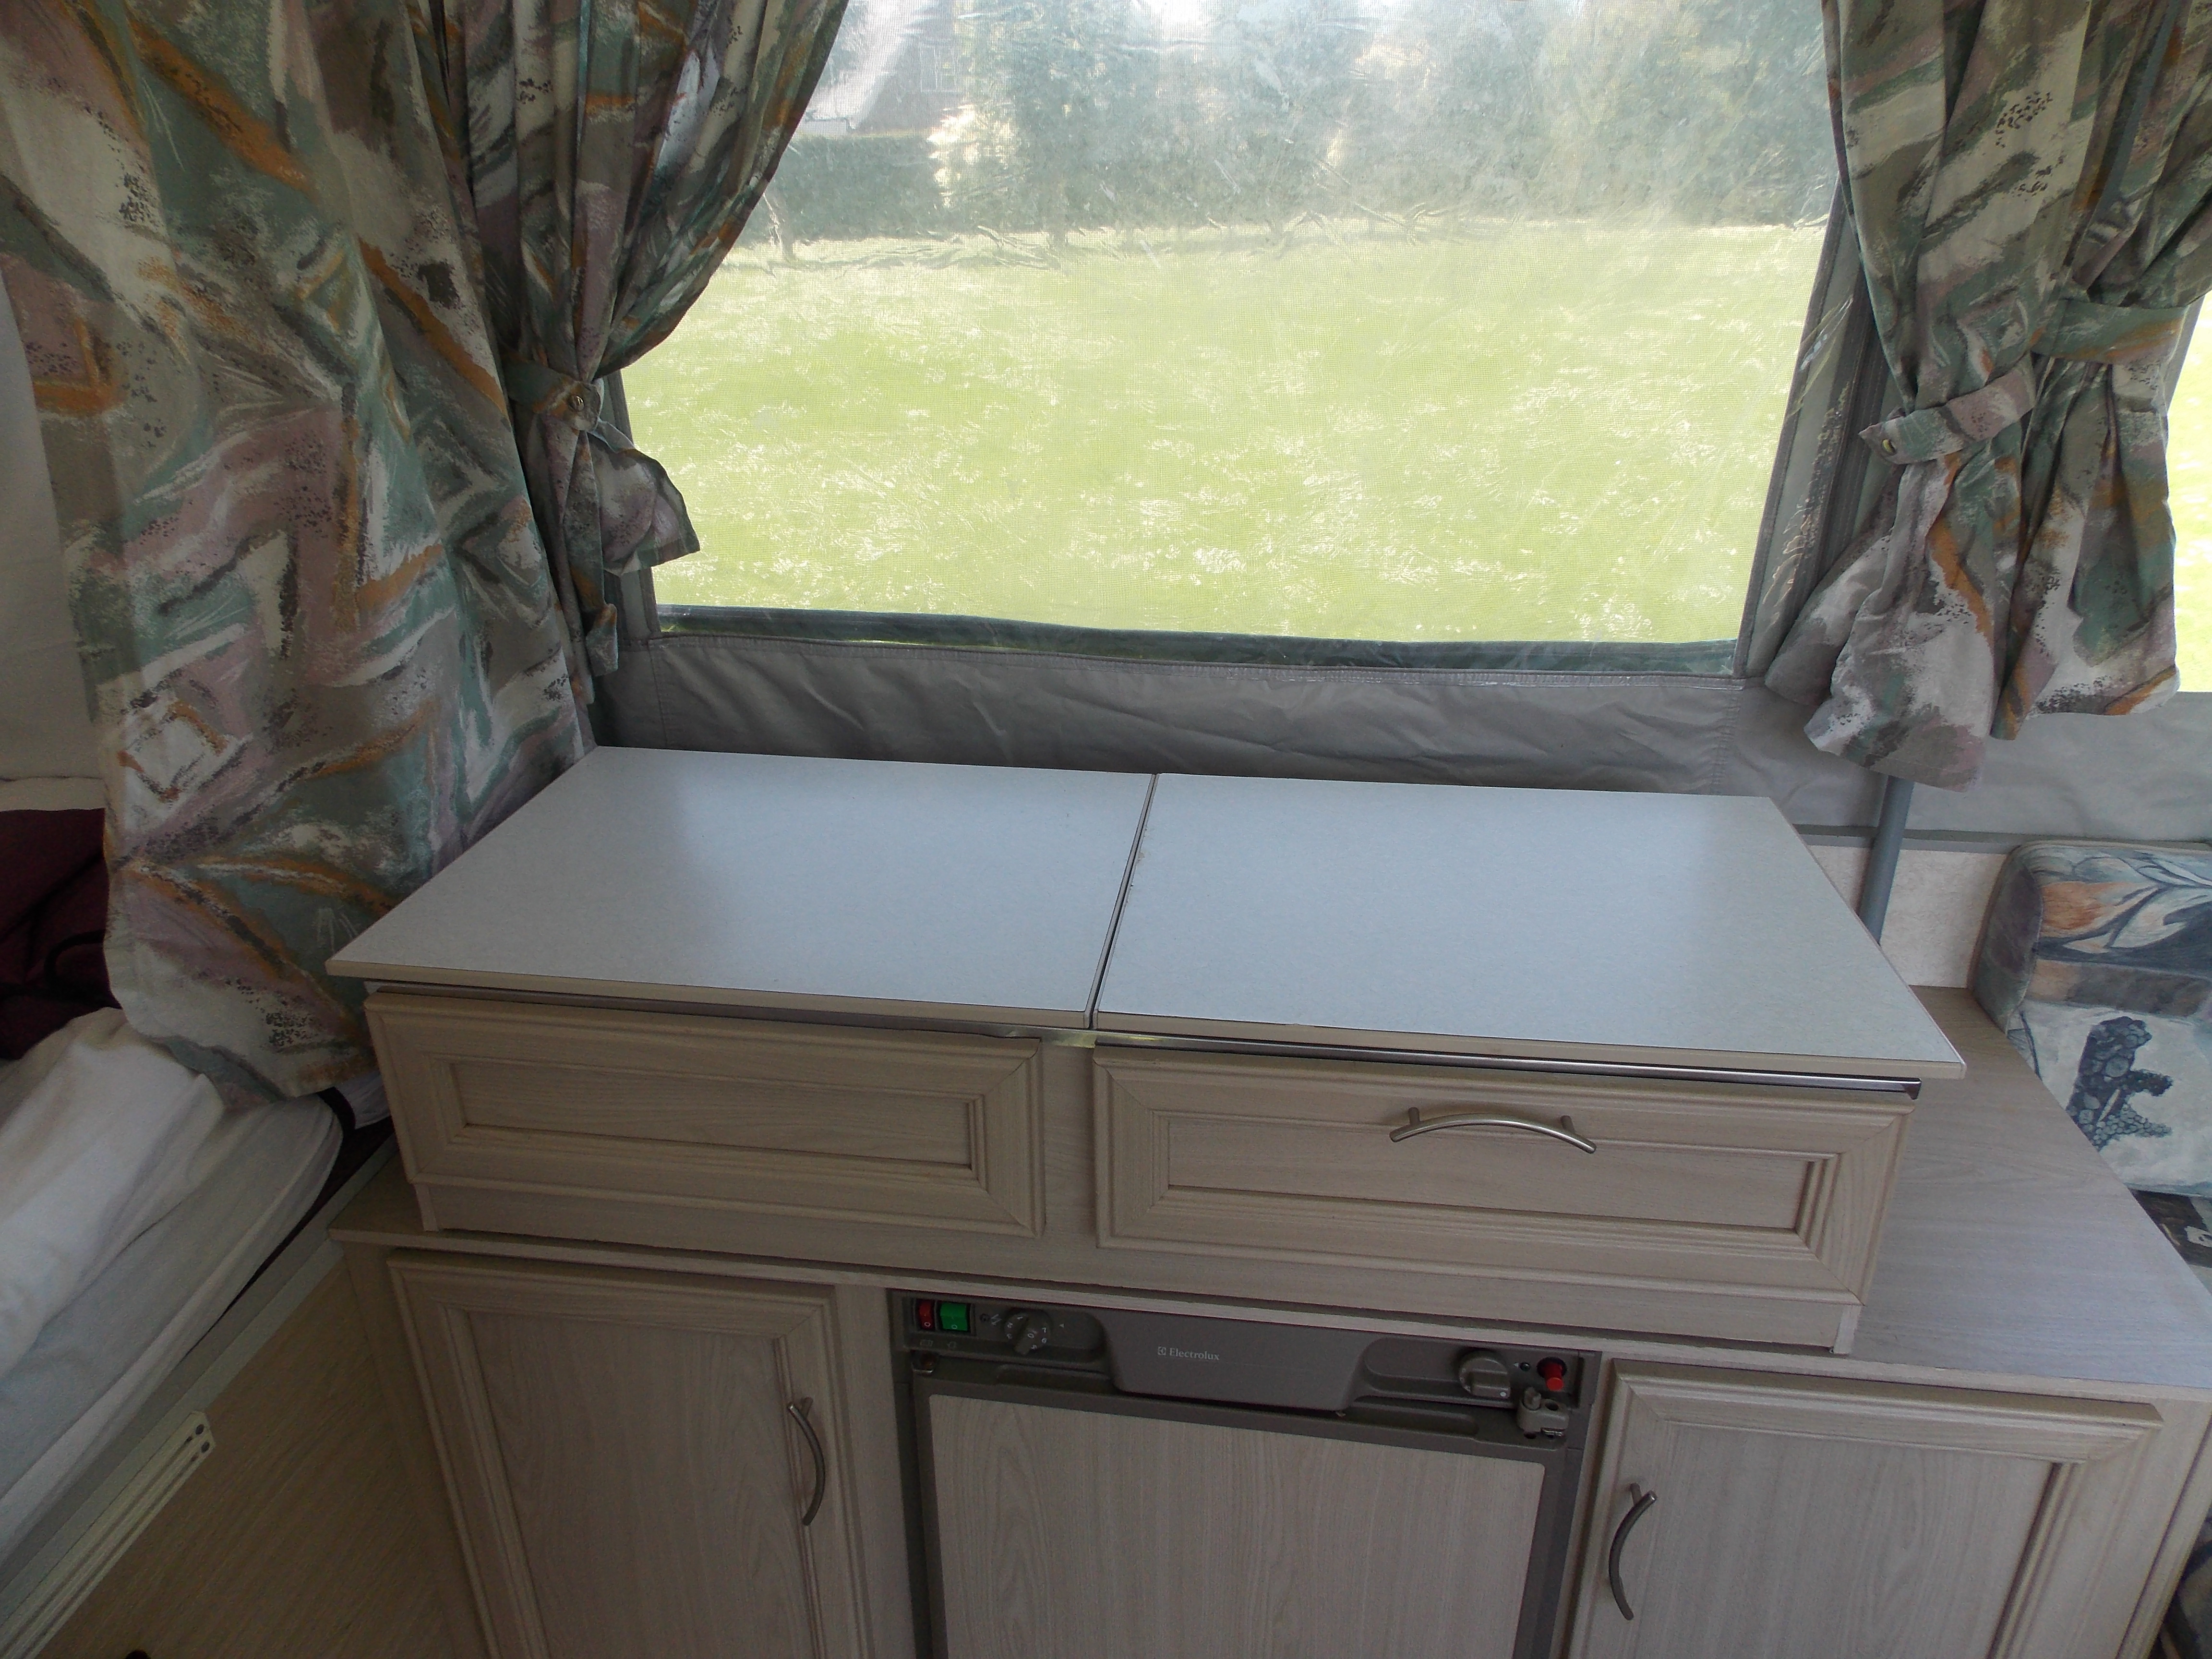
Kitchen Cupboards Without Appliances
Slot Shelf Into Place, Where Included
Connect Gas & Water, and Open Covers
Lift Kitchen Unit Place On Cupboards
(12) The Break Starts Here
For more pictures of this, and other projects we have been working on, why not take a look at the Gallery Page, to get a feel for
how the campers look when set up and in use..
This sequence is intended only as a guide, both for new purchasers, or those thinking of buying, and wanting to know exactly what is involved in setting up their new camper. It is neither a definitive guide, nor a rigid procedure, and the order may vary, according to personal preferences. Also, certain items may be optional extras (as the wardrobe is on many models) and may not be included in your own camper.
View From The Kitchen to The Lounge / Dinette
View From The Bed At The Opposite End
There Are Worse Ways To Eat Out